

Everything Else

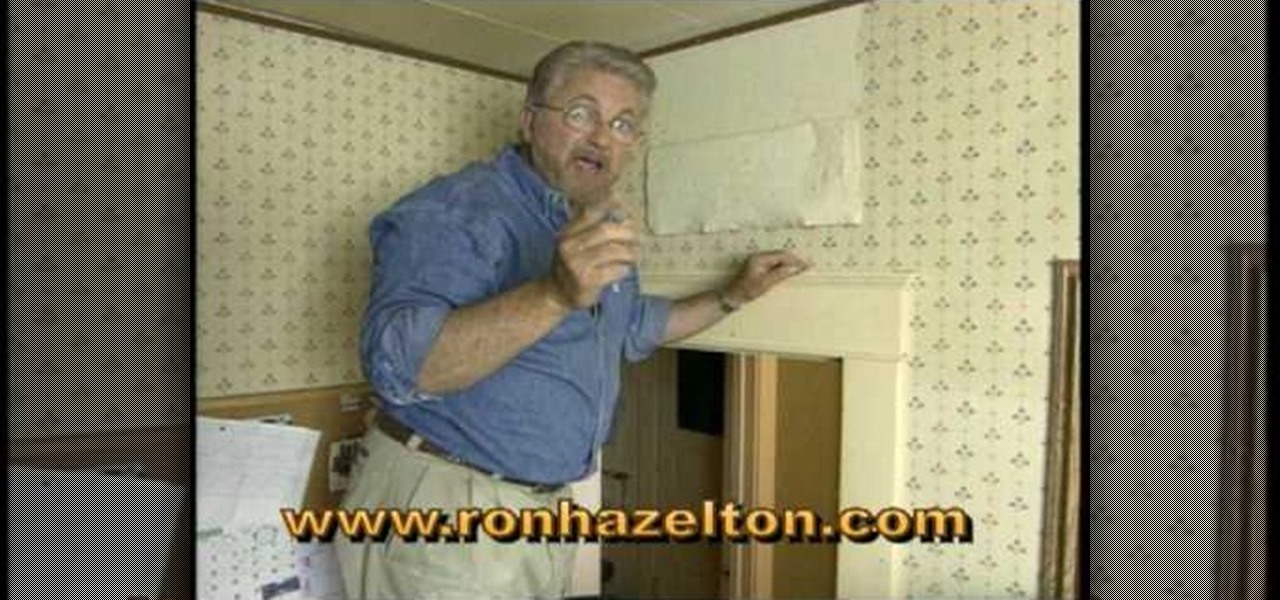
How To: Remove wallpaper quickly & easily
Getting that wallpaper down is not near as bad as people think it is. Here is a four step process for getting that old wallpaper off quickly and easily. Use a wallpaper perforating tool to make hundreds of holes in the wallpaper. Just roll the tool over the wall and it will make little holes in the wallpaper. Next put a gallon and a half of hot water in a garden sprayer and add to it an enzyme based wallpaper stripper. Spray on the wallpaper stripper starting at the top of the wall. Make sure...
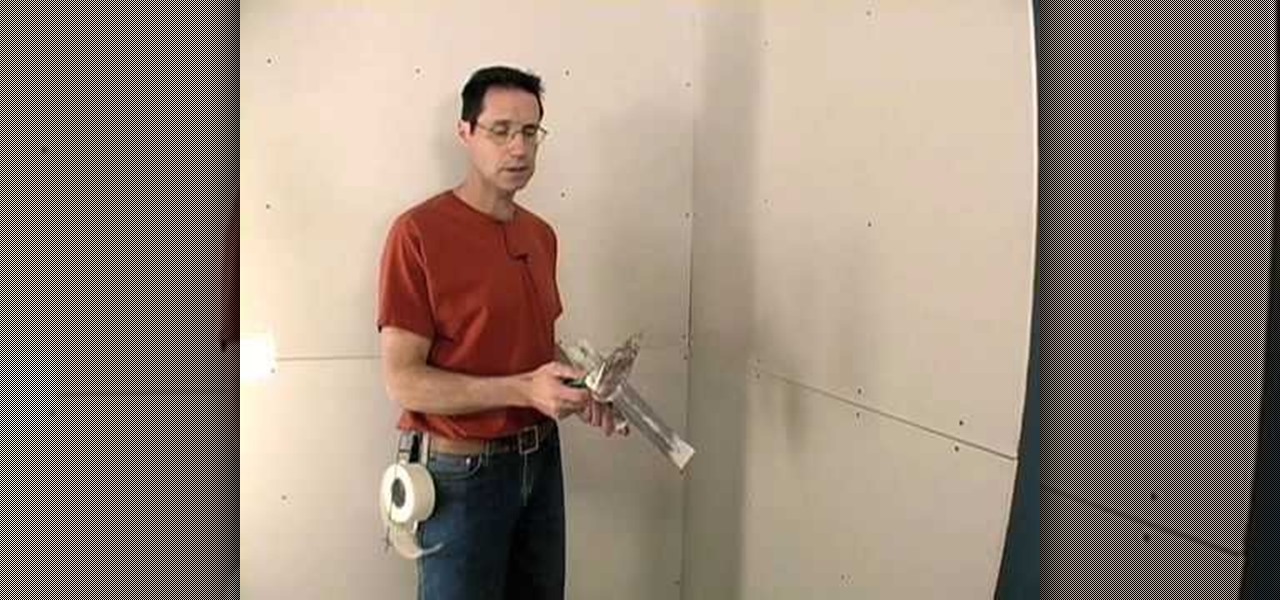
How To: Tape drywall seams
This video shows the viewer how to use paper tape to cover the joint between panels on a dry wall. The creator of the video does this using a 6-inch dry wall knife and a curved trowel. He first applies standard compound to the joint using the trowel. The compound should be applied evenly and the thickness shown is said to be around 1/8 inch. After applying the compound he then gently presses the tape over the joint. He then smoothes the tape on the wall, using a dry wall knife. While doing th...
How To: Drill a shank hole or clearance hole
Drywall screws were originally created specifically for drywall projects. But they have become increasing popular for woodworking projects because you can often screw them into a soft piece of wood without having to drill a pilot hole. But because they have threads all the way up to the head of the screw they will not pull two pieces of wood tightly together. So to get the drywall screw to hold two pieces of wood tightly together you have to drill a shank hole through the first piece of wood ...

How To: Replace a wall switch with a dimmer
You can very easily replace your normal light switch on the wall with a dimmer switch. The first step is to turn the power off at the circuit breaker. To prevent anyone from accidentally turning the circuit on put a piece of tape over the fuse switch so that it is clear that it is to stay turned off. Remove the screws that hold the switch plate and use a tester to make sure that none of the wires are still live with electricity. Remove the two screws that are holding the switch itself in plac...

How To: Paint screw heads without making a mess
If you need to paint the screw heads you can do it without making a mess. If you try to hold them in your fingers and paint them you will get paint all over your fingers. Now you don't have to do that. Take a plastic shopping bag and cut the bottom off of it. Take that bottom piece of bag and stretch it over a can like a drum. Tape the bag tightly to the can so that the bag is stretched tight. Take the screws and screw them into the plastic on top of the can so that they are standing up. Now ...

How To: Inspect a fireplace and chimney
To continue getting the enjoyment out of your fireplace you should inspect it regularly. Check the condition of the mortar in the firebox. If it is loose, missing, or crumbling it needs to be professionally repaired. Look for black deposits inside of the chimney or flue using a flashlight; presence of black deposits inside of the chimney or flue indicates the need for a licensed Chimney Sweep to clean the chimney in order to prevent a chimney fire. The chimney should be free of obstructions t...
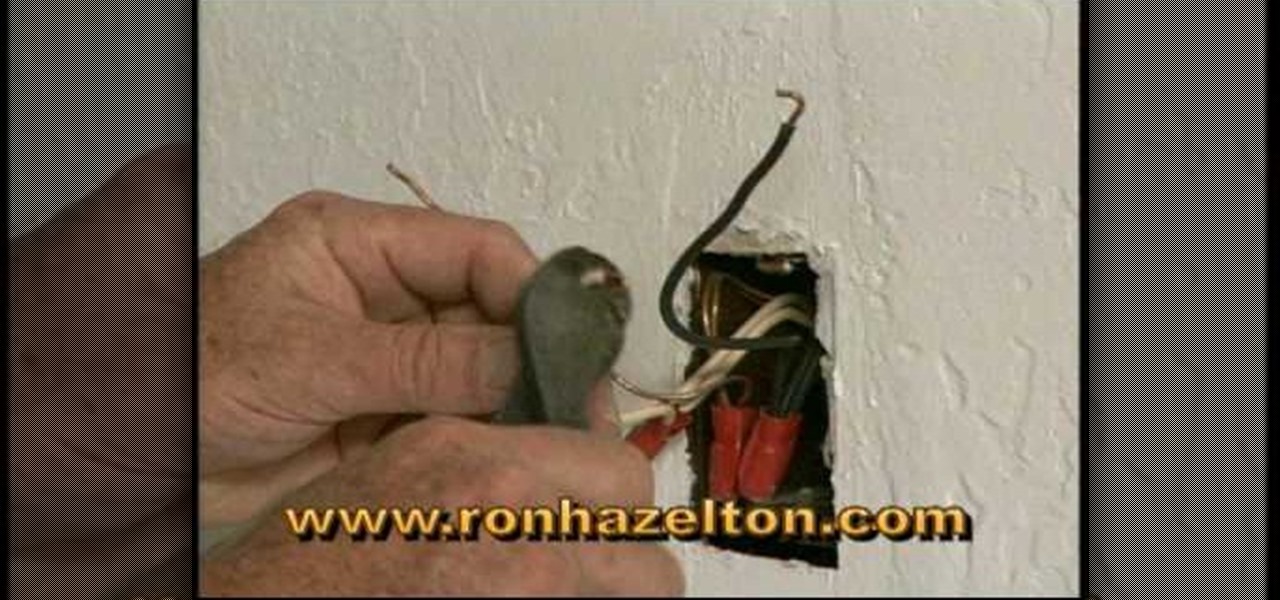
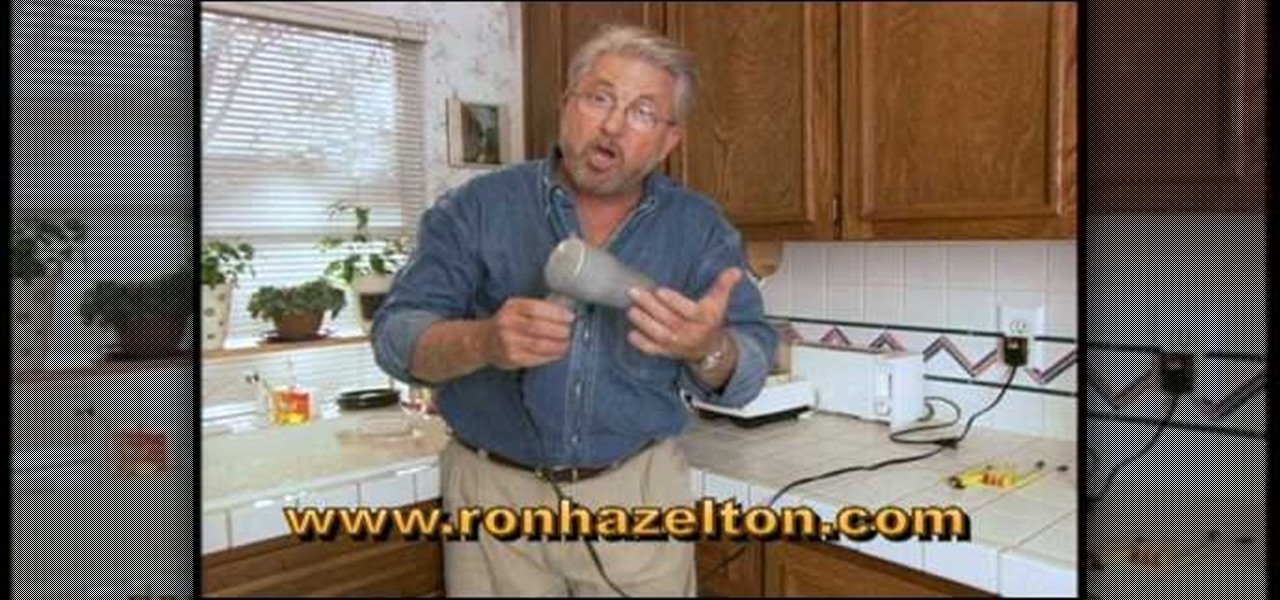
How To: Install a Ground Fault Circuit Interrupter (GFCI)
Ron Hazelton shows how to install a ground fault circuit interrupter (GFCI). First turn off the power to the electrical outlet at the circuit breaker or fuse box (check to make sure there's no power in the outlet!). Then remove the electric cover plate. Then gently remove the old outlet receptacle. Detach the wires from the old receptacle. Trim and re-strip the wires if necessary. Attach the wires to the GFCI receptacle per the instructions. Gently reassemble the receptacle and plate. Restore...

How To: Cut cement backer board
This video shows you how easy it is to cut and make holes in cement backer board. The first thing you want to have is safety glasses to protect your eyes. To make a punch out hole you have to draw an outline of the hole with a pencil or pen. Use a drill to make several holes inside your outline. A jigsaw will cut out your punch hole. Push the punch hole out. Make a straight cut by marking the front of the board with a pen and a straight edge and use the scoring knife along the straight edge t...
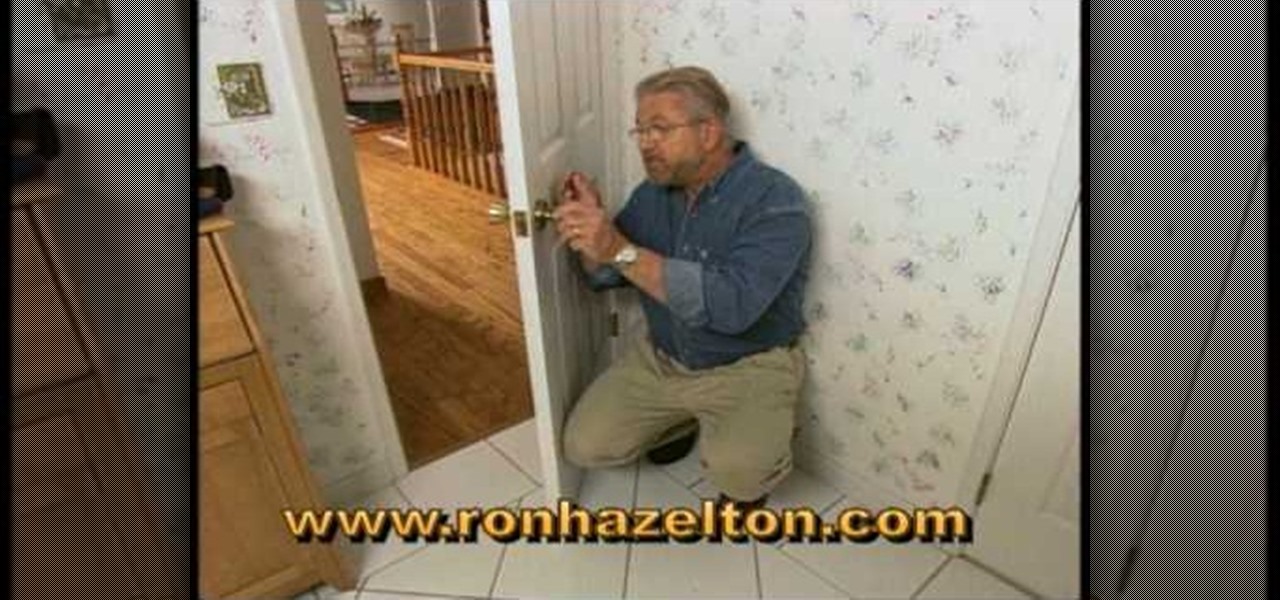
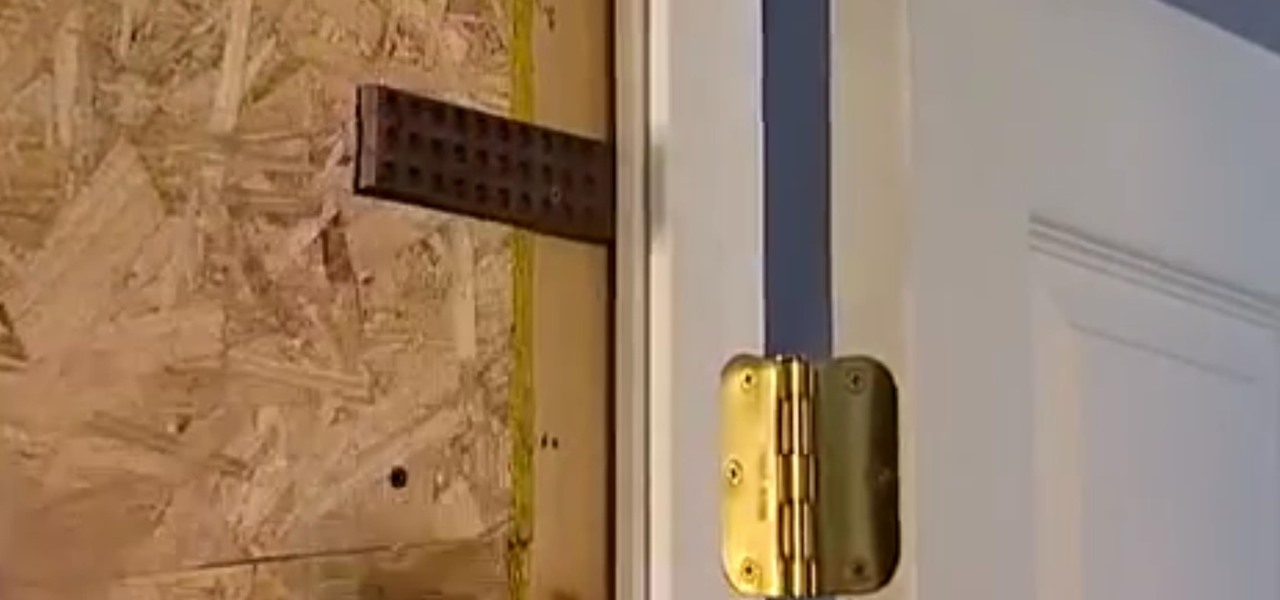
How To: Remove and replace a door latch
In this quick yet informational video, Ron Hazelton shows us how to replace an old or malfunctioning door latch in your home. After removing the doorknob itself, use a screwdriver to remove the ring around the base of the knob and then unscrew the backing that is holding the other side of the doorknob in place. Remove the old door latch and then replace it with the new one, putting in first the latch itself and one side of the doorknob. Use the screwdriver to hold this in place and then add t...
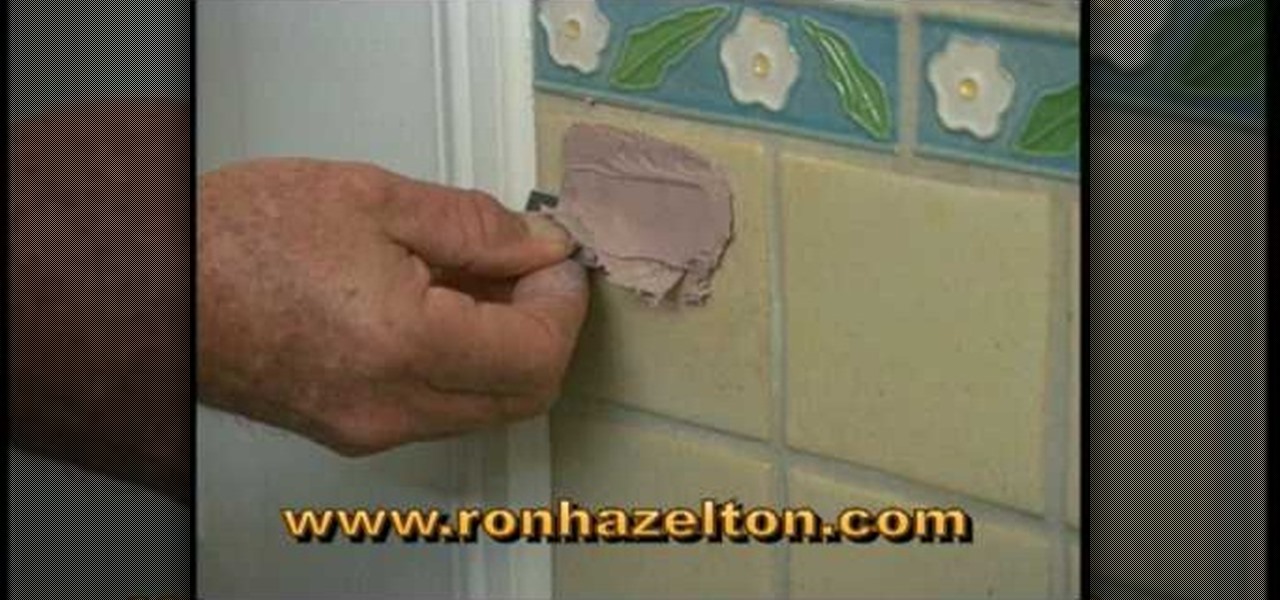
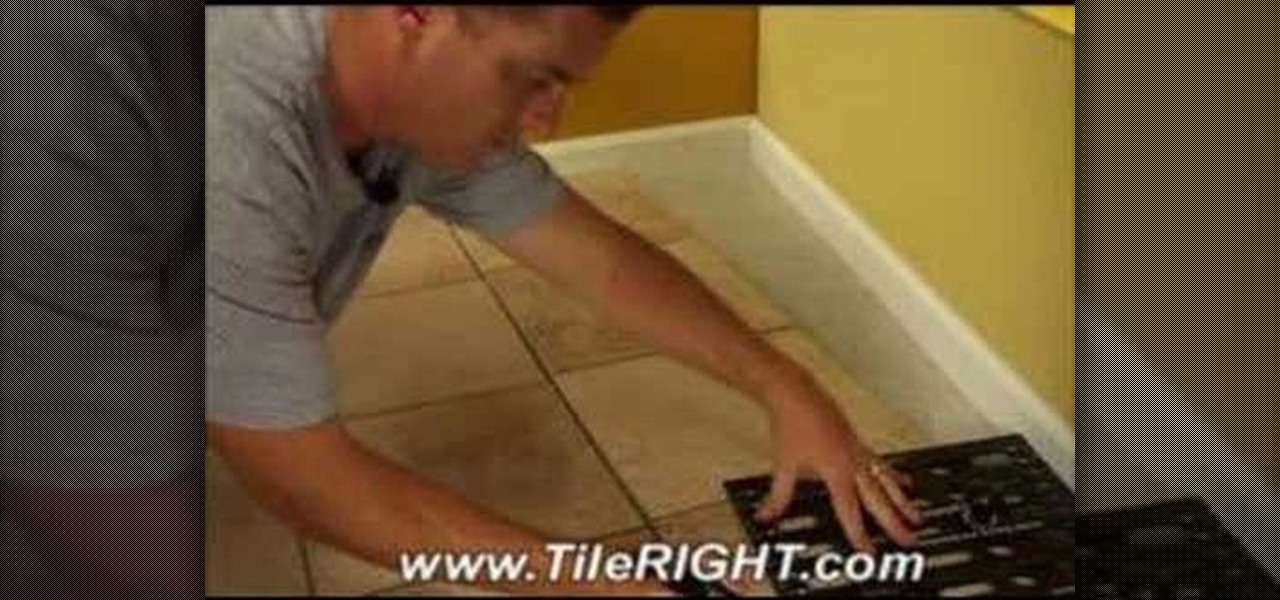
How To: Fill and repair holes in ceramic tile
Fixing holes in glazed ceramic tile can be very tricky. This is a solution that may not be perfect but it will provide a big improvement to your situation. You will need some polyester resin, which is often used to repair car bodies. Mix up some of the resin and apply it to the holes in the tile making sure that you overfill the holes. As it dries but while it is still rubbery take a razor blade and trim off the excess resin. Take some 600 grit sandpaper and sand the resin smooth. Wet the san...
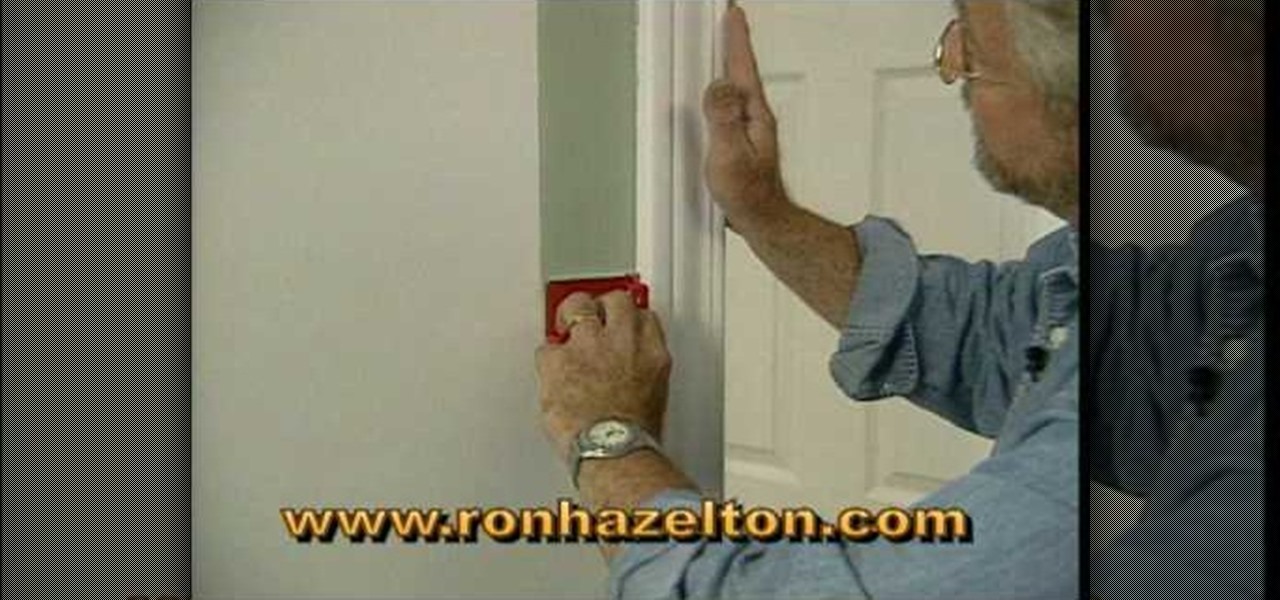
How To: Paint interior trim and molding
Before you paint the walls it is important to paint the trim first. A painting pad is a very useful tool for painting along the edge where the ceiling meets the wall. It has guide wheels on it and will roll right along as you paint the trim. Next you will want to paint your woodwork including your baseboards and trim. When you go to roll the wall first take some painters tape and run it along the top of the baseboard to keep the specks that fly off the roller from getting on the baseboards. U...
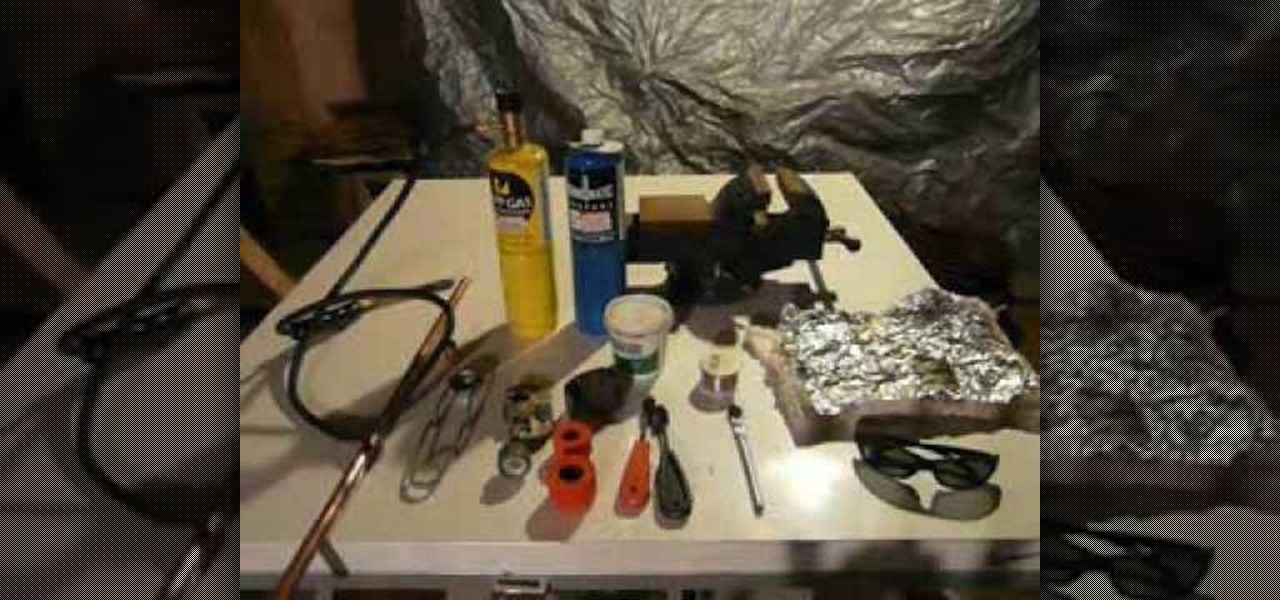
How To: Solder copper pipes
This informational video from YouTube user curlmarx takes us through the step by step process of how to take on the intimidating process of soldering, or "sweating" copper pipes for the do it yourselfer at home. He illustrates the materials and tools you will need to successfully complete this type of plumbing project. Those of you who have never taken on a task like this will much appreciate the effort of this author to illustrate the complete process in a detailed and easy to follow informa...
How To: Test electrical receptacles
This how to video shows you how to test electrical receptacles. The video covers 5 simple test rules. The first test is to simply attach an electrical device to the socket. The video also suggests the use of market product testers and even voltage testers. This video is perfect for people who are having electrical problems or are just beginning to learn how to take care and maintain their own home. The video is about a minuet and a half long.
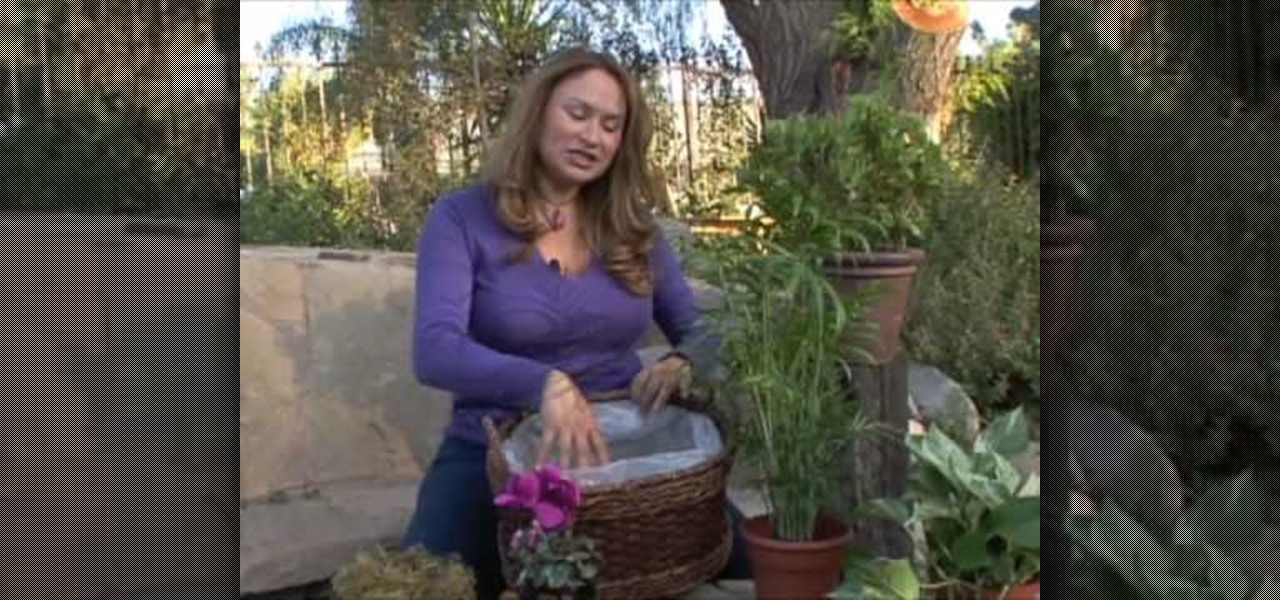
How To: Make indoor garden basket & container arrangements
Take a common indoor hanging basket plant and use it to make a great water plant. You take a stem of tradescantia with the roots attached. Wash off all the soil. Put the stem into a vase with rocks and water in it. Anchor the plant stem down in the rocks. Add some charcoal pebbles to inhibit bacteria growth in the vase. The tradescantia will grow roots in the water. To keep it healthy also add some hydroculture fertilizer to the plant about once a month. Also you may want to change the water ...

How To: Multiply succulent Kalanchoe cuttings
Succulent Kalanchoe plants are very easy to multiply. The first thing that you need is a healthy mother plant. Take a small leaf section from the base of the plant. Clean the dirt up on the leaf. Set the leaf out to dry in a nice warm area where you don't get direct sunlight because you don't want the leaf to dry out. The area around the stem of the leaf will get calloused over. Once it is calloused over you are ready to plant the leaf. You need some well draining soil such as seed starting m...
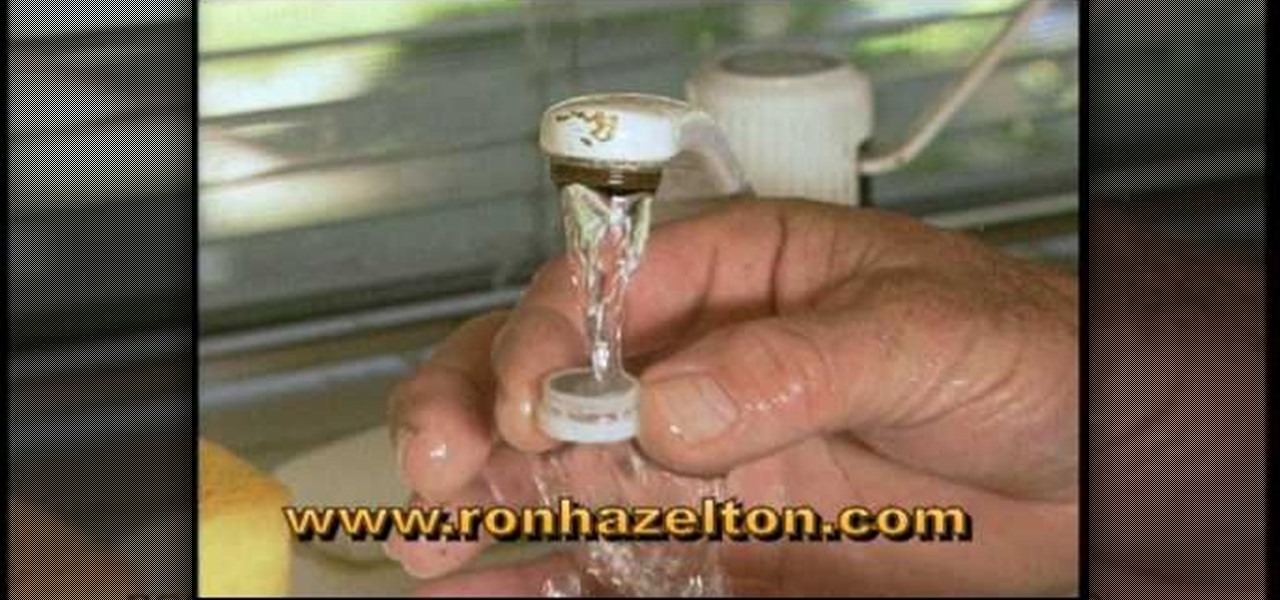
How To: Clean a faucet aerator
Ron Hazelton describes how to clean a faucet aerator to get a sputtering faucet flowing freely again. First unscrew the aerator housing, then remove the black rubber gasket and the aerator underneath. Next remove the screen from the housing. Rinse out the screen from both sides to remove debris. Use a needle to clean particles from the aerator holes, then rinse the aerator. Reassemble the housing (screen, then aerator, then gasket). Lastly, screw the housing back onto the faucet for a smooth ...
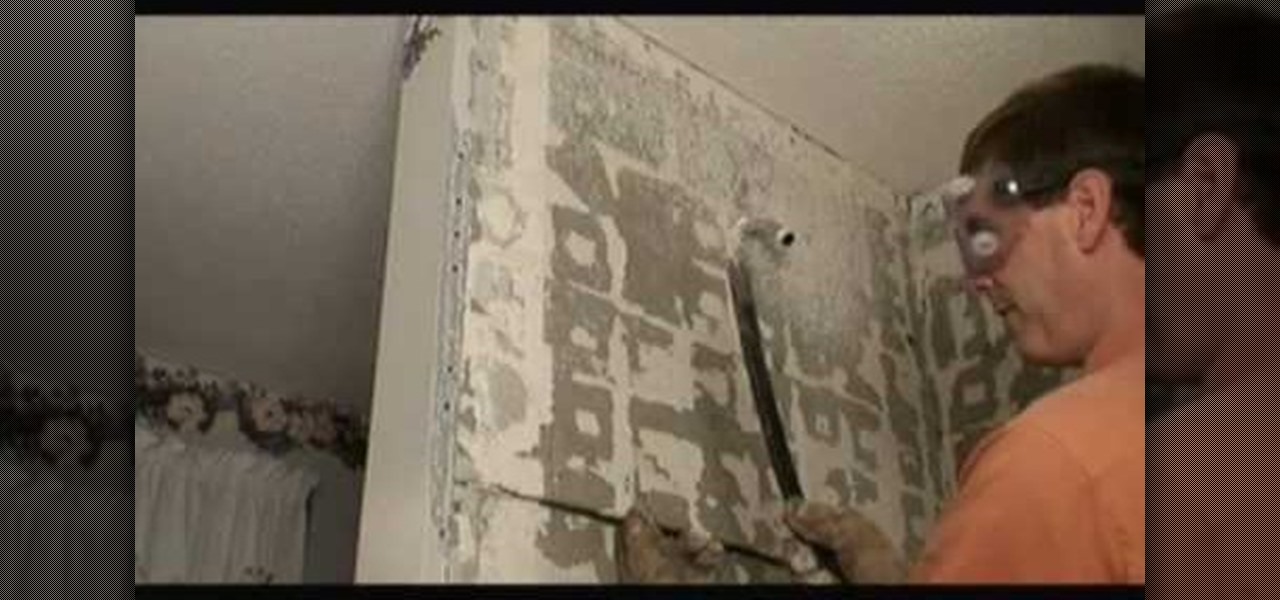
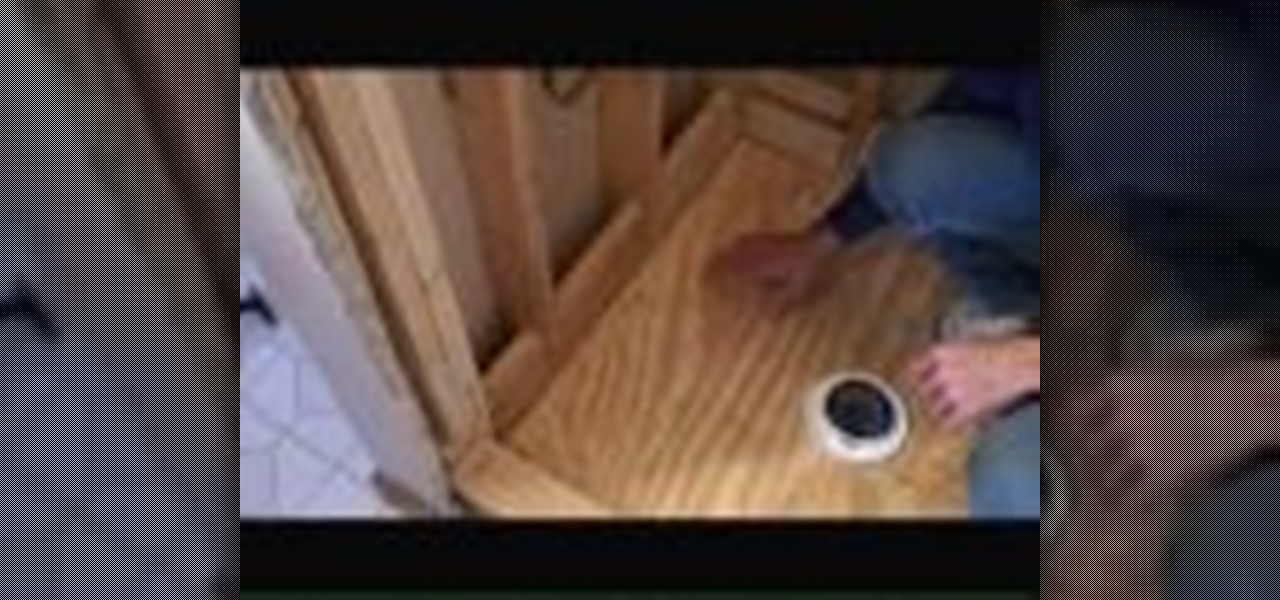
How To: Remove backer board from a shower stall
Mark Donovan is remodeling a ceramic tile shower, and shows how to remove the old backer board. First remove the old screws, starting at the bottom of each board and working your way up (leave a few screws so the board doesn't fall). Sometimes screws may be hiding under old mortar. Score the joint between the top board and the ceiling with a utility knife to prevent ceiling damage. Use a pry bar to gently remove the old backer board, being watchful for pipes. Remove the last screws, then the ...

How To: Hang drywall
This video shows the viewer how to hang dry wall easily and efficiently. In the video the creator uses a utility knife to score the sheets he will be using to construct the wall. He then snaps the sheets and finishes the cut with his utility knife. He uses a dry wall lift to hold the sheet in place before he screws it to the wooden frame. He specifically fastens the screws working across the sheet - not fastening the corners first. This stops the sheet from buckling due to errors and allows i...
How To: Build stairs for decks and porches
In this five-part video, learn the art of stair-making. If your deck or porch needs a new set of steps, why not do it yourself?
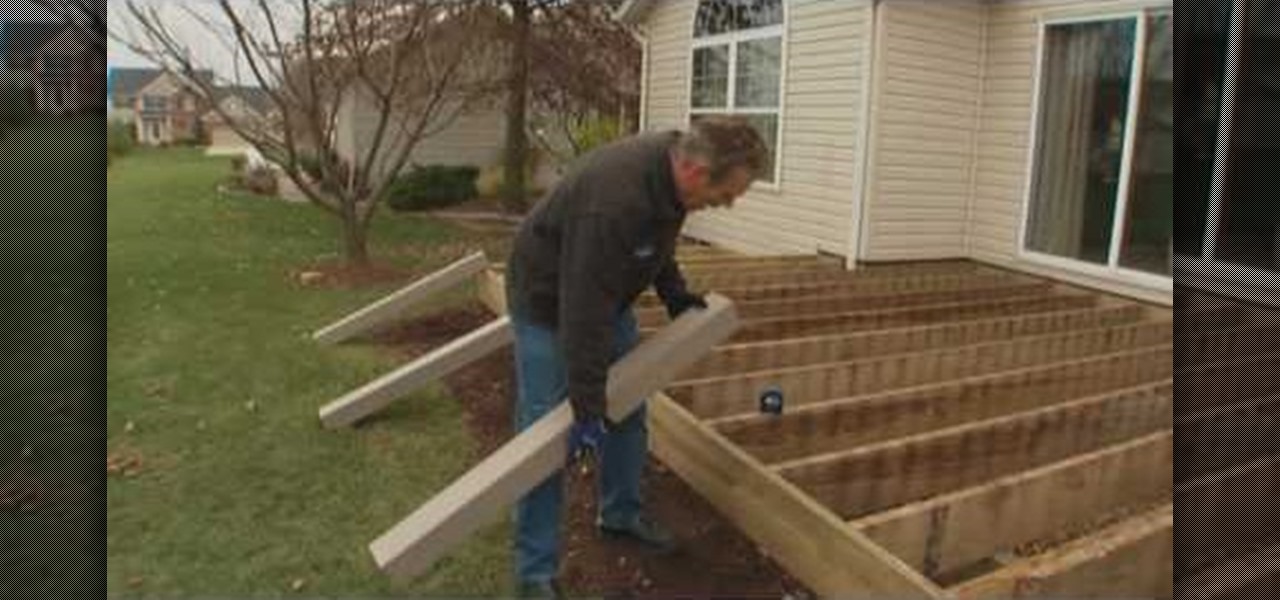
How To: Renew your deck with composite materials with Lowe's
As your home ages, so does your deck in the backyard, but there are ways to resolve this issue. If that wooden deck is looking weathered or worn, you can simply replace the components with composite materials without a complete rebuild. Composite doesn't splinter or have knots, and it's low maintenance. This two-part video, brought to you by Lowe's, will show you exactly how to renew your deck with composite decking.
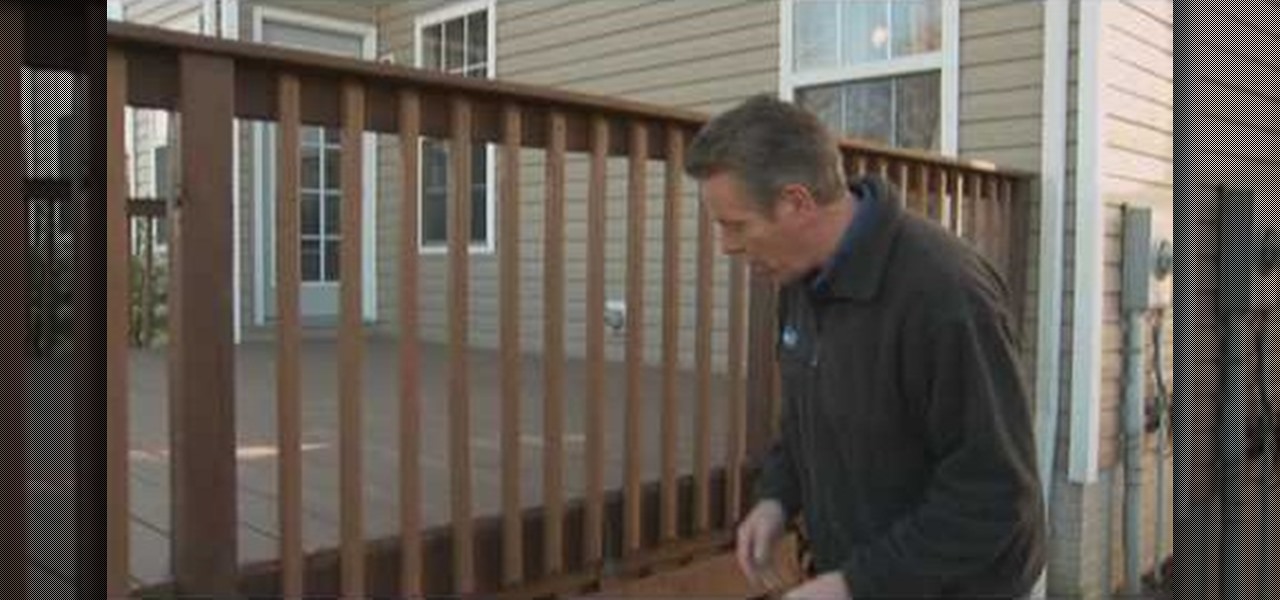
How To: Refresh your deck with Lowe's
Maybe you just bought a new home. Maybe you've lived in your house for years. But if your deck looks like it's seen better day and needs an update to whip it back in shape, that doesn't necessarily mean you have to tear down and replace it.
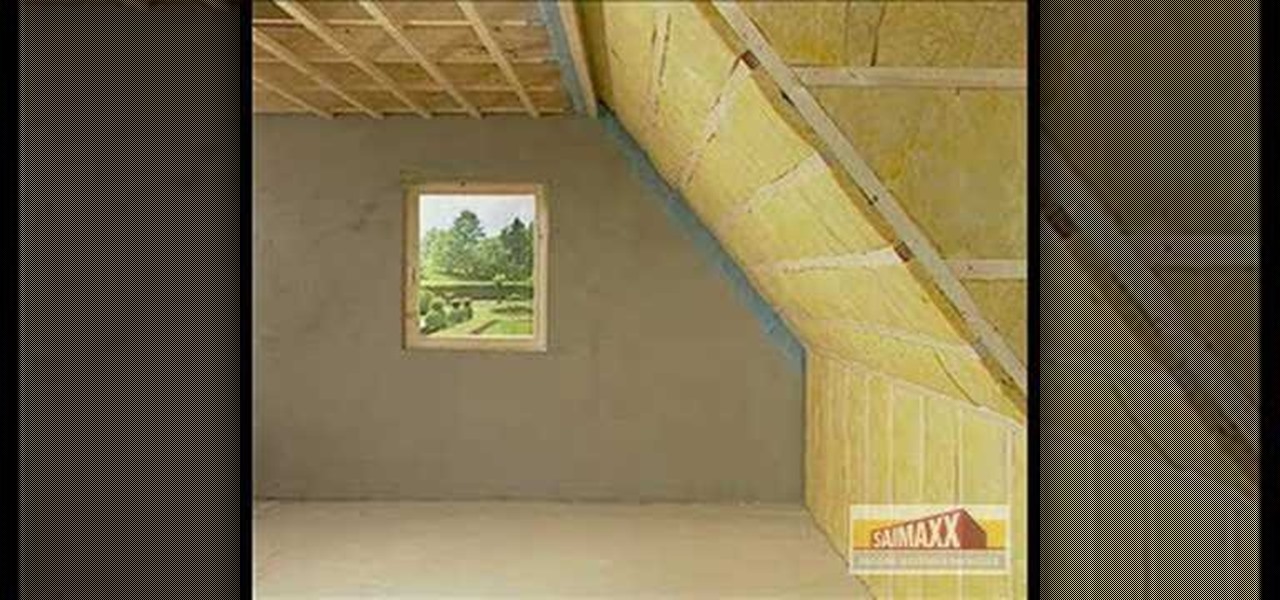
How To: Drywall partition with Fermacell
Think a project is too difficult? Think again! With Fermacell, you can tackle any fix-it job, and this handy how-to gives a great description.
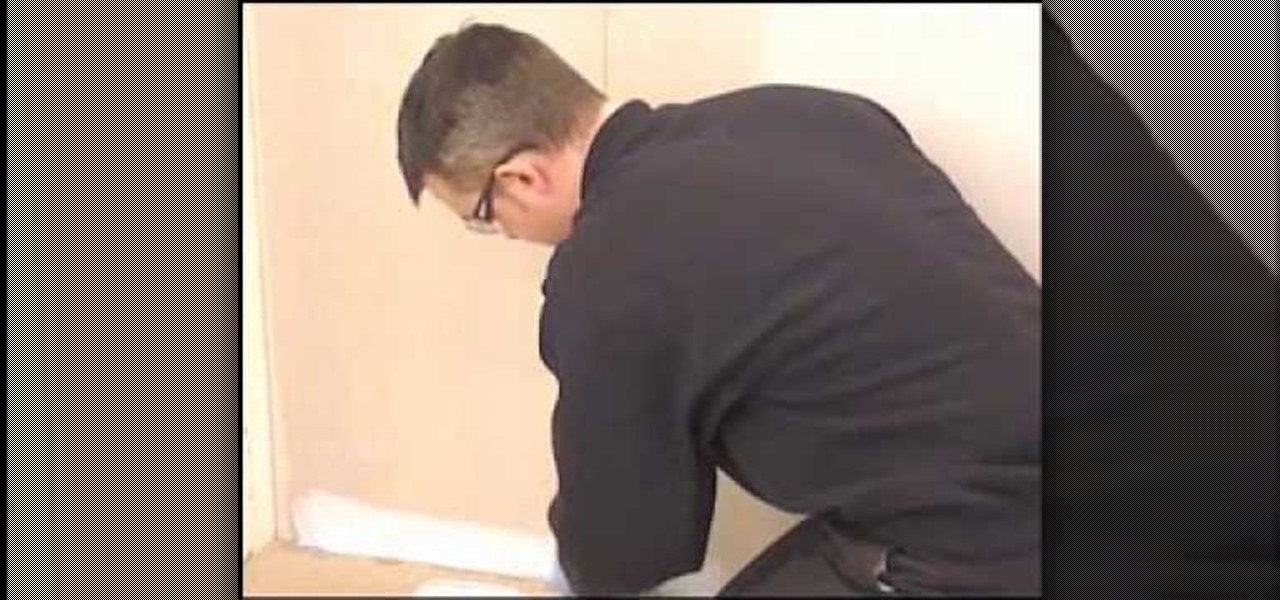
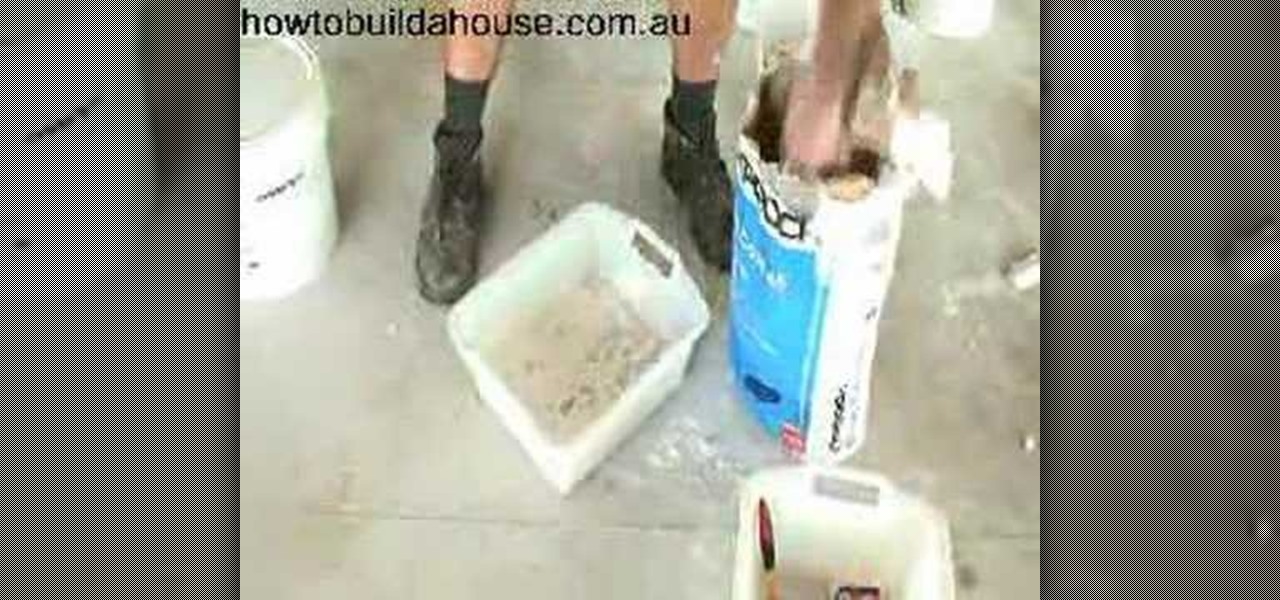
How To: Tile large & natural stone tiles
To tile with large format and natural stone tiles onto walls you must first make sure the walls are flat, clean, dry, and free of any dust, dirt, oil, grease, and any other loose material. Ensure that surfaces are suitable and prepared as advised. Then use the Dunlop Universal Bonding Agent where you will be applying the tile. For gypsum plaster and gypsum plasterboard, apply two coats of Dunlop Universal Bonding Agent, diluted with one part bonding agent, two parts water. Then allow primer t...
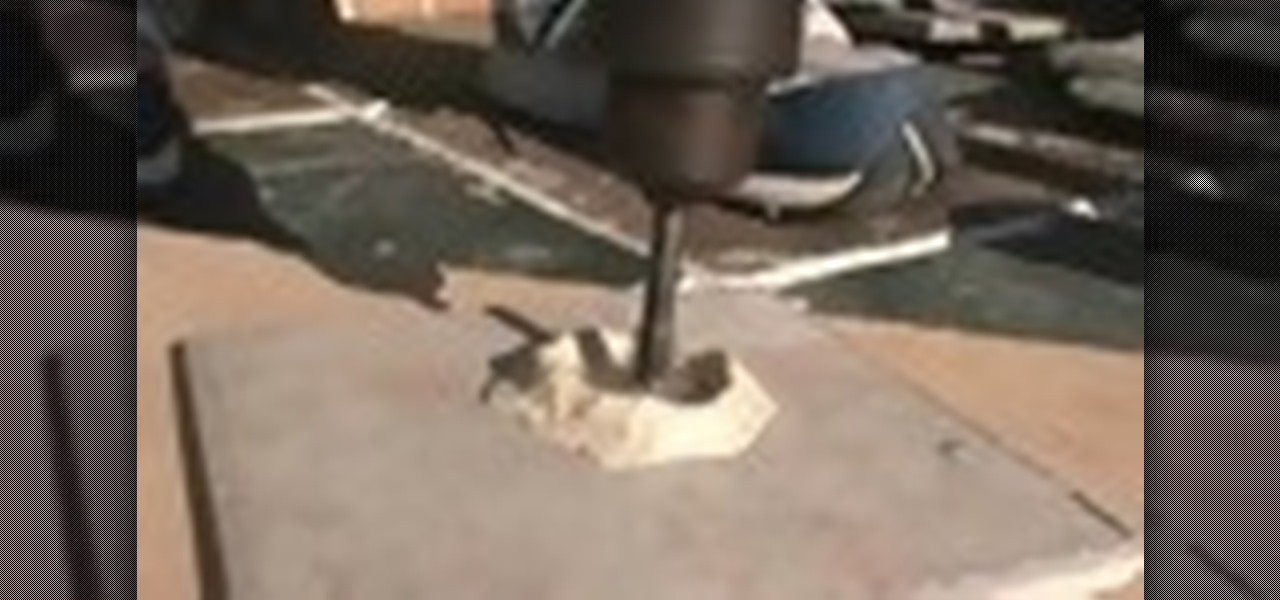
How To: Drill a hole in ceramic, porcelain, clay, or tile
This video will show you how to drill a clean hole in ceramic, porcelain, clay, glass or tile. Materials needed for this project are: carbide tile bit, normal variable speed drill (not a hammer drill), air tool oil, plumbers putty, MDF board or a scrap piece of wood.

How To: Countersink a wood screw
This video shows you how to countersink a wood screw. 1. Find appropriate pilot hole drill. This should match the shank size of the screw.
How To: Install a towel ring in the bathroom
Mark Donovan of HomeAdditionsPlus shows us how to install a towel ring in the bathroom. - Line the ring up on a wall stud.
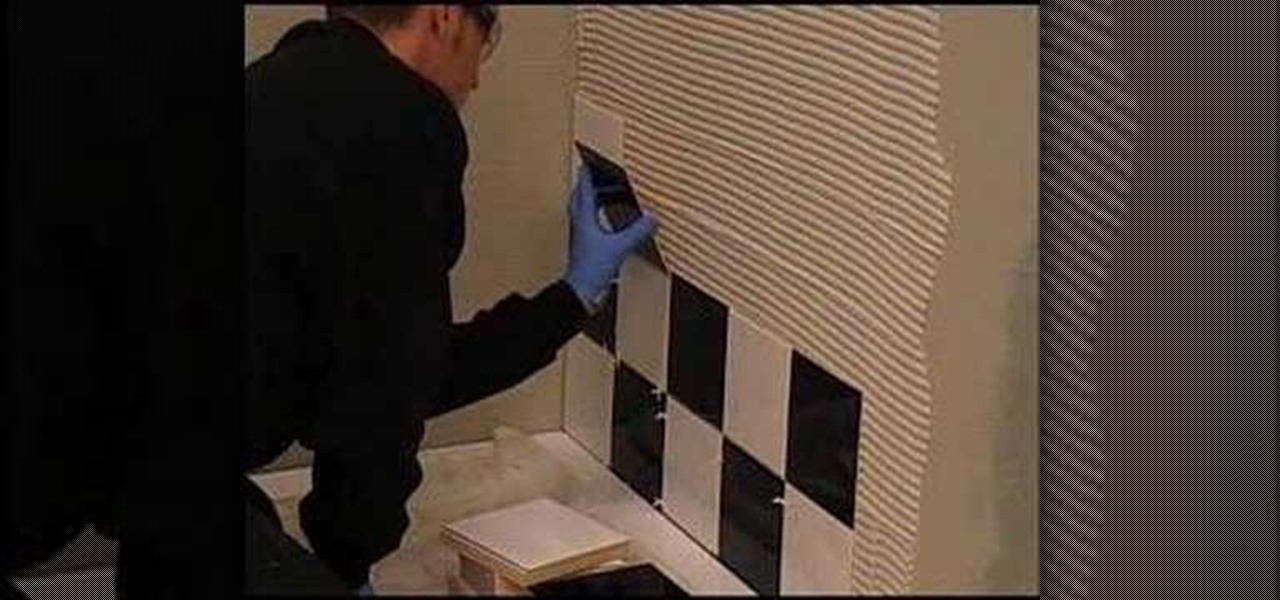
How To: Tile & waterproof a shower
This video shows you how to tile and waterproof a shower. Stage 1
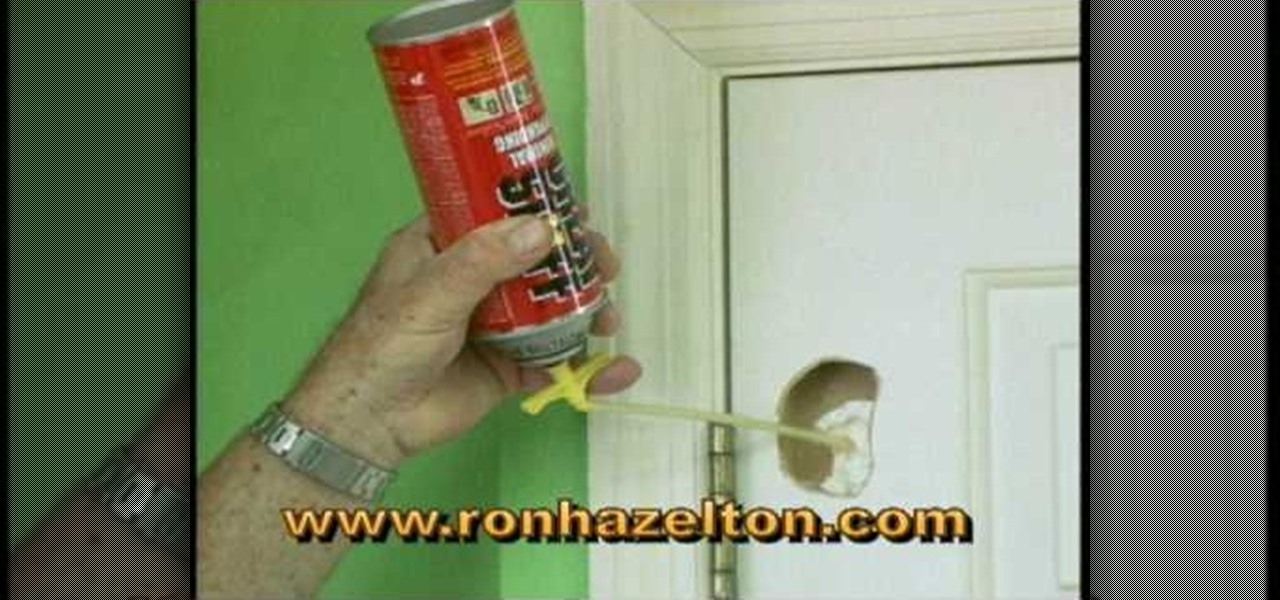
How To: Patch a hole in a hollow core door
Ron Hazelton shows you how to fix a hole in a hollow core door in less than an hour. 1) Make a bevel around the hole.

How To: Install electric underfloor heating cables
This is a simple video guide that shows you how to install electric underfloor heating cables. 1. Measure the area to order right heater for the room.
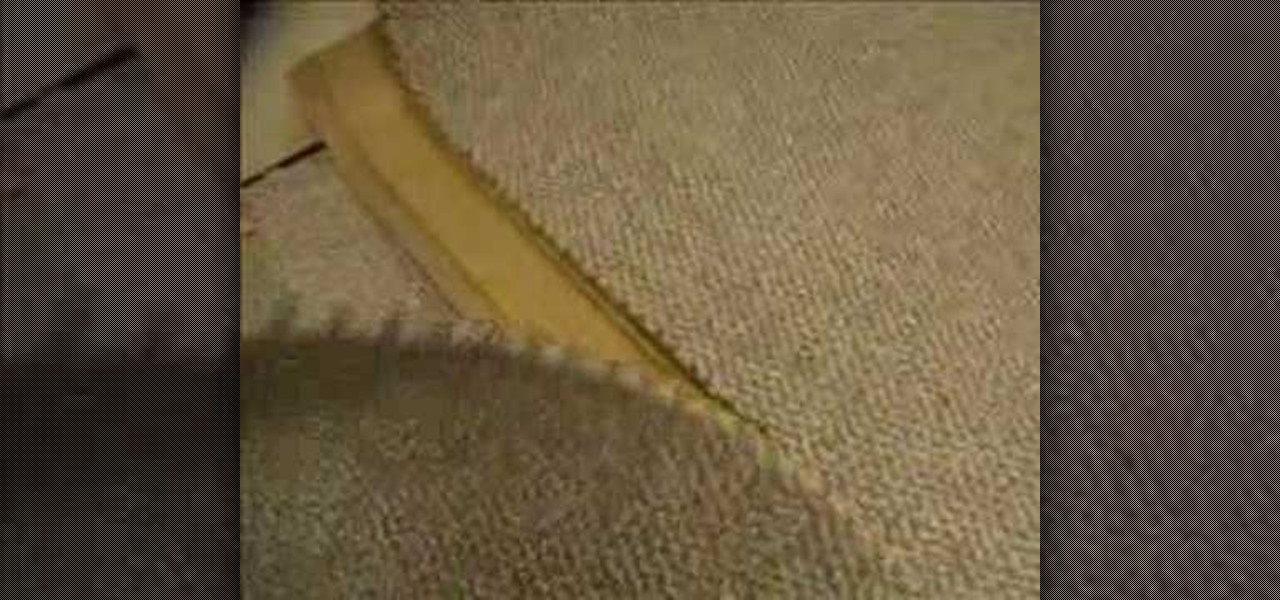
How To: Seam together two carpets
This video shows you how to seam together two carpets. The tools required are carpets, seaming knife, blade, iron for pressing, and seaming tape.

How To: Join two pieces of wood
This video tutorial shows you how to join two pieces of wood. What you'll need:
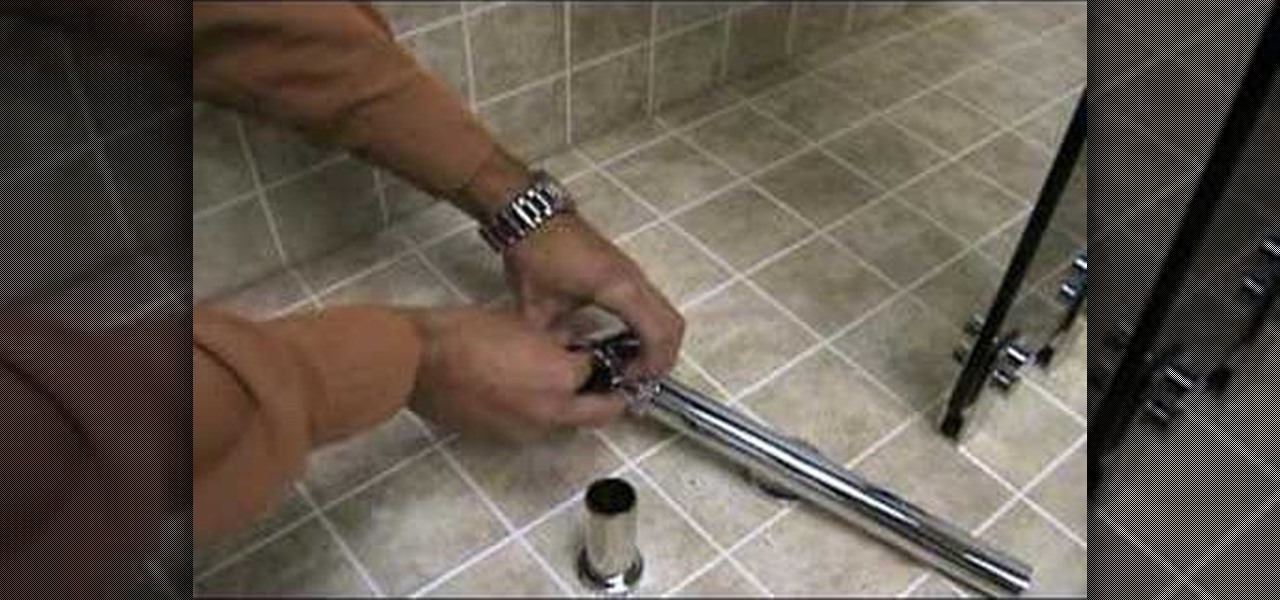
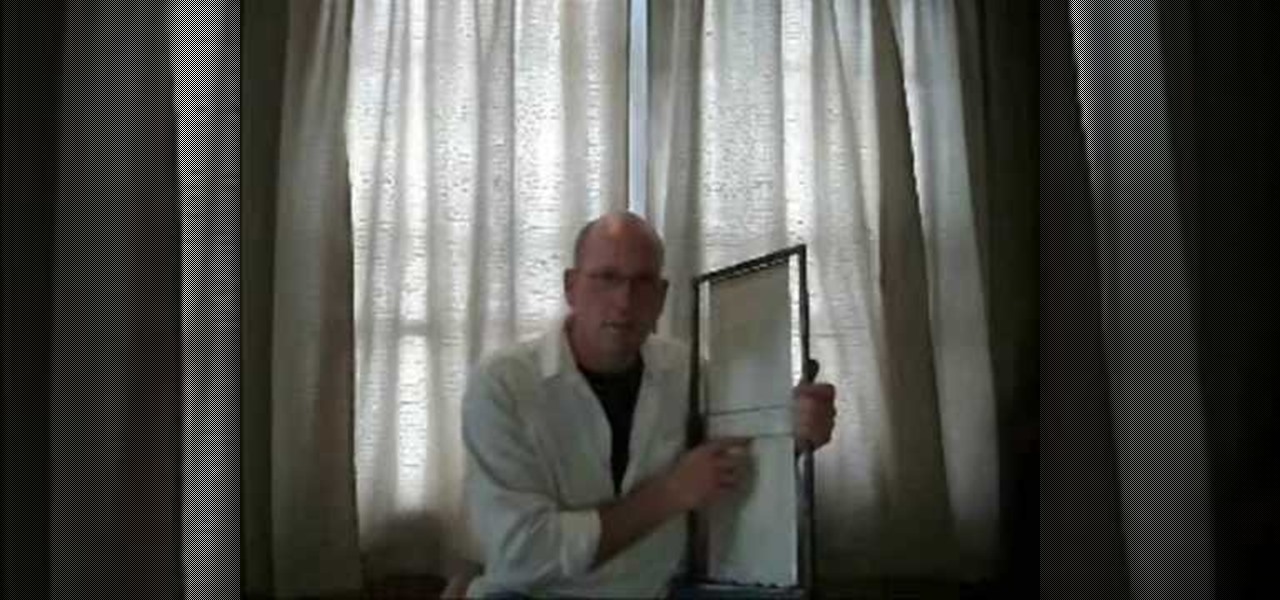
How To: Install a glass vessel sink or countertop
This video tutorial shows you how to install a glass vessel sink or countertop. First you need to make sure that the glass vessel sink or countertop has all of the pieces needed and that none of the pieces are scratched or broken. You then need to place the mouthing ring on the countertop where the sink is going to go. Make sure that the rubber side is facing down. Then carefully set the sink on the mouthing ring. You must then take off the tail piece of the pop up drain. Take off the ridge a...
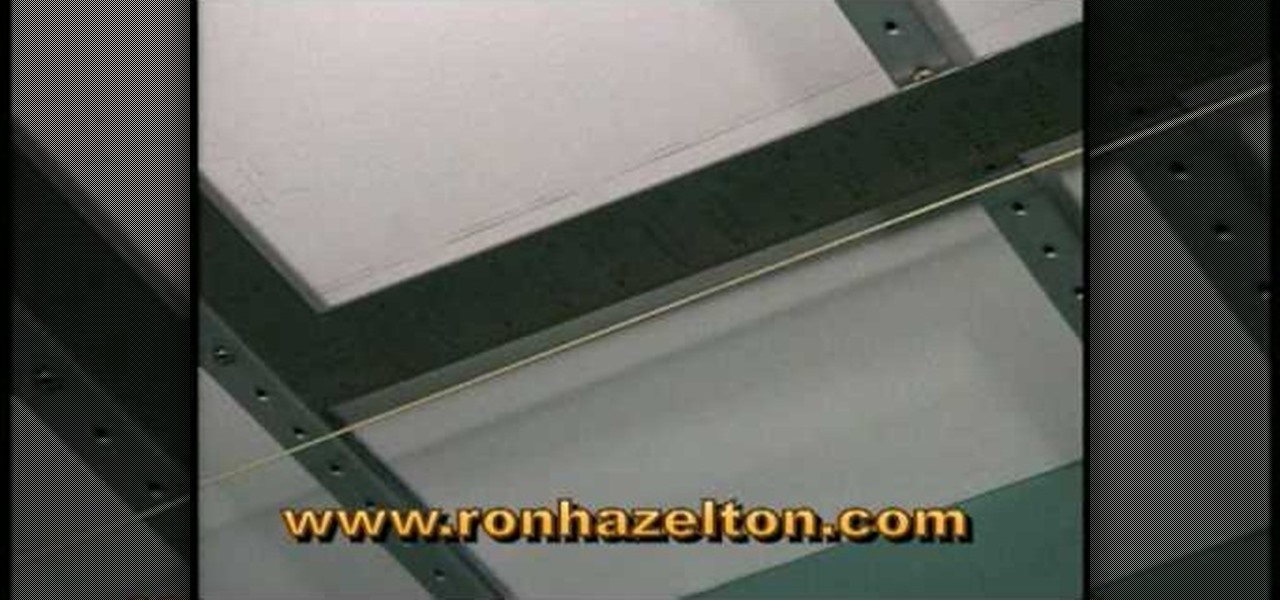
How To: Install embossed acoustic ceiling tiles
Create some texture for your ceiling, by installing embossed acoustic ceiling tiles. Learn from DIY home guru how to install embossed acoustic ceiling panels over an existing ceiling using a track and clip system.

How To: Adjust & repair sliding patio doors
Do you have a stubborn sliding door? Does it stick or get off track often? Learn how to fix your sliding door problem with help from this video which teaches how to repair and adjust a sliding patio door for smooth operation.
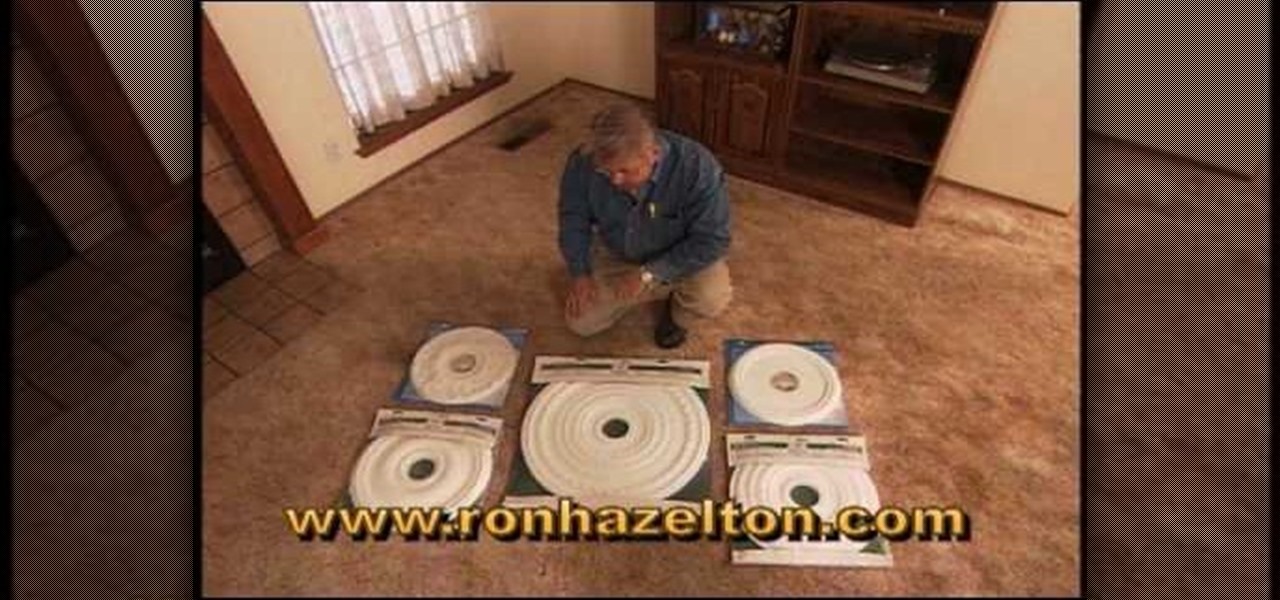
How To: Install a ceiling medallion
Bring some detail to your living room ceiling not only with crown molding, but a ceiling medallion! In this video, Ron Hazelton goes over how to install a ceiling madallion and tips and tricks to get it done quickly and efficiently.
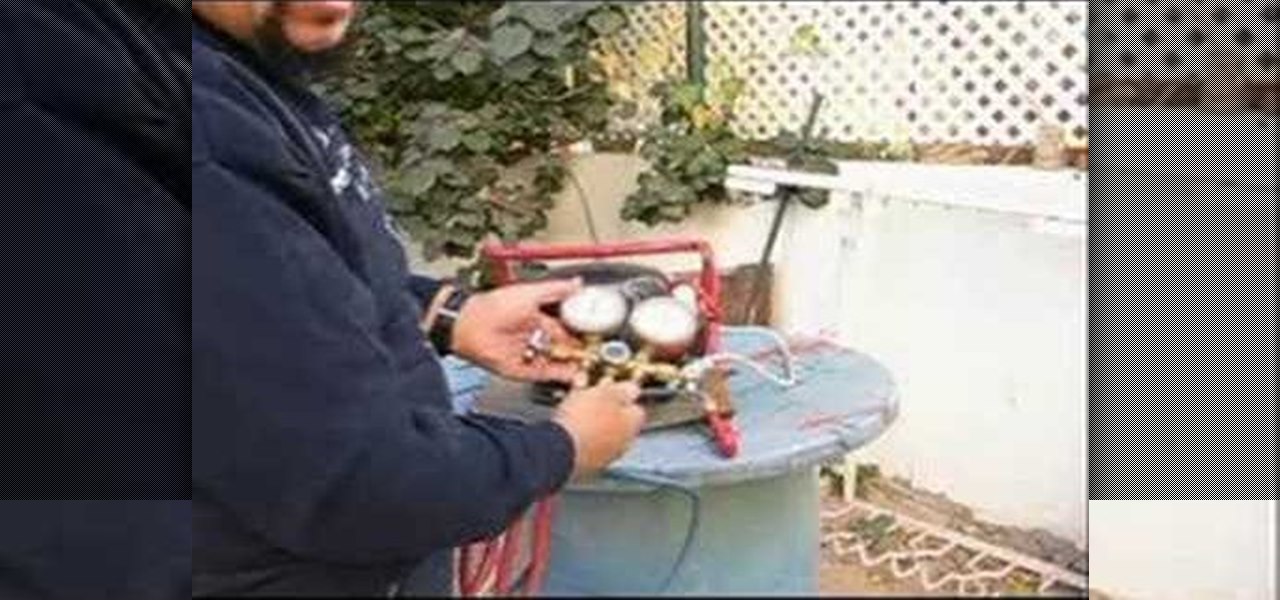
How To: Convert a refridgerator compressor into a vacuum pump
Looking to make a vacuum pump or air compressor? Why not make one in the comfort of your own home? In this video, learn how to convert a domestic refrigerator compressor into a vacuum pump or air compressor.

How To: Bleed a heating radiator
Is you radiator acting up and making impossibly loud noises? Does banging in the pipes sound like someone's running a sledge hammer? Try this easy do-it-yourself fix with this video on how to bleed your radiator.
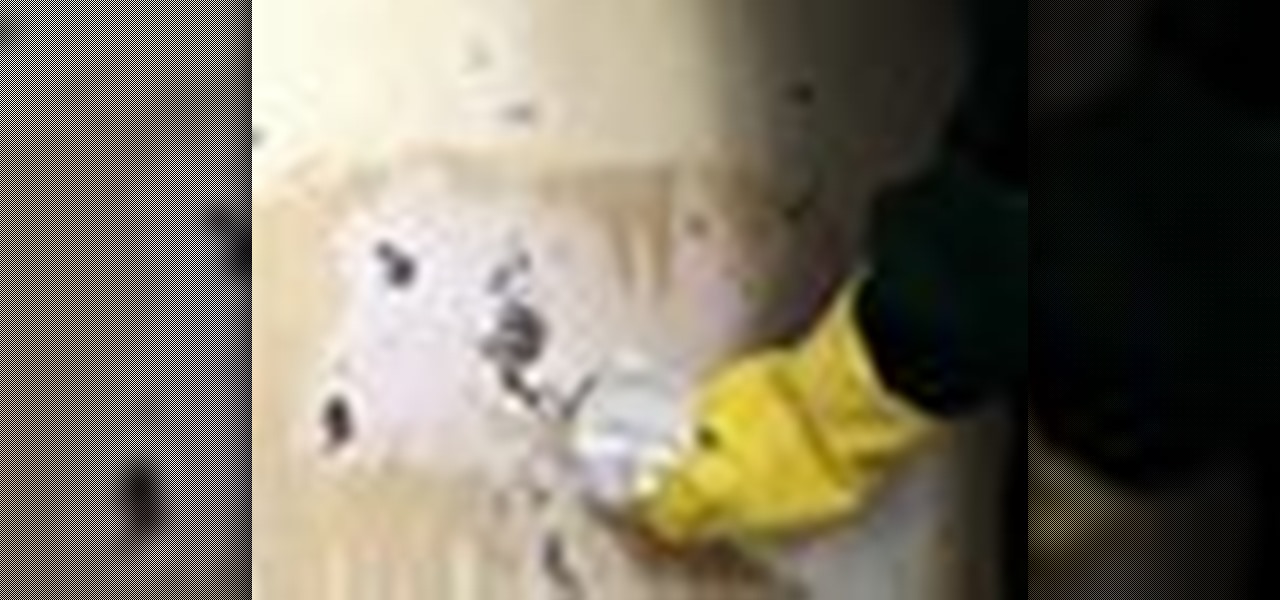
How To: Remove water stains from walls and ceilings
Are you sick and tired of staring at that water damage on your ceiling? There’s no need to sleep staring at that annoying water spot on the ceiling when it's so easy to get rid of! Loose the spots with the easy steps listed in this video.
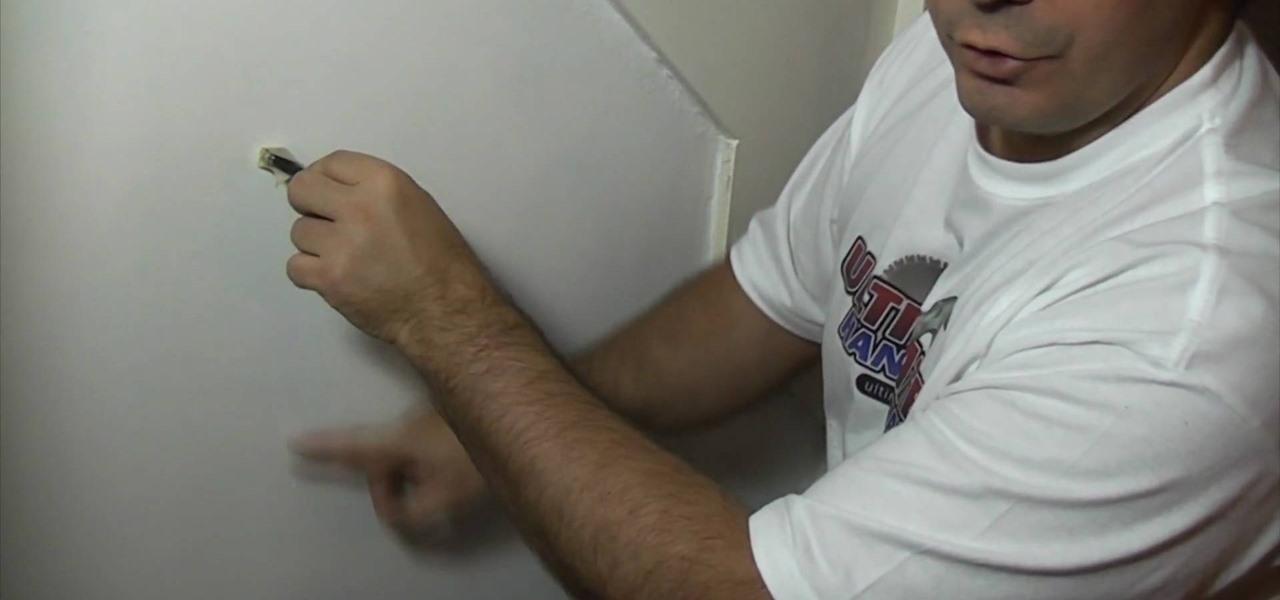
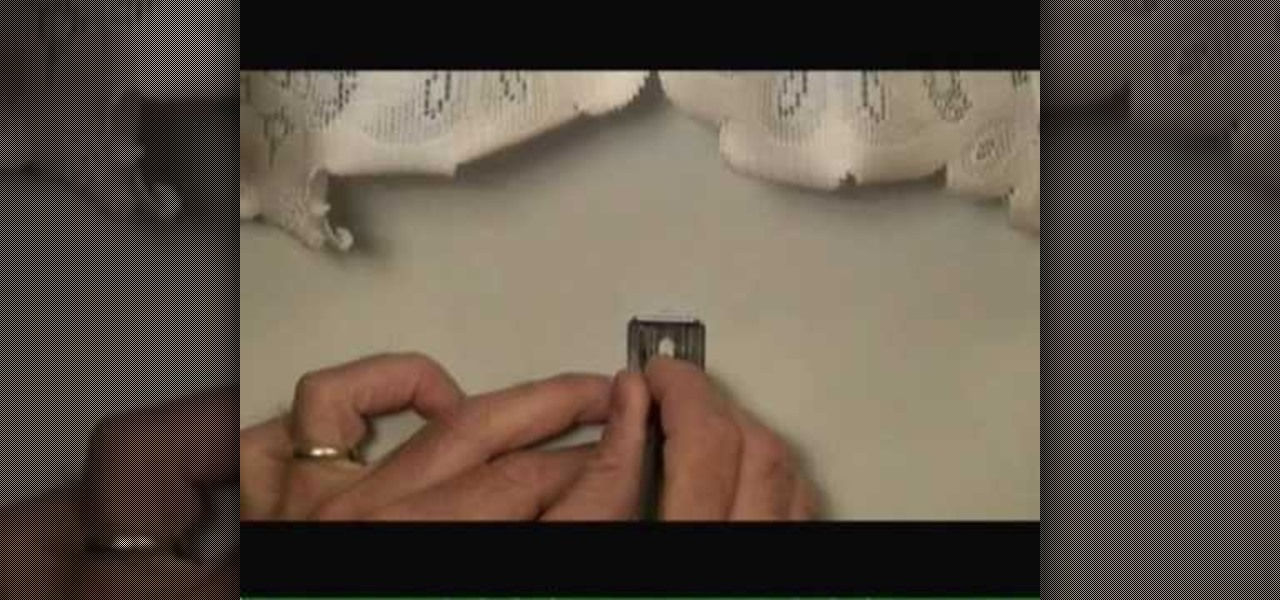
How To: Find a stud inside a wall with a magnet
Buying expensive stud finders maybe the easiest route for most handymen to take, but it is costly. There are easier and cheaper ways to find a stud inside a wall, but you need patience. This handy video tutorial will show you how to find a stud with a magnet in a studded wall partition. But what if your stud aren't aluminum or steel? That's okay, the magnet searches for the metal screws inside the wood studs. You find a spot that sticks, then go up or down in a vertical direction to see if th...

How To: Restore rusty ceiling grid systems
Update your nasty, ugly ceiling grid in your home or office. With this video tutorial, see how to restore rusty ceiling grid systems. Ceiling Armor Grid Cover will update rusty and discolored ceiling grid systems for a fraction of the cost of replacement. This unique cover snaps on to a standard grid system without any special preparation. This washable solid vinyl cover is suitable for standard ceiling grids in kitchens, restaurants, bakeries, pools, rest rooms and outdoor ceiling locations.