

Everything Else

How To: Build a mousetrap car
This five part series shows you everything you need to do build a mousetrap from beginning to end. An extensive, and thorough explanation on building this fun and classic toy. This is a great tutorial for the entire family to enjoy. It's also fun to build your own toy from you own hands on a budget and using things you can find right in your home.
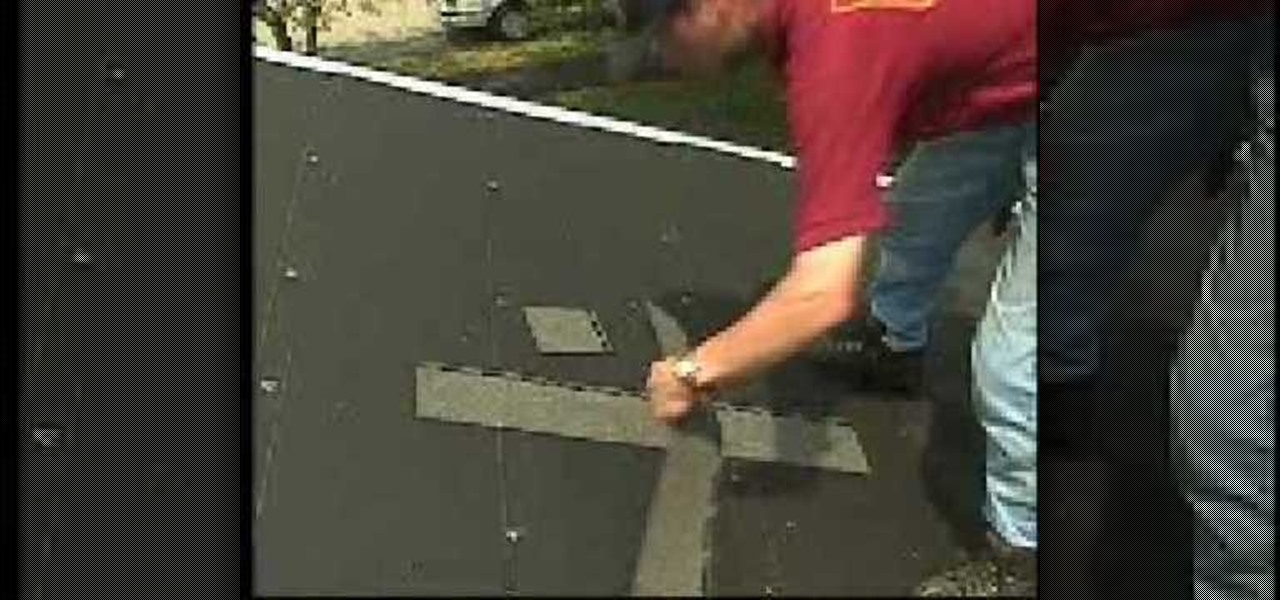
How To: Install Timberline roofing shingles
GAF roofing has a four nail pattern. The shingles come in 2 sizes: English and metric. In this video we will be using English sizes. Place the shingles in a row by row pattern. You may move left to right or right to left but never move up the roof. You may have the shingle hanging over the roof by 1/4 in. Install the leak barrier in high wind areas. Place the second shingle next to the first. Five inches of the underlying shingle should be exposed. Use a whole shingle for the first course. Th...
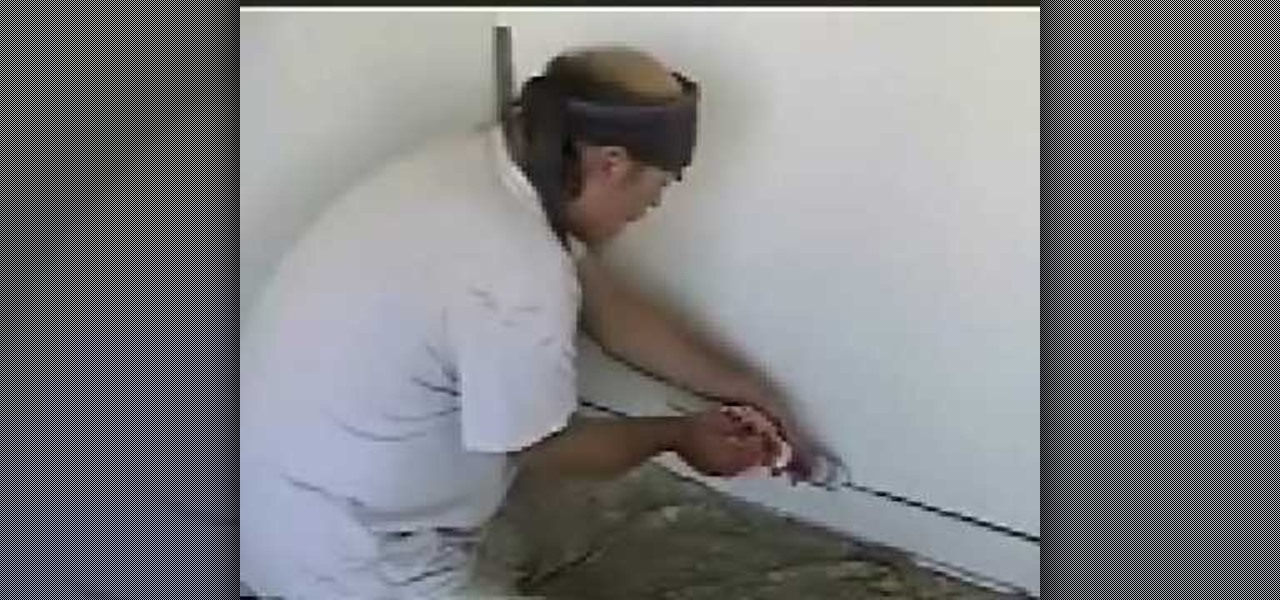
How To: Caulk a crack in your home
In this video, we learn how to caulk a crack in your home. First, take your favorite type of non-silicon caulking tube. Then, take a knife and cut the tip off of the caulking tube at a 45 degree angle. Then, take a coat hanger and stick in the tip of the tube to break the seal that's inside. Next, take an open frame gun with a spring release lever and install the tube into it. Now position the gun in a 45 degree angle to the crack and slide it along the length of the crack. Wipe the tip of th...
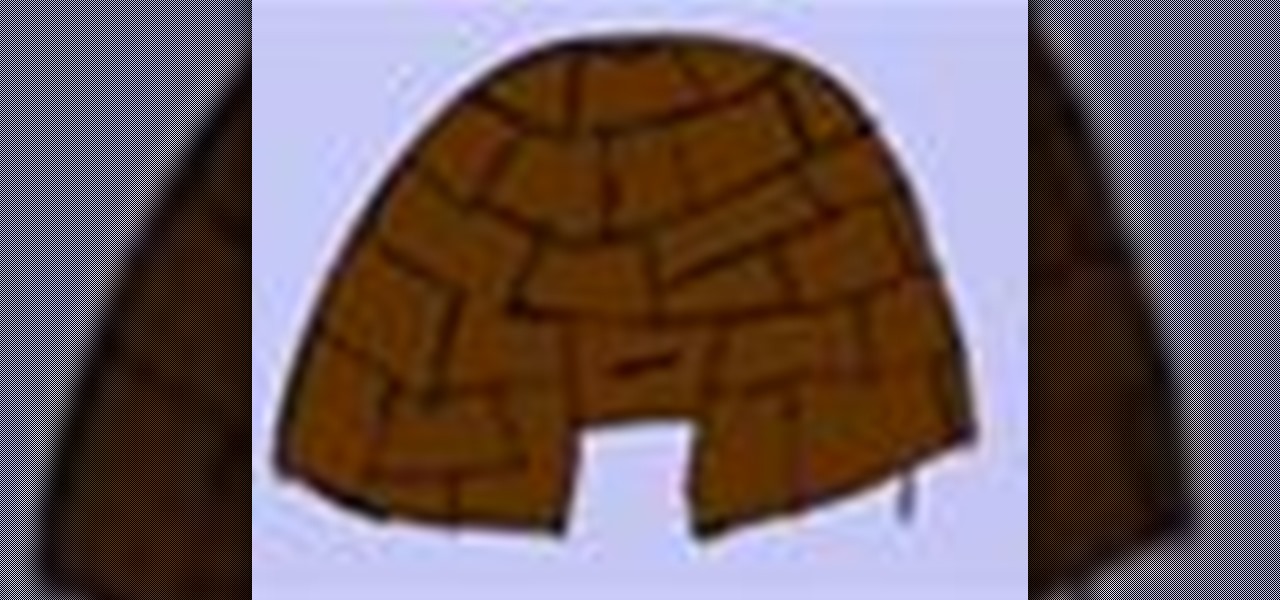
How To: Build a Native American wigwam
The wigwam was a shelter constructed by many Native American peoples in the eastern part of North America. With this video, you will learn how to construct a wigwam of your own using very basic materials.

How To: Build a simple beam bridge
Stuck on one side of a river or ditch? If you are stranded with no other way to get to your destination you will need to build a bridge! Without many supplies, your best bet is a beam bridge which can be made with just a single piece of wood. This video will show you how to get from one place to another.

How To: Build a reliable fence for your home
With the proper planning and education constructing your own fence can be a breeze. This video tutorial offers an in depth look at how to build a fence for your own home. Learn the basics of building a fence with the help of The Home Depot.

How To: Install tile in your home
One way to update your living space is by installing new tiles. This video tutorial shows key strategies with tiling projects in your home. By planning material quantities you'll able to estimate the cost of your project. This instructional offers helpful tips on tile care, trimming and cutting, and how to safely use snap cutters and wet saws.

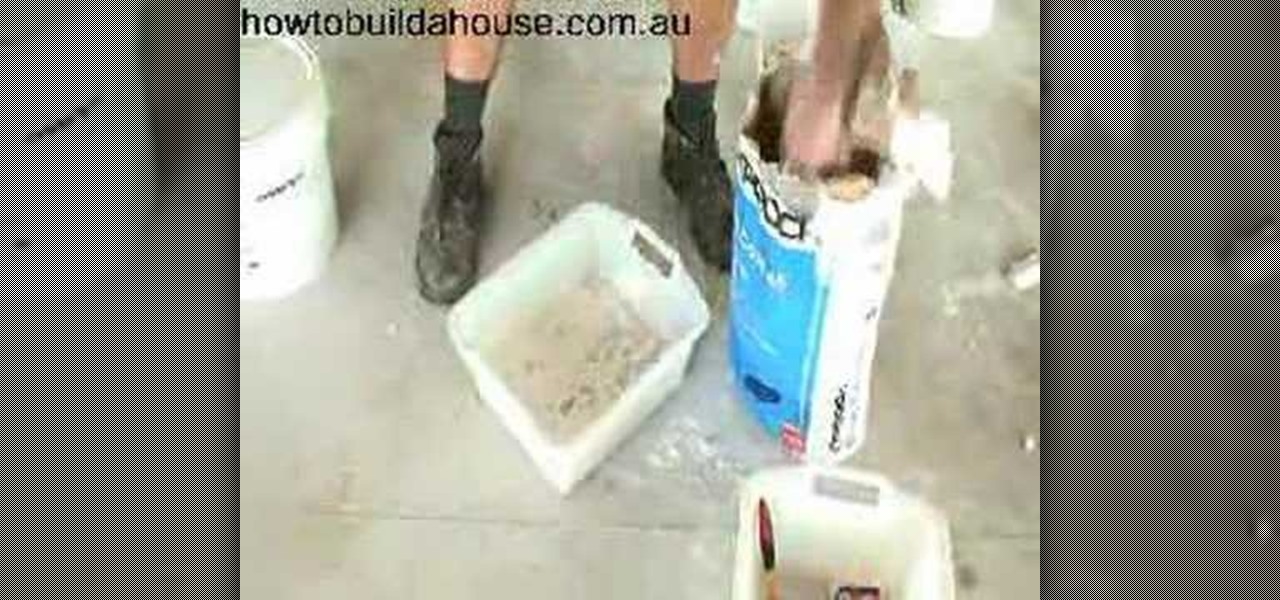
How To: Tile a kitchen floor with Home Depot
Whether updating your home design or protecting against mold and mildew, the installation of kitchen tiles is a simple process that any home crafter can do. This video tutorial shows how to install backer board and tile your kitchen floor. Once you've cleaned the area where your backer board will go, measure to make sure all materials will precisely fit into place. Before setting the tiles, plan the layout on a sheet of graph paper to figure out if you'll need to cut tiles. Finally, apply gro...

How To: Prime your walls and get them ready for painting
Before you start a paint job you will need to prime the surface of the wall. Priming is necessary if the wall is a dark color or stained or bumpy at all. Once you've decided to prime and paint, check out this tutorial for advice on how to go about it.

How To: Rewire a fuse from an older style consumer unit
ultimatehandyman shows you how to Rewire a fuse from an older style consumer unit. What you need: fuse from an older style consumer unit, a tester/screwdriver, fuse wire of right thickness1. Use a tester to determine whether your fuse is in working condition or not. Once you are sure it is not working unscrew the screws partially which are found on both ends. 2. Unwind the old fuse wire from the screws and remove. Take the fuse wire that is of same rating as the one you just removed. 3. Inser...
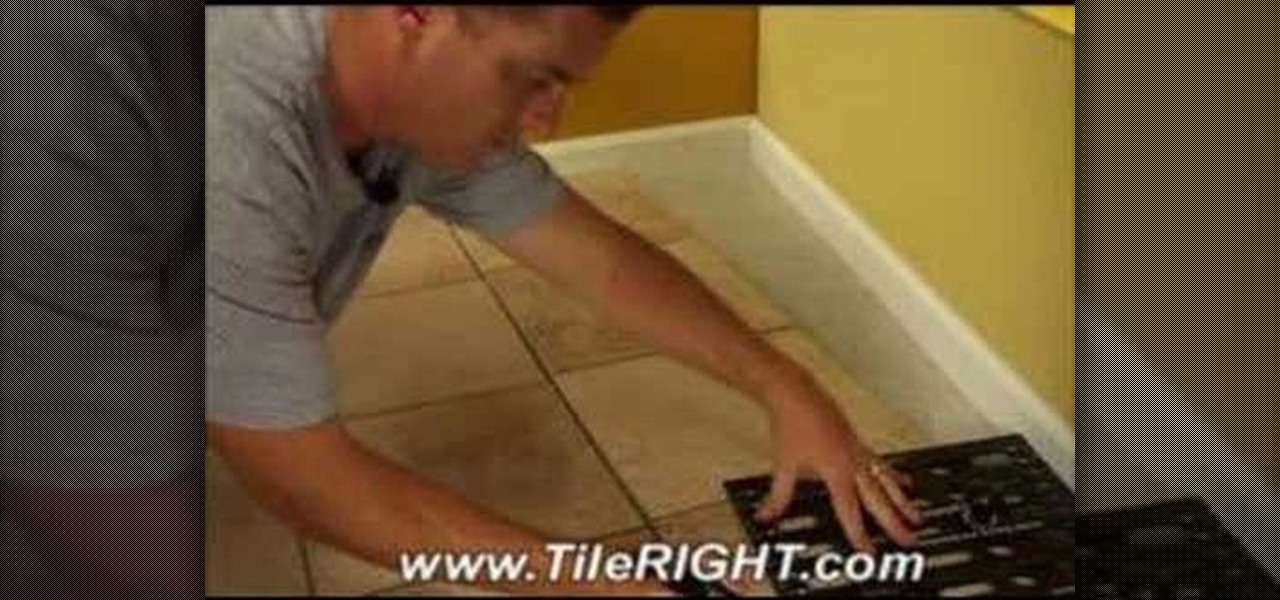
How To: Lay Straight Tile with a Crooked Wall
Tiling always looks so easy when you see it done on a straight wall! But how do you do it with a crooked wall? Use a Measureright Pro to get the angle right. So if you've tiled from a straight right angle and you're just reaching the 'odd' shaped spaces between your last row of tiles and your crooked wall, you can use the tool to mark your final row of tiles so that when you cut them, they will fit right into the irregular shaped spaces between your final row of tiles and the slanting wall. T...

How To: Build a log cabin with Becky
Log cabins are so beautiful they look straight out of a storybook. In this two part tutorial, starring Becky from Becky's Homestead, you will learn how to make your very own wooden home. It's easier than you think!
How To: Building a pergola for your home
Pergolas make a lovely addition to any home. They offer shade and interesting shape to where you live. In this two part tutorial, learn how to build your own pergola for your home. Follow this step by step video and soon you'll be on your way to relaxing in one of your very own!
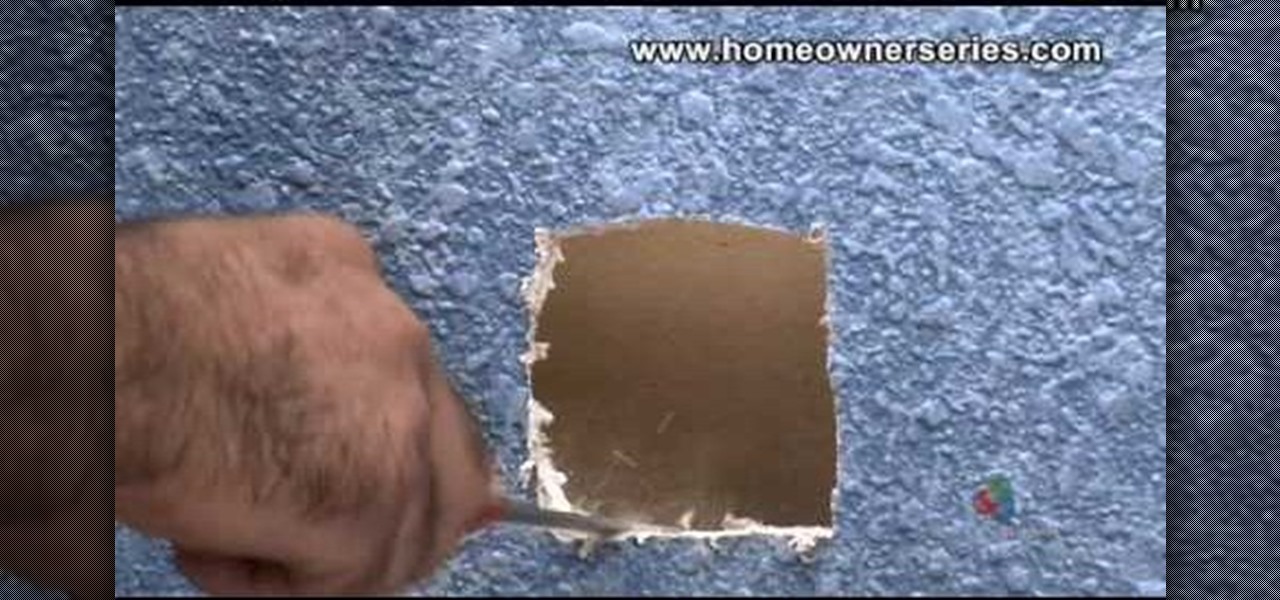
How To: Patch drywall with a peel patch
Home repairs might seem foreign to some people, but it's not as hard as dealing with contractors. If you have to patch up some holes in your drywall but don't know how, let this video series be your guide. In these videos, lean how to fix a drywall hole using a lath strip piece of wood.
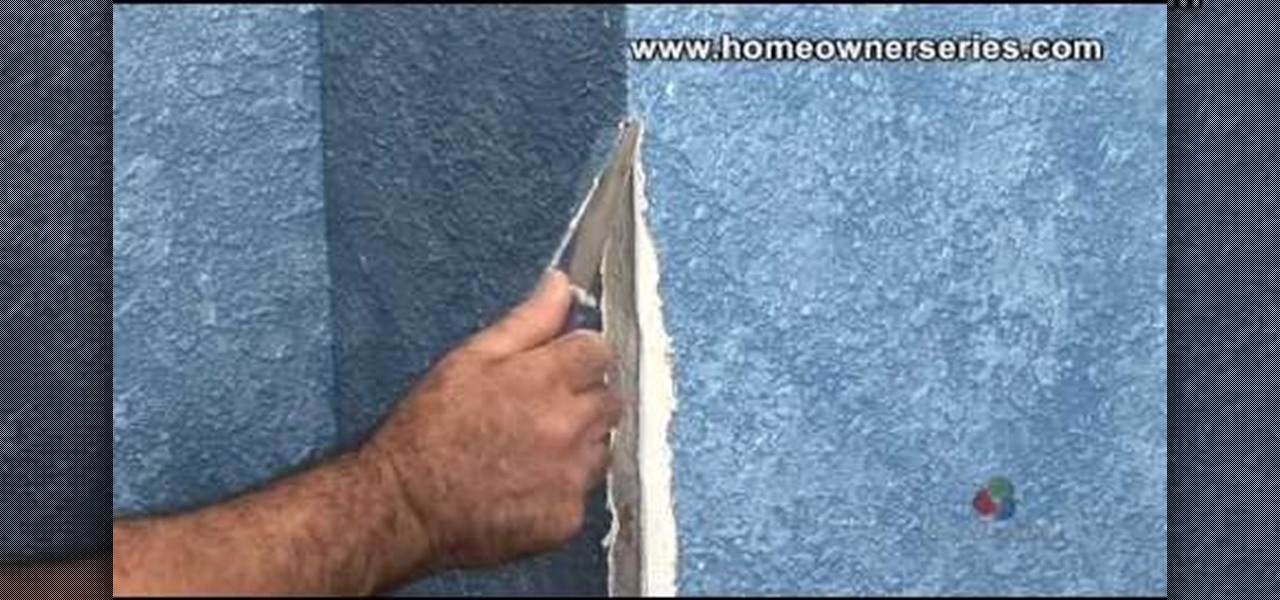
How To: Repair corner bead on drywall
Home repairs might seem foreign to some people, but it's not as hard as dealing with contractors. If you have to patch up some holes in your drywall but don't know how, let this video series be your guide. In these videos, lean how to fix a damaged corner bead on drywall.
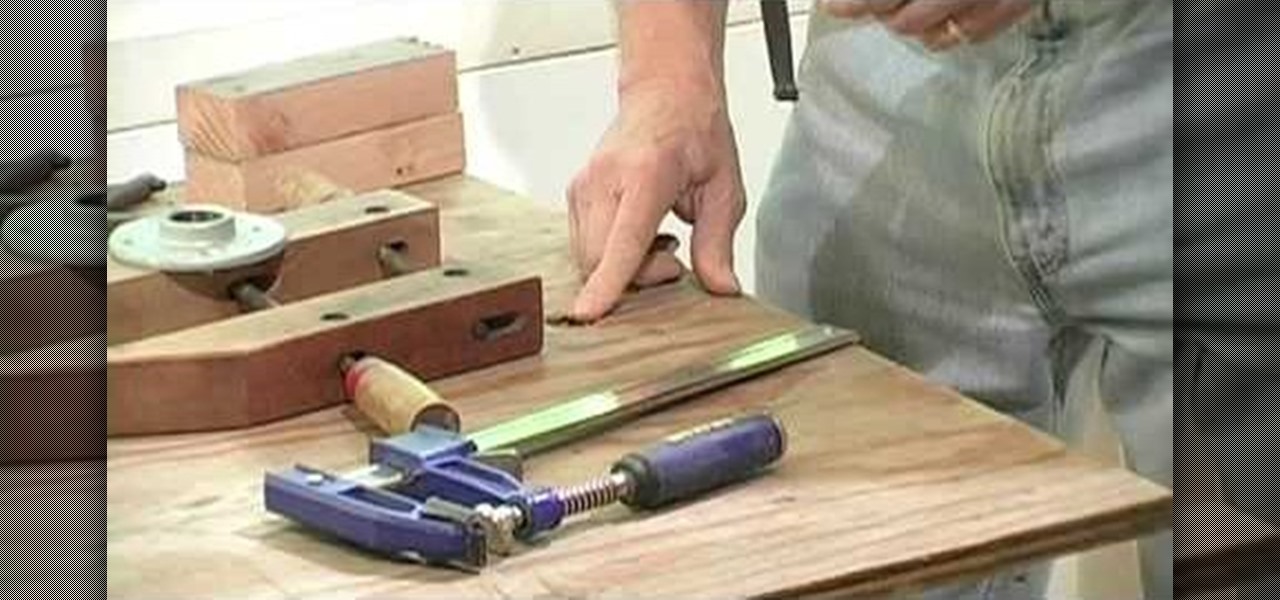
How To: Make your own solid pipe clamp hold-down
In this video "A better way" presenter Chuck Miller demonstrates a method of how to create a job site pipe holder (clamp hold-down) as opposed to a c-clamp, bar clamp or blocks of wood. It involves use of a pipe flange of the same diameter as the pipe being held. It shows you how to drill a hole into the top of your workbench and install the pipe flange. The video finally demonstrates how to use the pipe clamp in order to install a work-piece and clear the clutter from your work bench. The ti...
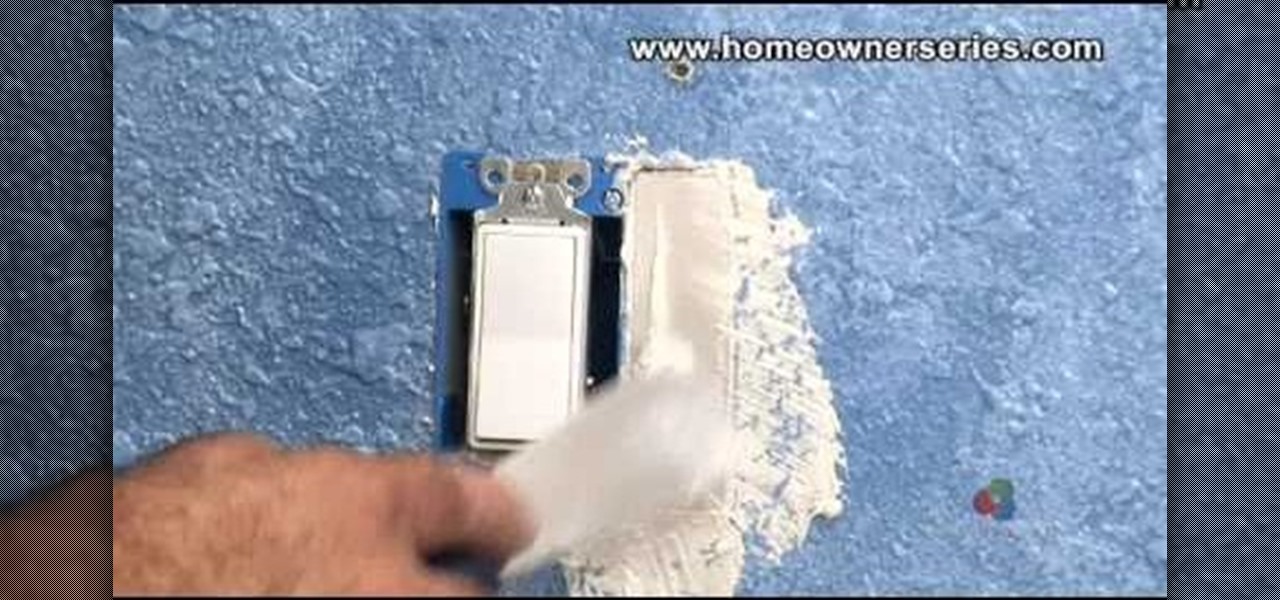
How To: Patch around an electrical box on drywall
Home repairs might seem foreign to some people, but it's not as hard as dealing with contractors. If you have to patch up some holes in your drywall but don't know how, let this video series be your guide. In these videos, lean how to patch around an electrical box on drywall.
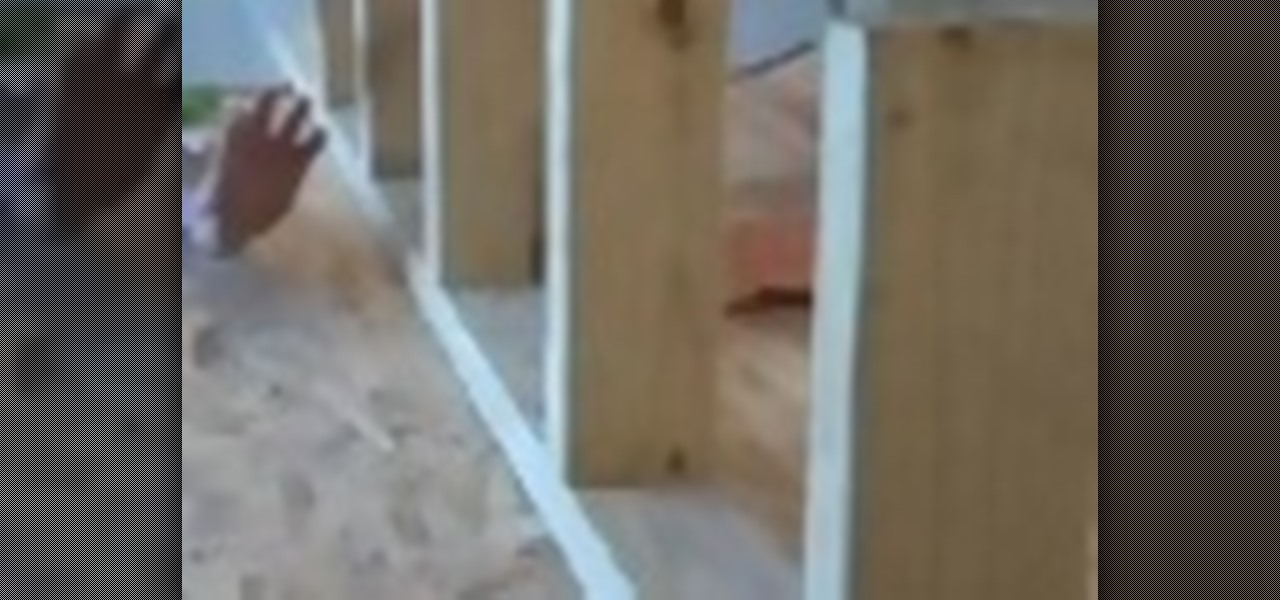
How To: Do a 16 inch layout on stud wall
Bob Schmidt from Home Remodel Workshop demonstrates how to frame a wall 16 inches on center. His tutorial is especially helpful, so pay attention to his tips, tricks, and specific techniques.
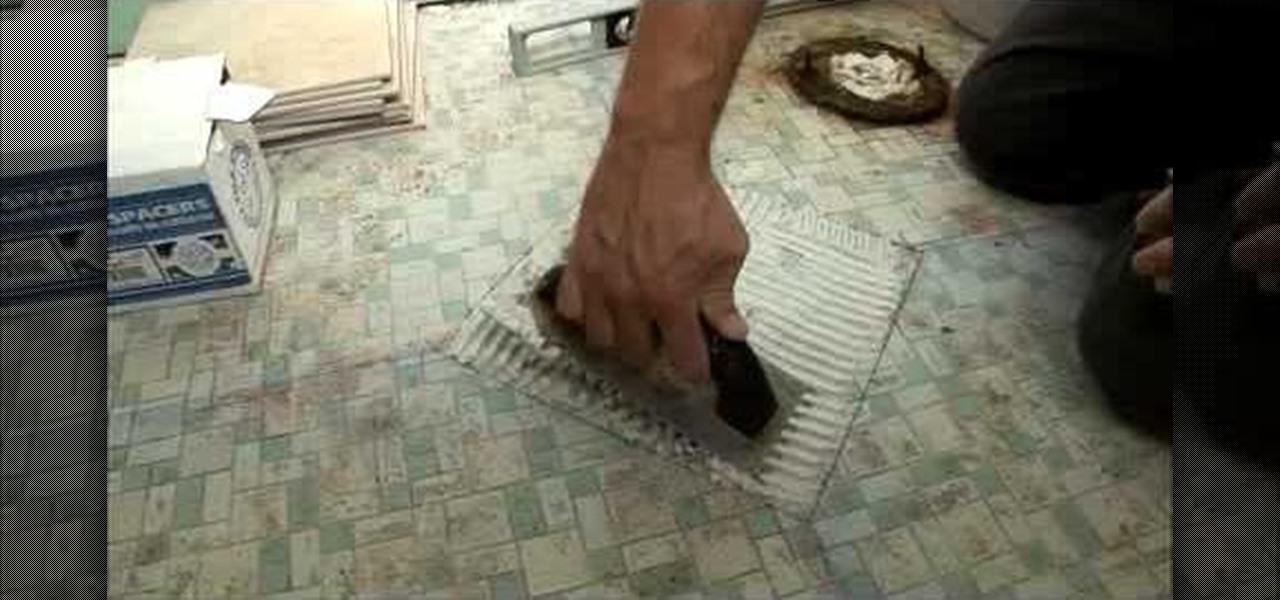
How To: Lay tile in the bathroom
This video is from DannyLipford and covers the proper technique to lay tile in the bathroom. The first step is to lay some chalk lines to find the exact center spot of the room. The first tile will be put down diagonally so that the corners sit on the four chalk lines. Next the mastic is put down on the floor for the first tile and the tile is set into place. The process repeats itself until the tiles reach the toilet where some cuts are required. The presenter is using a portable wet saw tha...
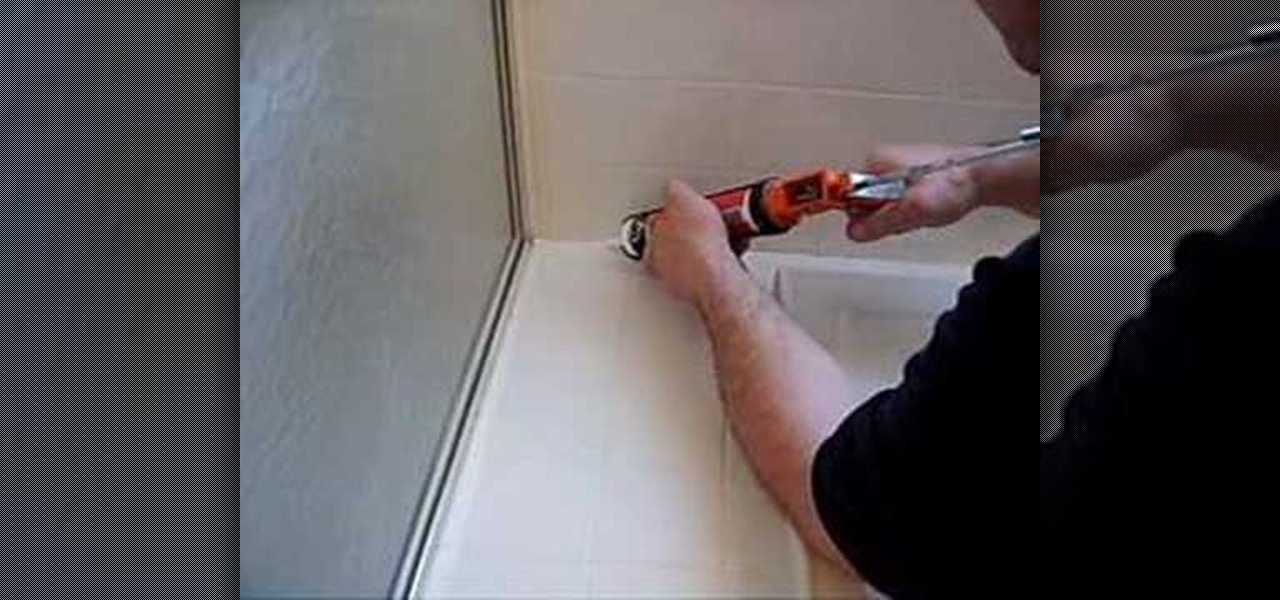
How To: Caulk your bathroom tub
Joe explains how to caulk the bathroom tub using a caulk gun. You need: - a latex based caulk designed for bathrooms- a damp cloth. Steps: 1. When you start caulking, gently squeeze and move the gun at the same rate as you apply pressure to the trigger. 2. After you've applied the caulk , wipe your finger on the damp cloth and smooth out the caulk with your damp finger. 3. Stop every 12 or 18 inches and wipe your finger on the cloth. 4. Continue smoothing the caulk until you're done.
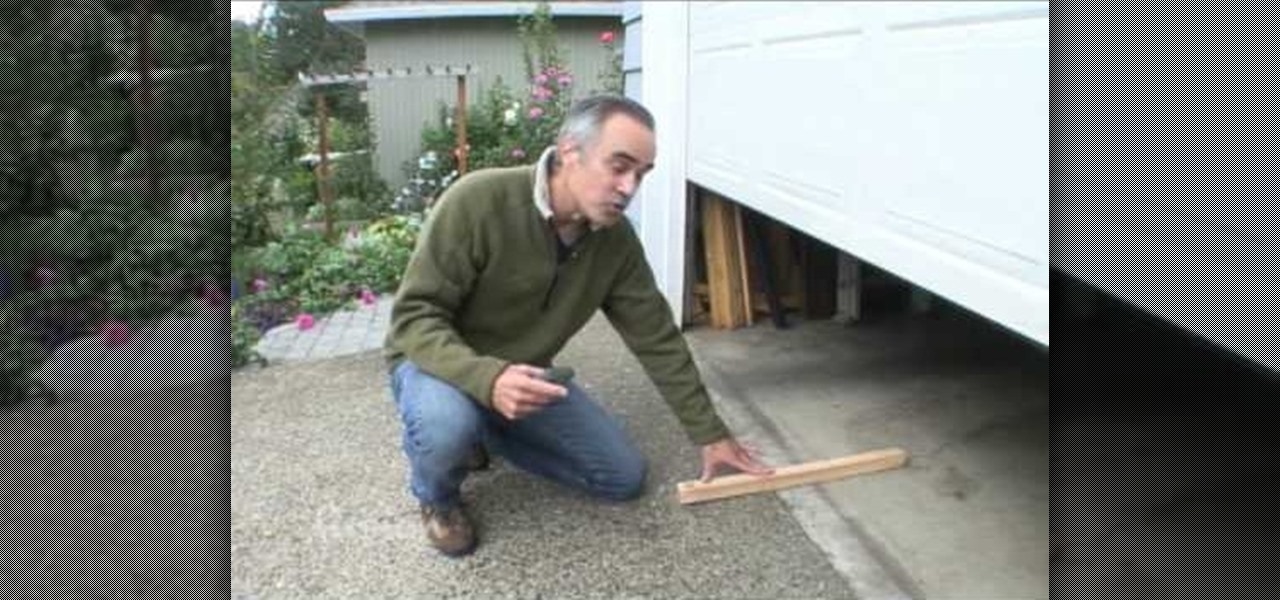
How To: Install your garage door safely
This video is from FusionNW and discusses Garage Door safety. First, the presenter disconnects the garage door from the lifting mechanism. He then moves the door up and down to check for balance and any rough areas. Next, the presenter moves on to test the reversing mechanism. Place a 2x4 underneath the door and lower the garage door. If the mechanism is working correctly, the door will reverse and raise up after it hits the board. You will then want to test the sensitivity of the reversing m...

How To: Install a toilet for your home
To install the new toilet you will need a putty knife, hacksaw, tape measure, adjustable wrench, level, sponge, and replacement wax seal. Before you begin removing the old toilet, turn off and disconnect the water supply to the toilet. Then flush the toilet to get the water out of it. Use a sponge to remove any remaining water in the bowl or tank.
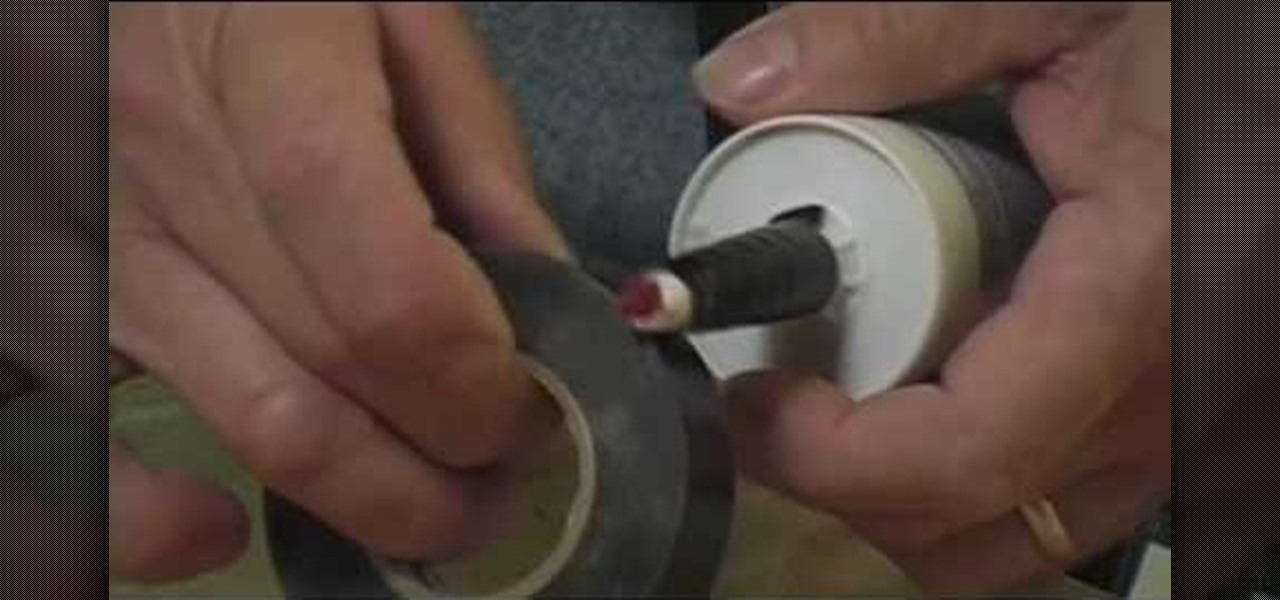
How To: Salvage a clogged caulk tube
How do you salvage a clogged caulk tube? In this Quick Tips with Chuck Miller video, you will see there is an ingenious and simple way to salvage a clogged caulk tube. Take a utility knife and simply make a slice on the side of the caulk tube nozzle. Probably the entire length of the nozzle is clogged and you may not be able to clear it with a wire or nail. After slicing it, take a sharp tool and remove the clogged material from the nozzle and clean it up. Then wrap the nozzle with electrical...

How To: Make maple syrup in a sugar shack
Learn how to make traditional maple syrup with expert Bill Hiller. This great tutorial series shows you what to look for in the trees as well as how to process it.

How To: Use Dap Foam sealant and 3.0 Weather seal caulk
In this video tutorial, viewers learn how to seal gaps in houses using DAP foam sealant DAP 3.0 Weather seal caulk. The DAP products are designed to meet the tough standards demanded for professional window & door installations while effectively sealing large cracks, gaps and voids. Users learn to use the foam sealant to seal in gaps from inside the house. The gaps found behind wall trims. The seal caulk is used outside around windows. This video will benefit those users who want to learn how...
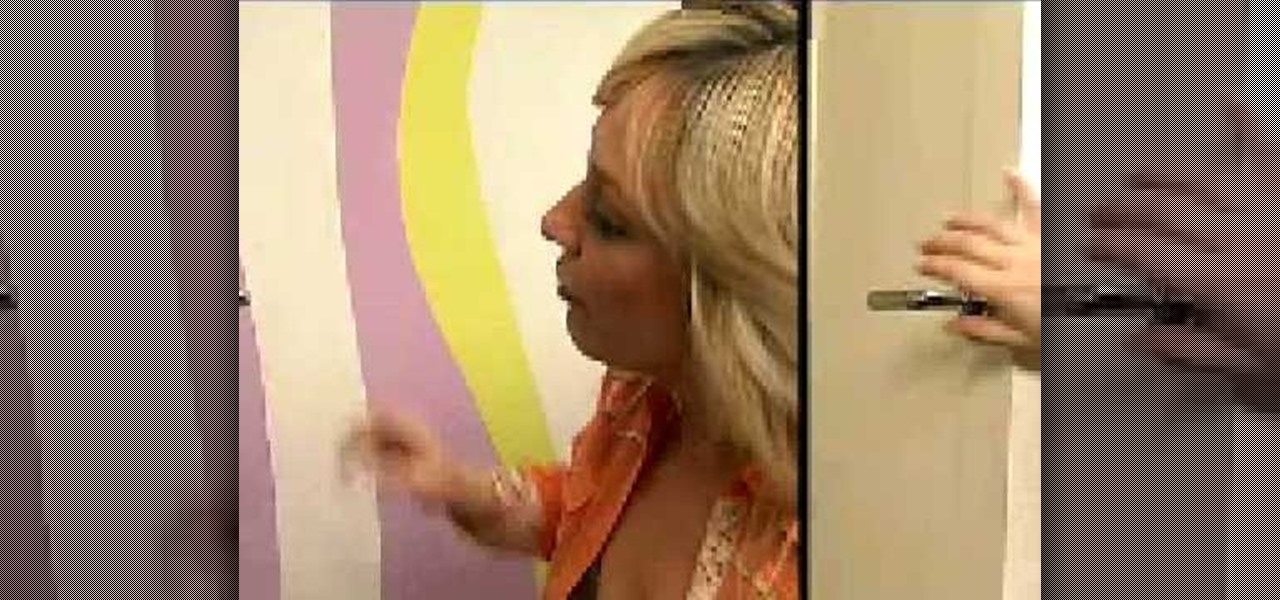
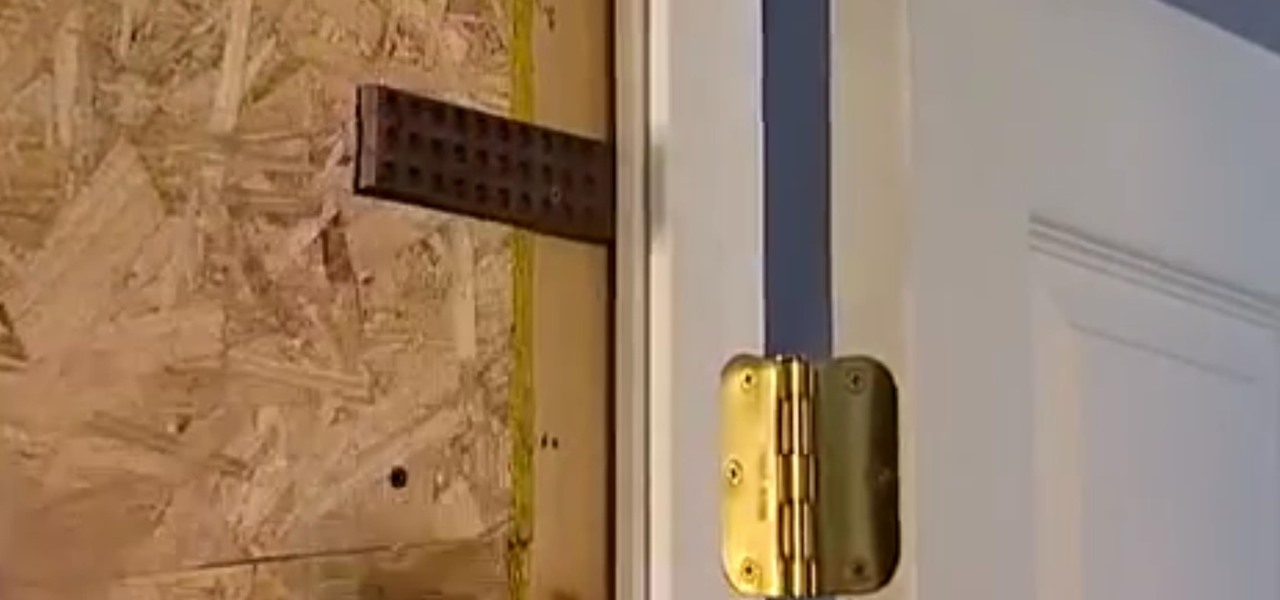
How To: Replace a doorknob in your home
Is your current doorknob sticky, wobbly, or just not cutting it out for you and your family? Well in this video Barbara K will demonstrate exactly how to replace any doorknob in your home.
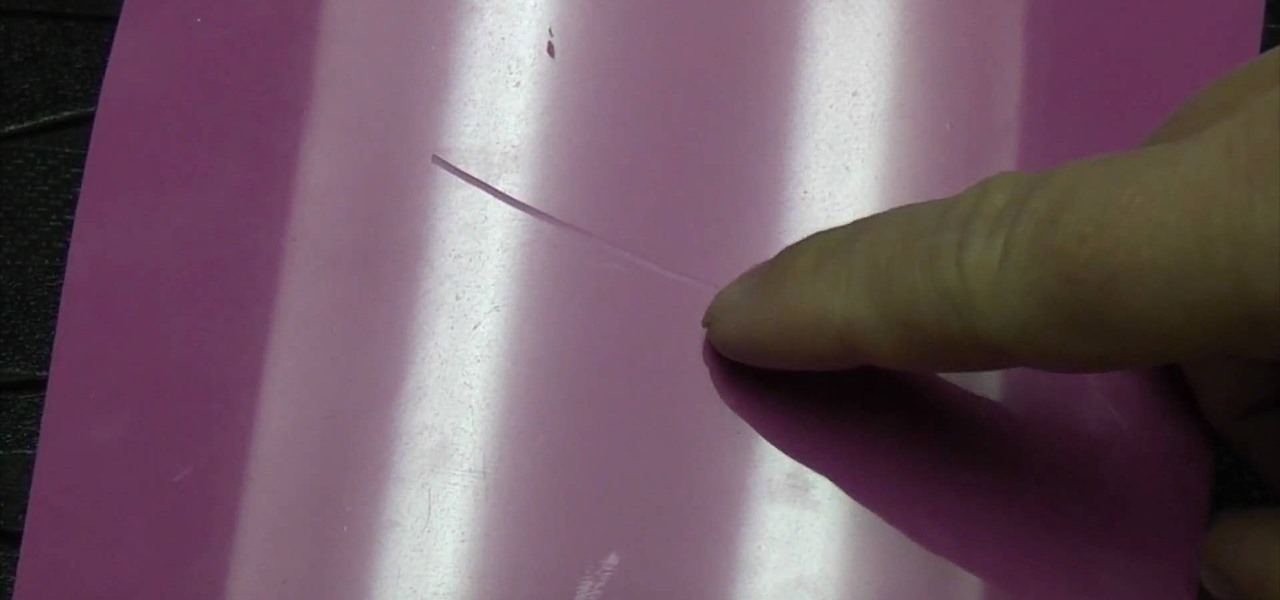
How To: Remove an acrylic scratch
To remove the scratch in acrylic you need to first use Silicon Carbide water proof paper of 600CW grade. Turn over the paper and rub the scratched area of acrylic in a circular motion. You will see the scratch disappears after few minutes. Thereafter use the Silicon Carbide water proof paper of 1200CW grade which is more fine. Again rub over the scratched area in circular motion. Then wipe off the area and you can see after some time of rubbing the scratch is completely disappeared. But it le...
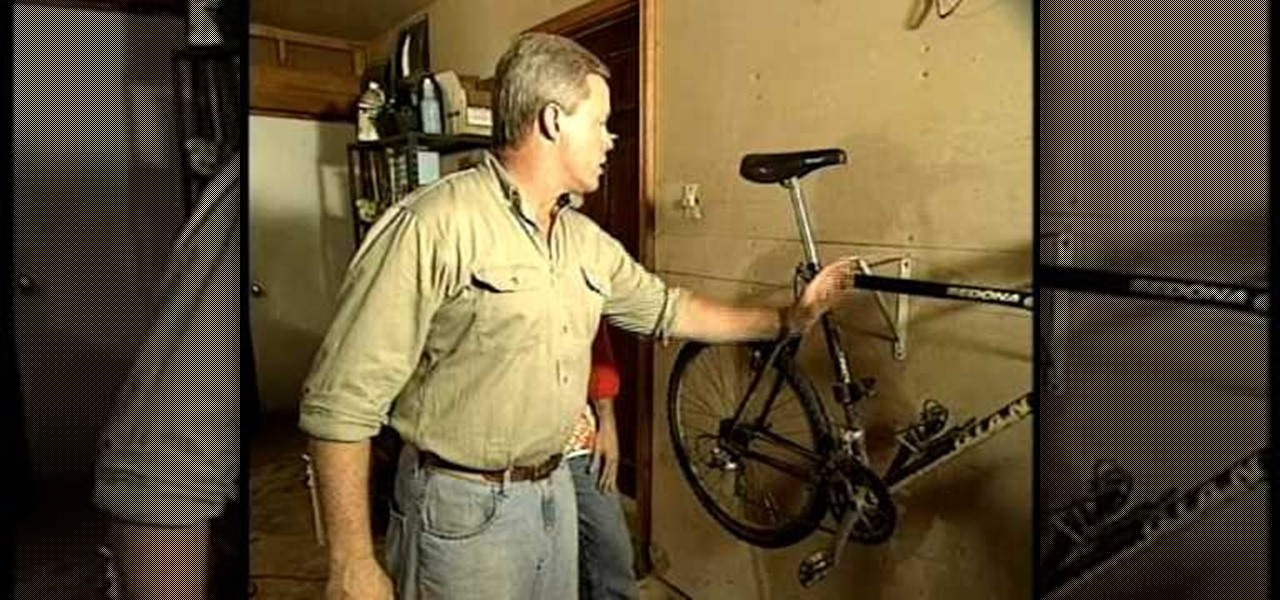
How To: Make a bicycle rack out of repurposed closet racks
Danny Lipford and Joe demonstrate how to make a bicycle rack out of repurposed closet racks. Closet brackets can be used to store bicycles. Instead of hanging the bicycle on the ceiling for long term storage, fasten closet brackets to your garage wall to more practically easily access your bicycles on an everyday basis. First, drive drywall screws into the wall studs. Space the brackets about 16 inches apart. Hang the bike right on its crossbar from the brackets. This method only works with b...
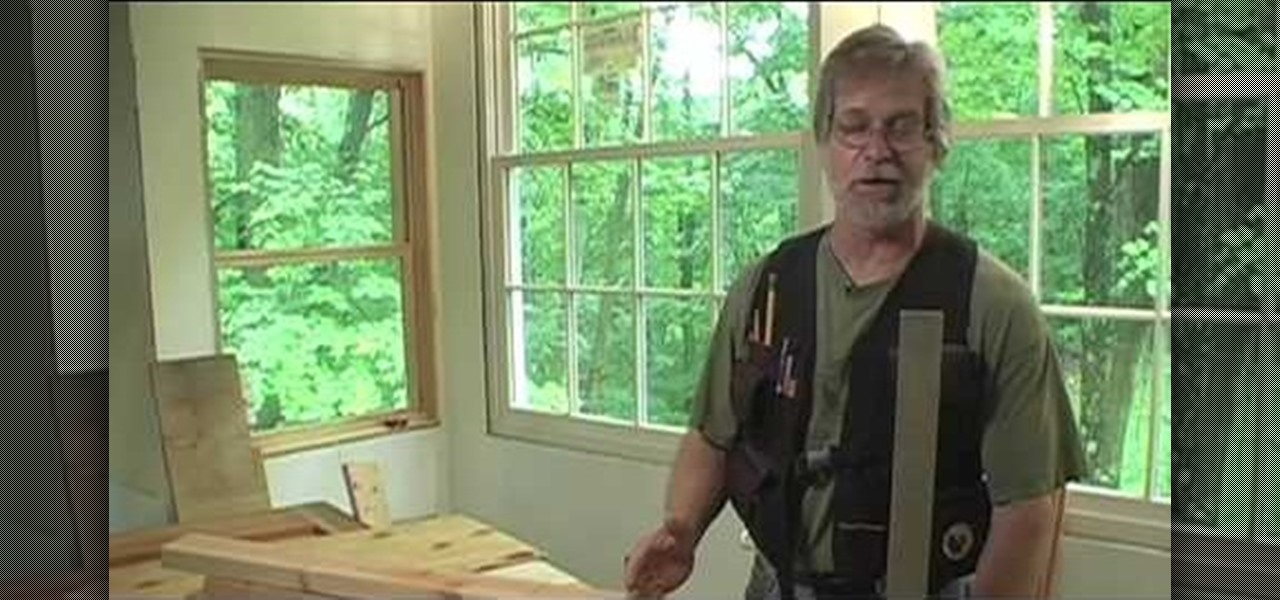
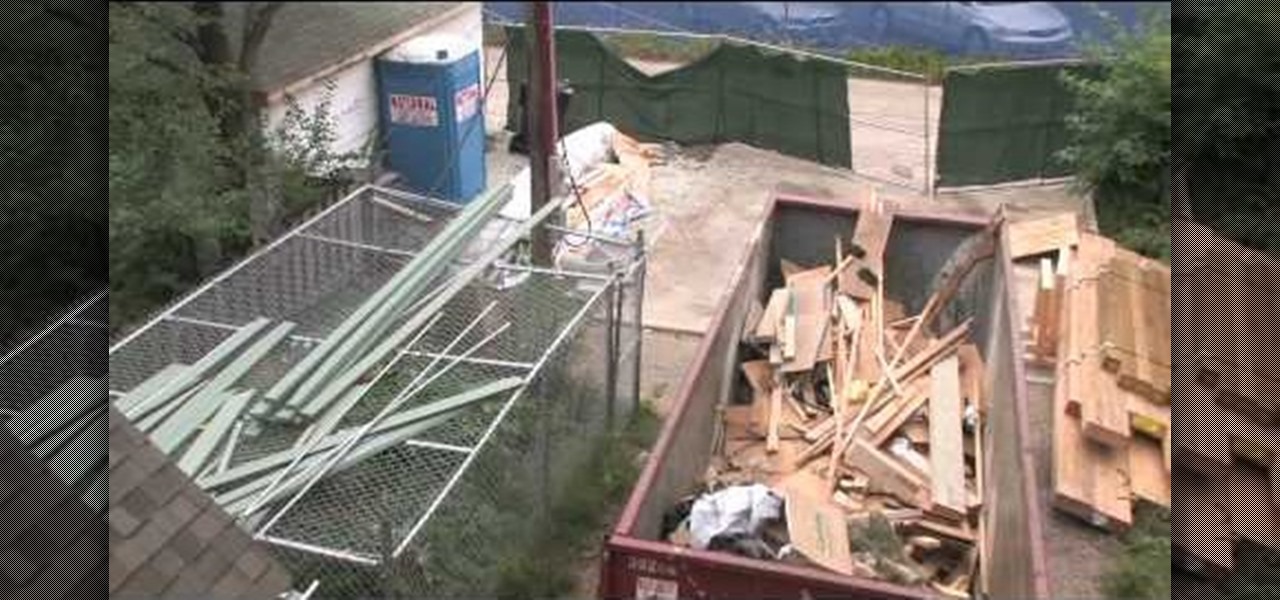
How To: Stack cut lumber
In this video tutorial, viewers learn how to stack cut lumber. This process if very simple to do. It will save the worker a lot of time, instead of measuring and cutting each piece individually. The stack cut will cut a number of lumber into the same length. This can be used to cut a single stack or an entire unit. Begin by squaring up one end of the stack. Mark your measurement on top. When you cut, it will leave a mark on the next board. Continue to cut through all the lumber. This video wi...
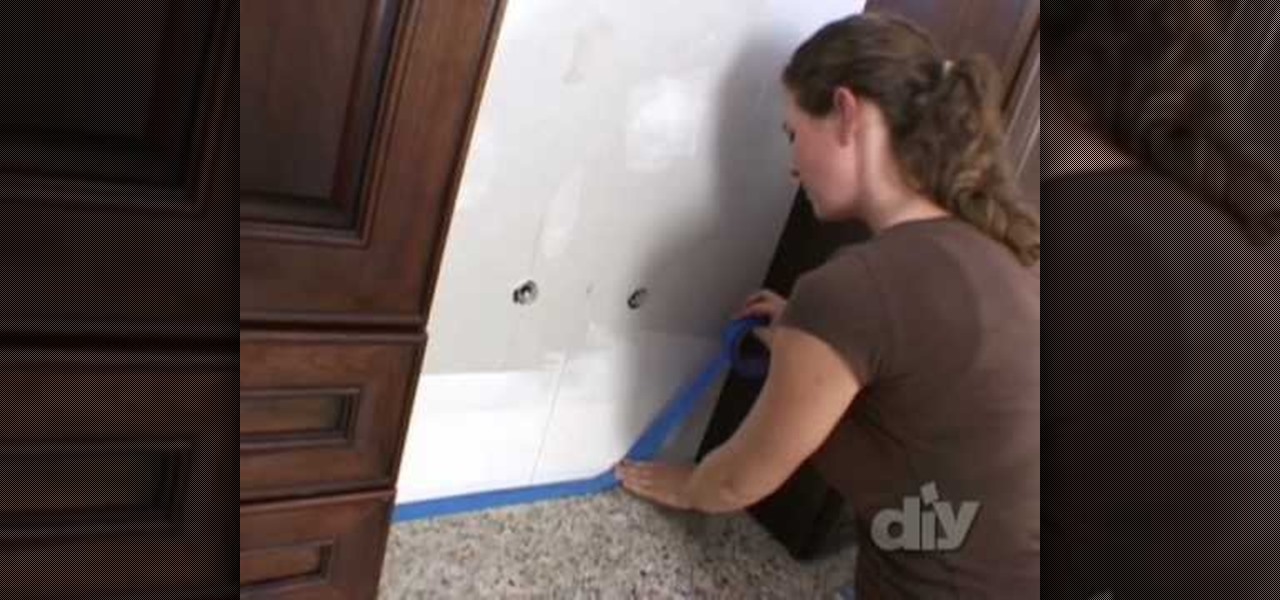
How To: Install a glass tile backspash
This video is to show how to install a glass tile backsplash. Because installing glass is a little different then installing ceramic, knowing what to do is important. Use painter's tape to protect your surroundings wherever you are installing your glass and use only a white thin set mortar recommended from the glass manufacturer to adhere your tiles. Since the glass is see through, unlike ceramic tiles, you need to make sure there is no discoloration and smooth out the ridges on the mortar fo...
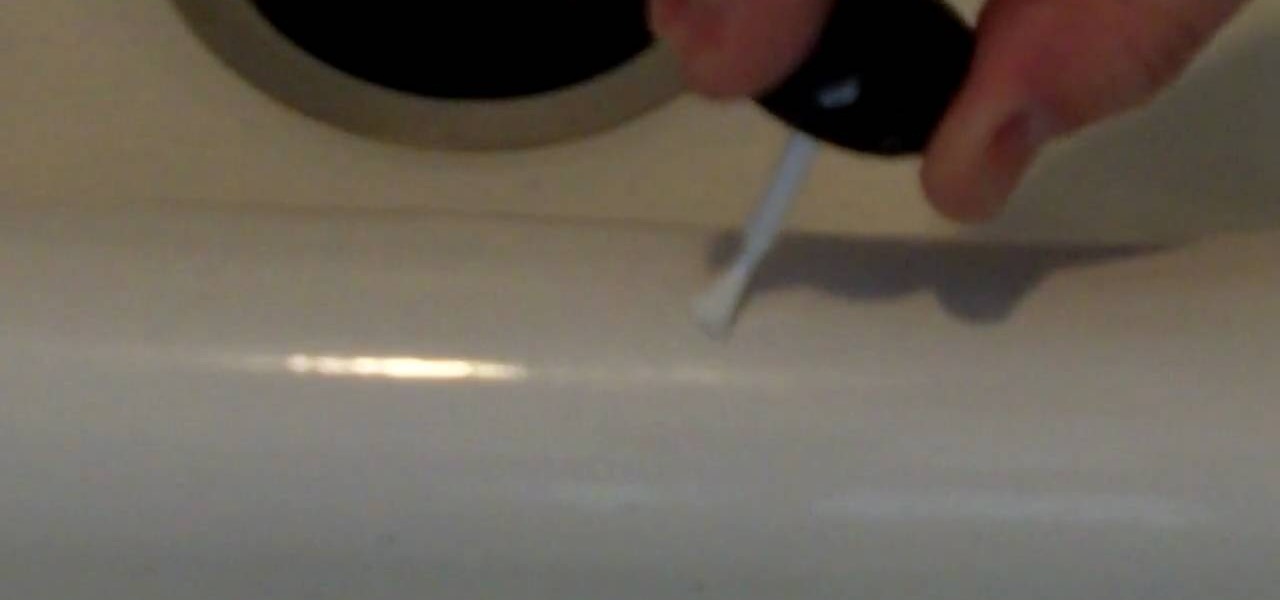
How To: Repair a chip in a procelain sink
You can buy a porcelain patch kit to fix chips in your porcelain sink. You used to have to take two steps to repair it starting with a filler followed by a glaze to make it shiny. The video teaches how to use patch kits that you paint on like nail polish. To apply the patch you want to put on several thin coats and let each coat dry. When you apply the coats the key is to get the patch level with the rest of the sink. Then you can sand it with 220 grit sandpaper. After you have sanded the are...

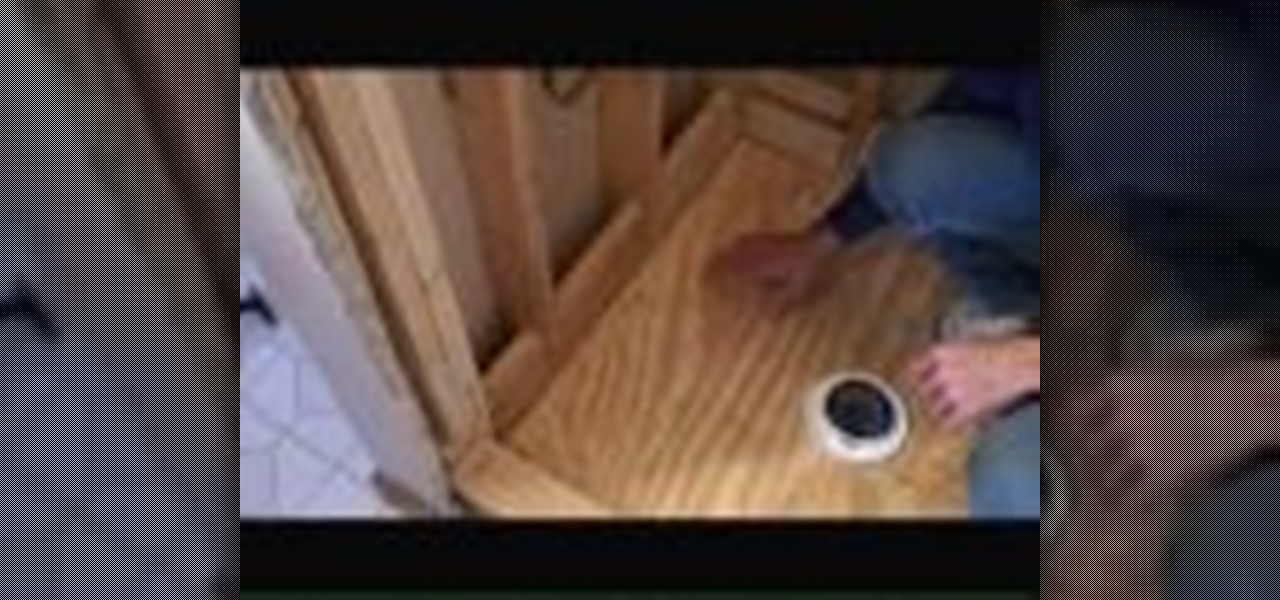
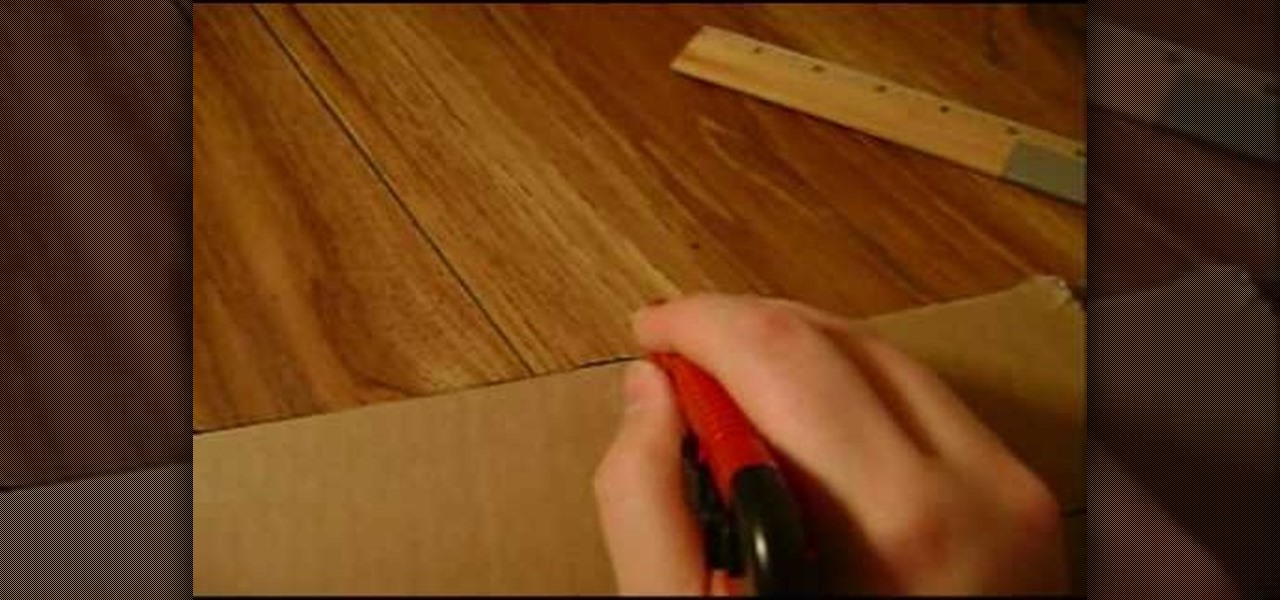
How To: Fix a crack or gouge in your hardwood floor
Start by putting tape around the area that you want to patch. This will keep the wood filler from getting all over the rest of the floor. If there is anything down in the floor like dog hair or crumbs make sure you get that stuff out before you put the wood filler in the area. Then take some wood filler in a plastic tube and put a line of filler in the hole. Use a putty knife to force it down into the area you are filling and then scrap the excess off. Do this until the hole is completely fil...

How To: Lay ceramic tile with drywall spackle
Tree Climbing Man demonstrates how to lay ceramic tile with drywall spackle. You don't need to rip up your existing floor and put down plywood or a sub floor to lay down a new floor. You can put ceramic tile right over existing linoleum with less work, less heartache and less problems. First, spackle the back of each tile and lay it down. You can also use a stapler and tape to fix problem areas. You don't need to go crazy with the adhesive. Spend your money on quality tile. You can use clay f...
How To: Pay your contractor
Ilyce Glink with ExpertRealEstateTips tells us about how often home owners ask her "How much should I pay a contractor before he or she starts the job?". The one who will be answering this question is Line Epstein, Vice President of Baker Construction Group. "You should never pay your contractor in full before the entire job is completed" -he says. "Not that he's going to run off with your money, but you want to keep some incentive to get the job done right. You should give a deposit of 5 to ...

How To: Weather strip your house
The hosts, Robin Burke and David Musial, show how to install weather stripping to keep the heat in your home and the cold out. David demonstrates how to remove old, worn weather stripping. He shows the new weather stripping and makes a cut, demonstrating what to do if a new piece of stripping doesn't fit your door. Robin then shows us how to install weather stripping on windows, demonstrating how easy it is to attach the material. Using these techniques, you can further insulate your home fro...
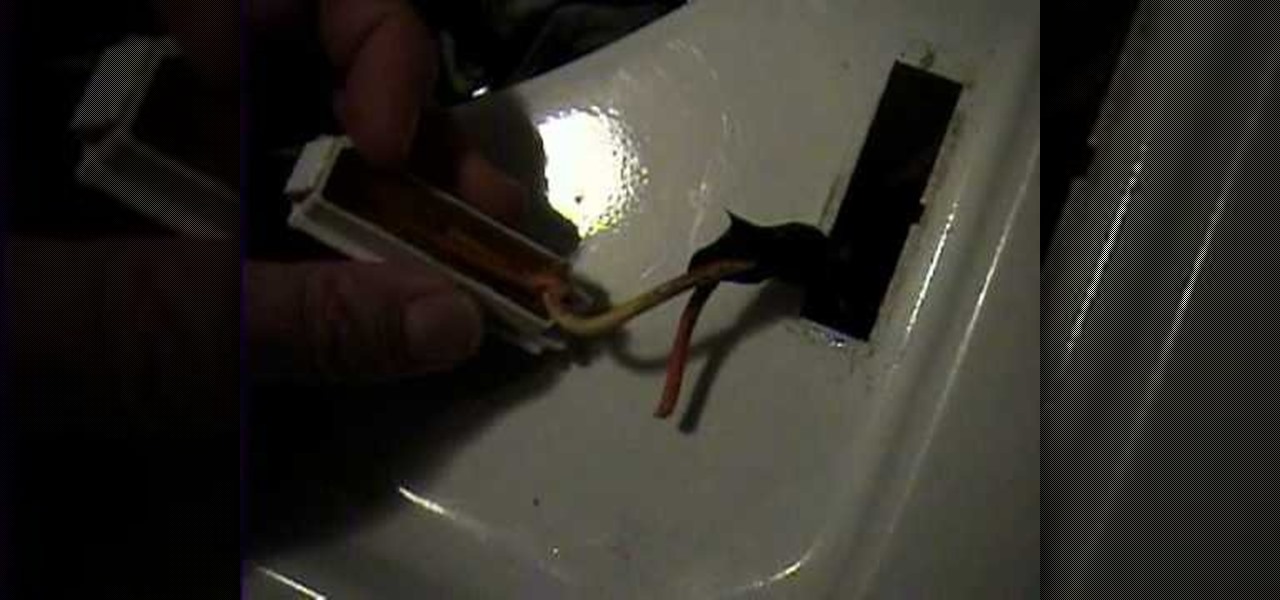
How To: Repair a wash machine lid switch
This Home and Garden video tutorial shows how to repair a wash machine lid switch. This video is on a GE Prodigy machine. Looking inside the machine under the switch, she finds that two wires are broken. Take a screwdriver and press down the clip of the switch from underneath. One end will come out. Then, pull out the switch. After that it is very simple. Cut off a bit of the plastic coating from the ends of the wires, connect them to the switch and put some electrical tape around them. Now y...
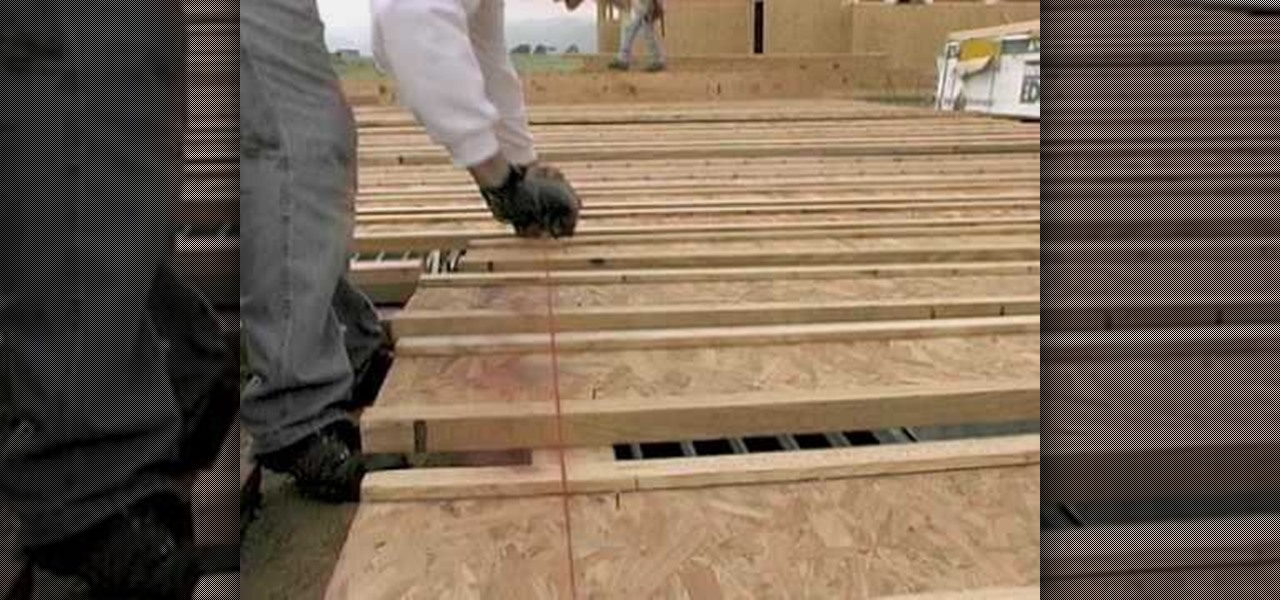
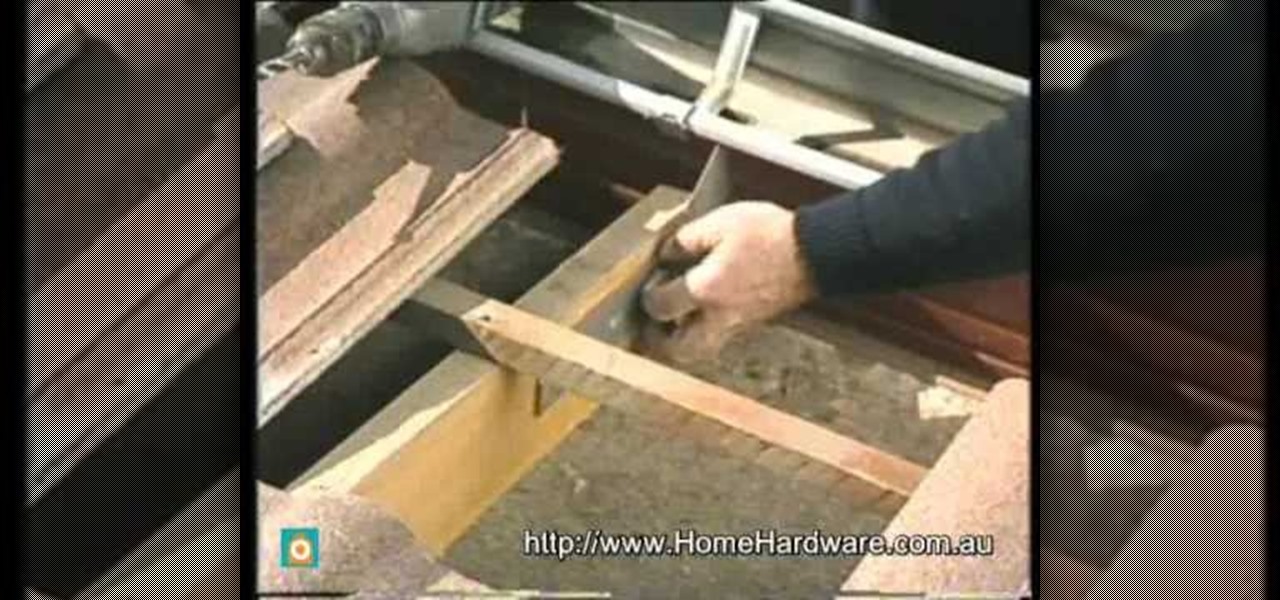
How To: Cut floor joists to length quickly and accurately
Fine Homebuilding with Jim Anderson demonstrates how to cut floor joists to length. Inspect the rim line to know where to set the joists. Set the joists to the layout on the rim line using a two man team. Tap a nail into the joist to keep it from moving around. Instead of standing the joists up to square them, cut them on both ends. Line the chalk line up with the rim line and snap the line across the joists to mark them. This will simultaneously measure and square them. Finally, line the joi...
How To: Build storage shelves
Nine inch storage shelves are spaced and constructed in a practical way. It shows the right screws. This requires a drill some wood. The viewer is shown how to make a good back brace for the shelves. It shows how to make the shelving unit level. You learn the screw head must be flat. You are also shown how to put in a good support for underneath the shelves. It shows the center support being constructed. He shows how to set the shelves up so there is support from all sides and to make the she...
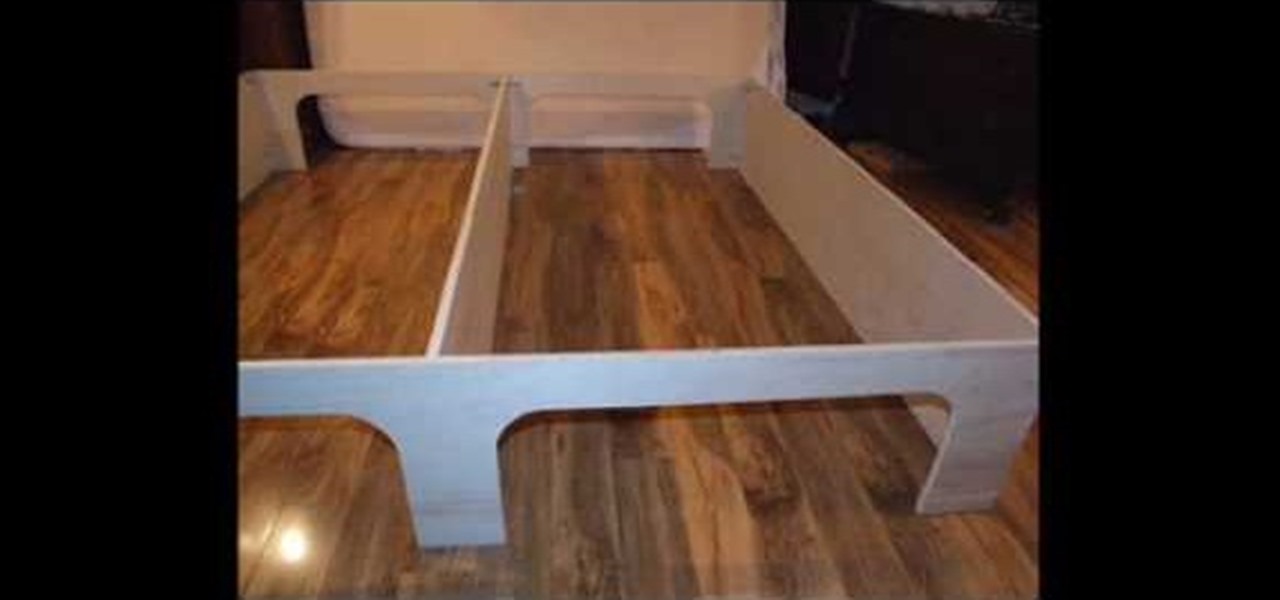
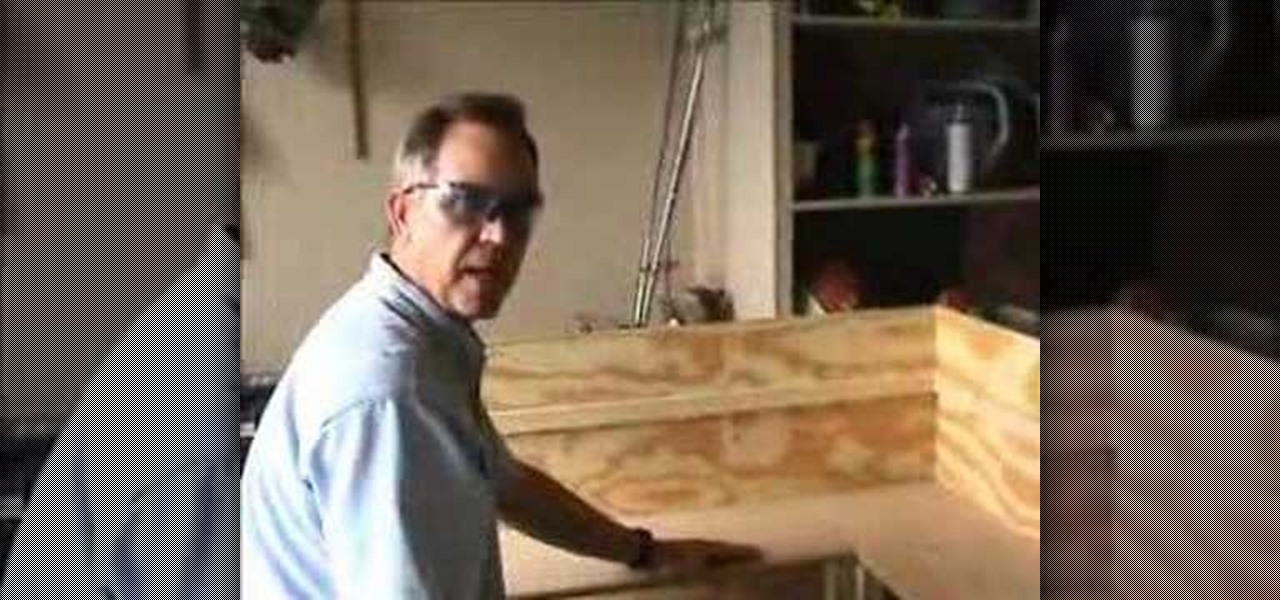
How To: Build a platform storage bed for under $200
Following are the steps to describe how-to build a platform storage bed at a low cost: 1. All you need are the following materials: (Say a bed size of 16. 5 inch)4 sheets of plywood, 3 (1x4x8) plywood, 20 2-inch corner braces, 1 (1/4-inch) drywall screw, few nails.

How To: Build makeshift outdoor stairs
In this video, Andy Bell shows different ways of how to build temporary makeshift stairs for use during construction or remodeling projects. He will teach you how you can easily measure your own stringers (the sides of the stairs, that the steps rest on to cut them on your own, or, as he tells viewers, you can also build stair building kits that come with the stringers precut and ready for use. Learn about the variations of precut stringers, as well as their affordability! Then, the procedure...