Construction & Repair How-Tos

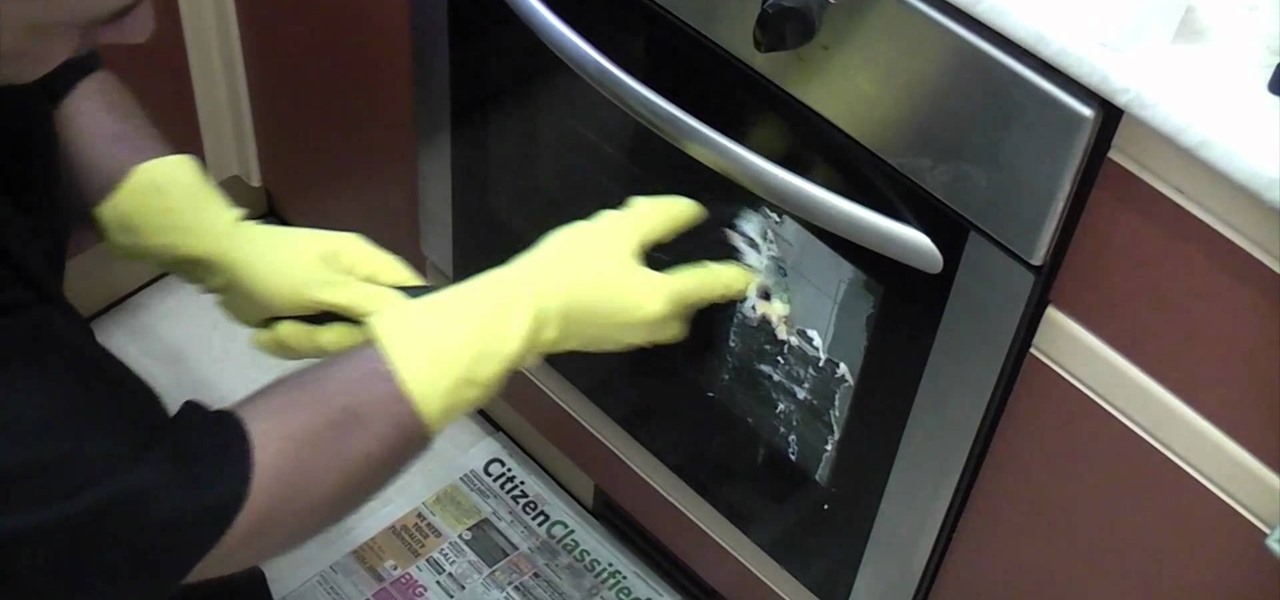
How To: Remove extra sticky labels easily using Label Remover
We understand why companies affix sticky labels to their products. We just don't understand why they manufacture these labels with unyielding, Godzilla strength glue. Who wants to open up a new microwave only to end up with partially peeled labels and glue stains?
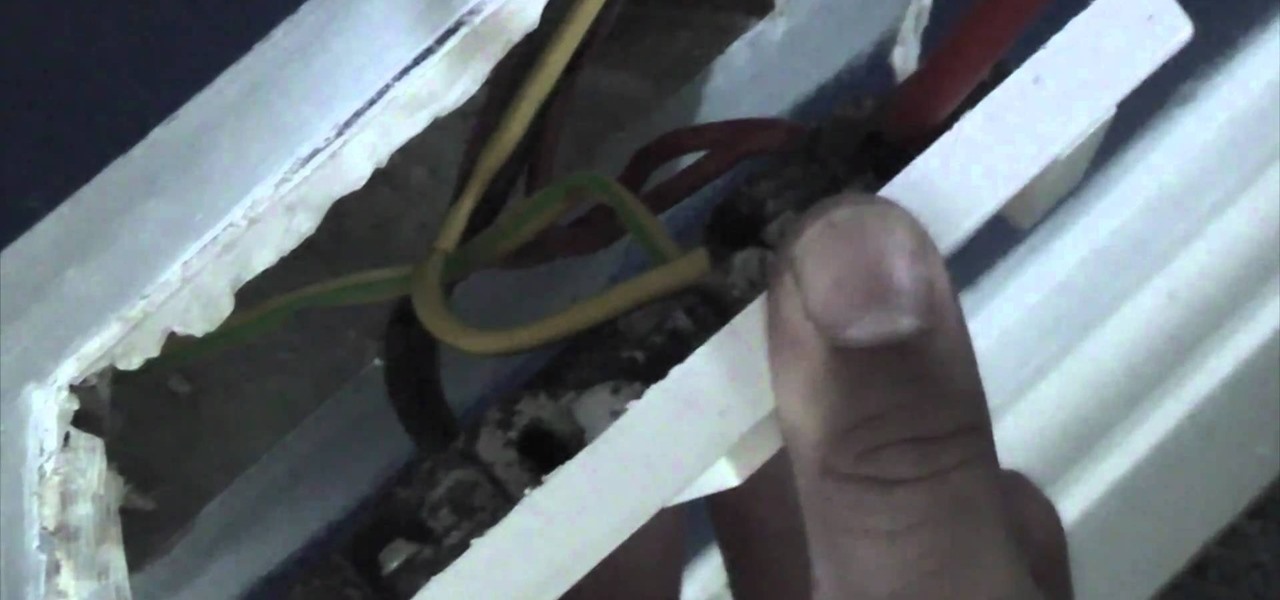
How To: Replace an electrical socket step by step
Electrical sockets are often taken for granted. It's not until one of them breaks or stops working and our laptops won't turn on that we truly have a crisis (mostly over lost internet time).
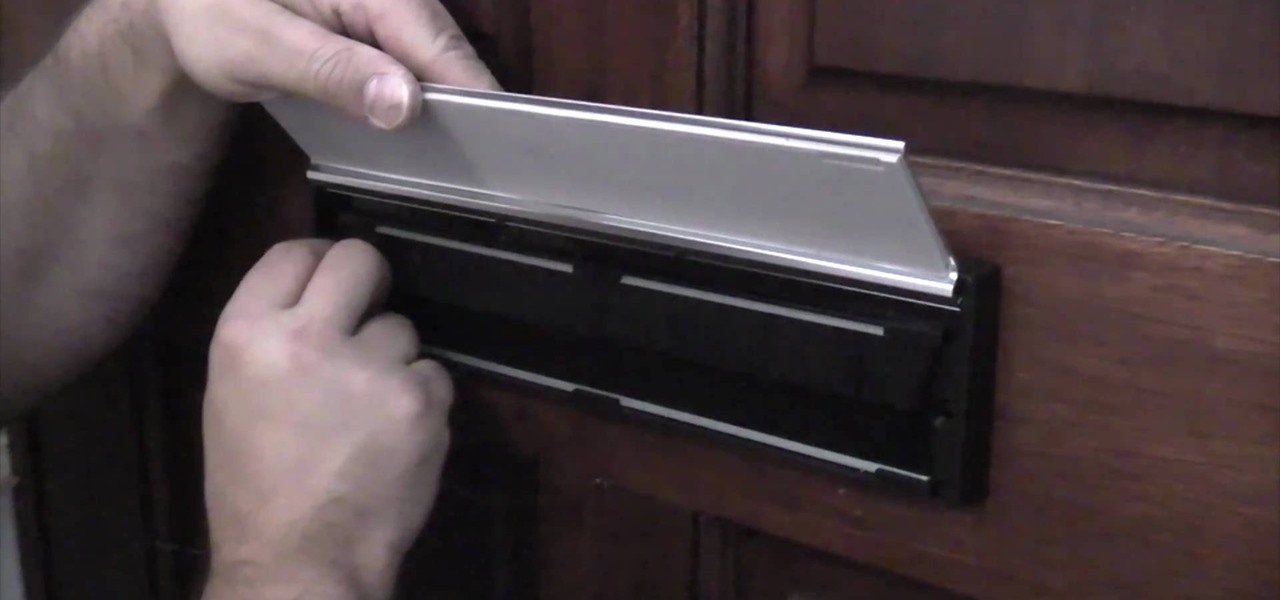
How To: Fit a sleeved letter plate onto a letter box hole that's too big
While most of us have mailboxes from which we receive our deliveries, some of us still have small slits in our front doors known as letter box holes. This allows for the mailman to deliver mail straight into our homes, which is convenient for all intensive purposes.
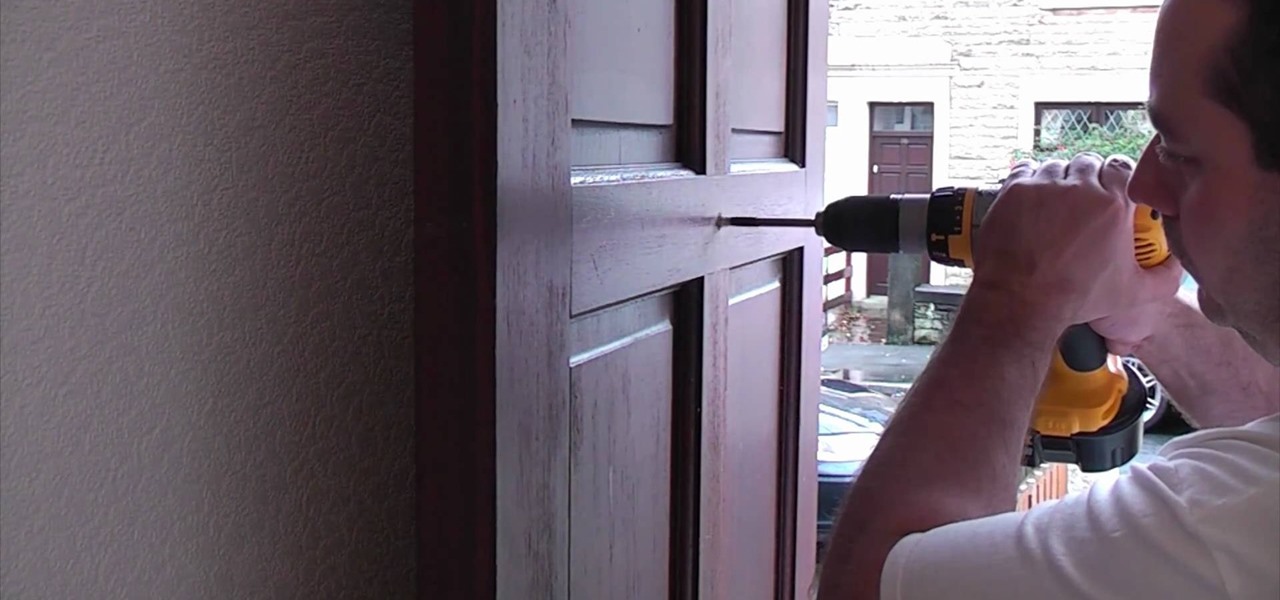
How To: Install a door viewer for home safety
Just because a person is cordial enough to knock at your door doesn't mean that he isn't a conman or burglar out to knock you out and steal all your belongings. So you can probably understand the usefulness of a spy hole, or a door viewer.
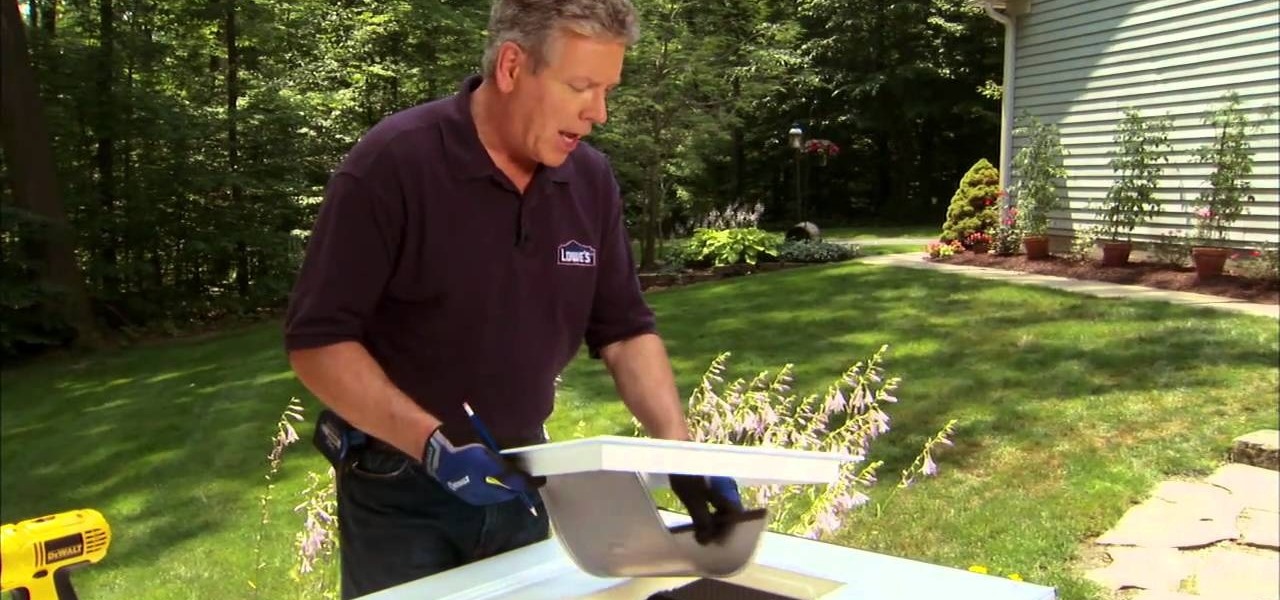
How To: Properly install a dog door for your canine with tips from Lowe's
Your precious dog can't be a dog without its freedom, and the number one way to make a dog feel its freedom is by giving it unrestricted access to your landscape, meaning— a doggy door. Granted, your pet can't go roaming all across the county, but a dog door is a surefire way to make your canine feel at home.

How To: Replace the time clock on a Ferroli Falcon combination boiler
Timing your cooking is everything. And if you happen to be a mom who works full time and then flies back home to prepare dinner for your family, then making sure you hard boil your eggs for five minutes while you bake your pie for half an hour can easily turn into a burnt mess if you're not careful.
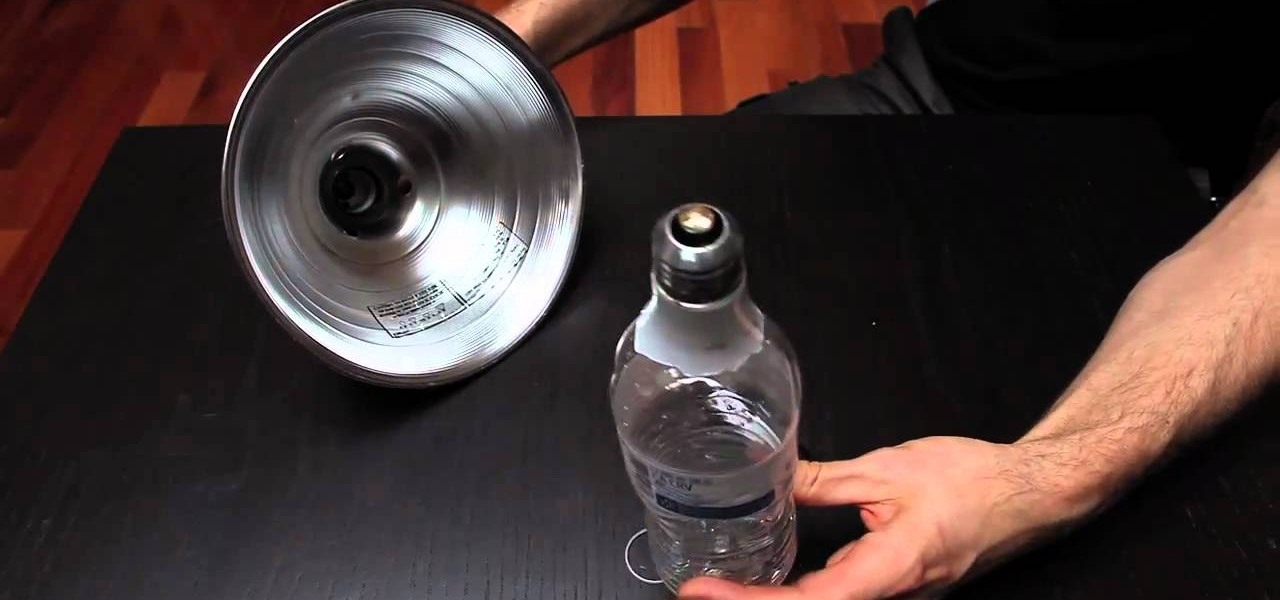
How To: Change a broken lightbulb using a water bottle
Removing lightbulbs that have gone out is easy enough: Unscrew the broken lightbulb and then pop in a new one. But what if your lightbulb happens to be broken with sharp edges?
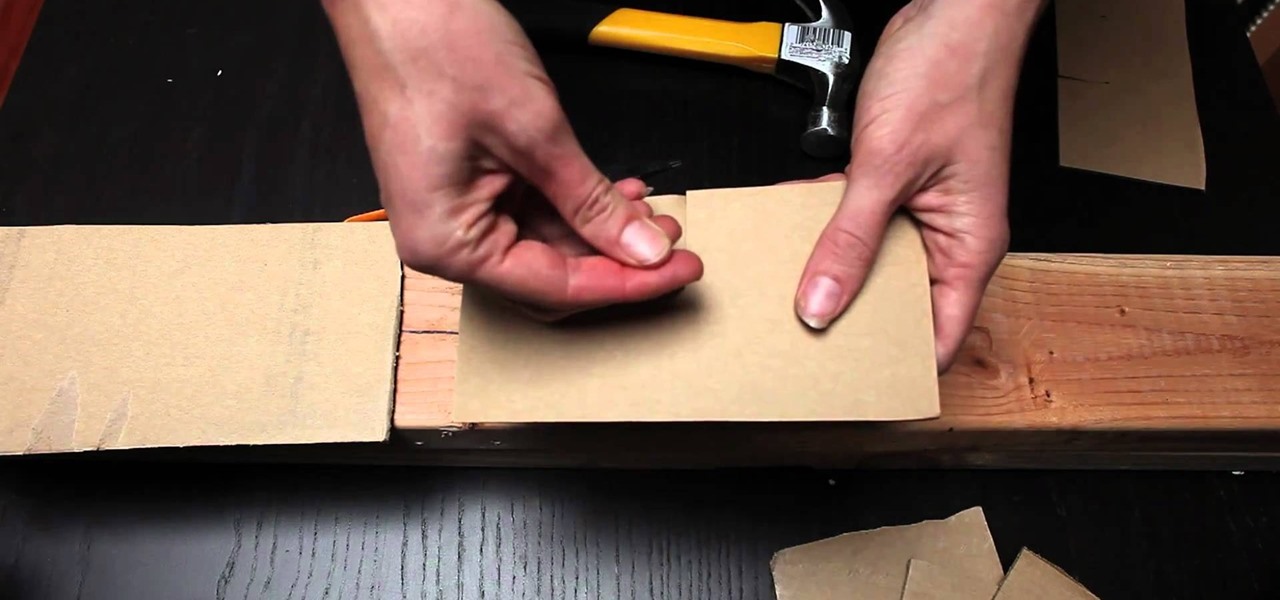
How To: Hammer a nail safely and hold your nail in place with cardboard
Hammering nails seems like such a common skill. Yet we all must admit that when it comes to those first few strikes of the hammer, it's hard to hold the nail perfectly perpendicular to the slab of wood. This means we often hit our own nail or knock the nail we're hammering off course.
How To: Build a tipi
In this video, we learn how to build a tipi. First, measure poles to make sure they are the same size, around 23 feet long. After this you will use a rope to tie the poles together so they are flat. To build the tipi, use the middle wooden pole to prop up in the very center. Make sure the rope is woven through the poles tightly and they are spaced apart. After these are secured together, you can bring them up into the air and set them against other poles to stand up. From here, decorate and u...

How To: Pitch a large tipi
In this tutorial, we learn how to pitch a large tipi. First, work on the tripod and get it lifted up. Recruit people to help you get it lifted up and pull it up with a rope. Use poles to help keep it in place so it won't fall back down. Swing the tripod up until it's in the air. Place them to where they will go according to your measurements. Use a tape measure to see where everything should go, so you know you are putting it in the right spot. After this, your tipi will be pitches and set up!

How To: Make a cover for a tipi
In this video, we learn how to make a cover for a tipi. First, put windows all around the bottom of the tipi. Then, take a tarp and cut out the top of it to make it into a circle shape. Then, cut out a hole from each side and put a rope in it for the top of the tipi. Wrap this around the sticks that you made the tipi with and then cover up the top of it with an additional tarp. This will protect you against water and other natural elements! Enjoy decorating and have fun making your tipi!

How To: Build a shadowbox style privacy fence
The video begins with a finished fence being shown as an example of what your final product should look like. The first step is to lay out straight lines with string to create the outline of fence parameter. To set the first post you must dig a five inch hole in the ground which the post is placed in. The post will be set along the string line spaced out about four inches evenly along the parameter. the holes must be filled in with rock or cement to set them securely. You must then nail board...
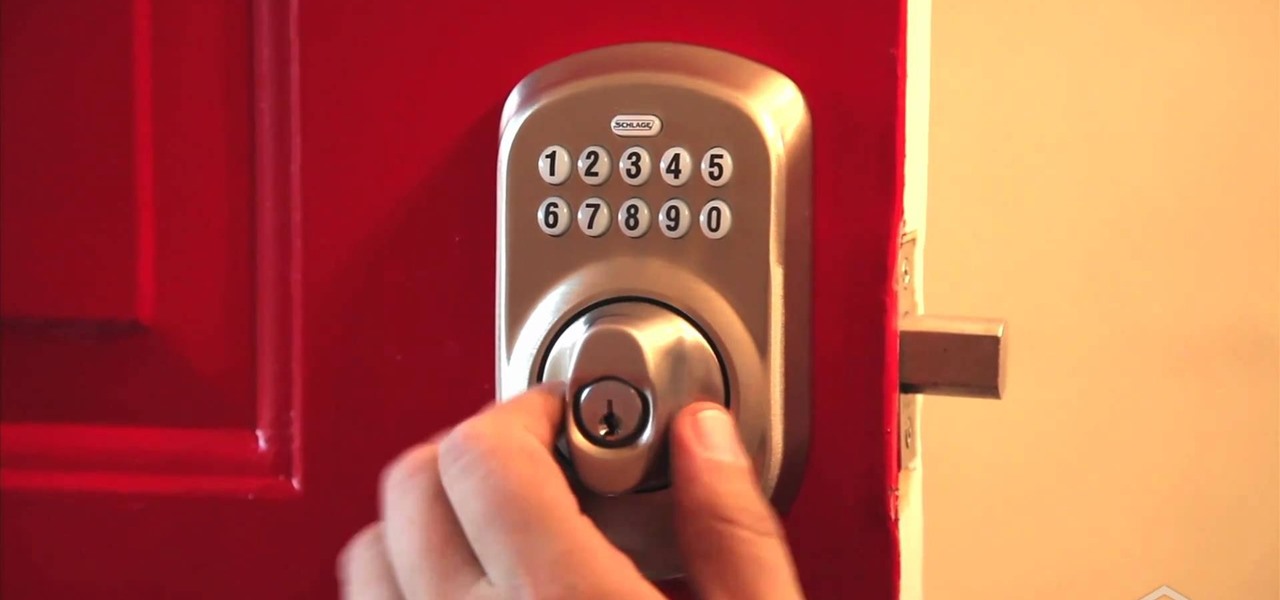
How To: Replace an old deadbolt and install a new electronic keyless entry device
If you've recently upgraded you doorknob to an elegant Schlage Plymouth Handleset, then it's time to match your front entry locks and install a new electronic high-security Schlage Plymouth Keyless Entry Deadbolt. This keypad is great if you never want to lock your bottom handleset (or doorknob). Watch this step-by-step installation video to see how it's done! You'll need a phillips head screwdriver or electric drill. To see how to install the matching handleset, click here.
How To: Replace an old doorknob and install a new front entry handleset
Tired of your old front entry doorknob? Get rid of it in lieu of something a little classier (and safer). A handleset is the perfect way to make your front door stand out, and this video will show you how to install one— specifically, Schlage Plymouth Handleset. You'll need a phillips head screwdriver, tape measure, battery drill, 3/8" drill bit and a Sharpie or other marking device. To see how to install the matching deadbolt, click here.
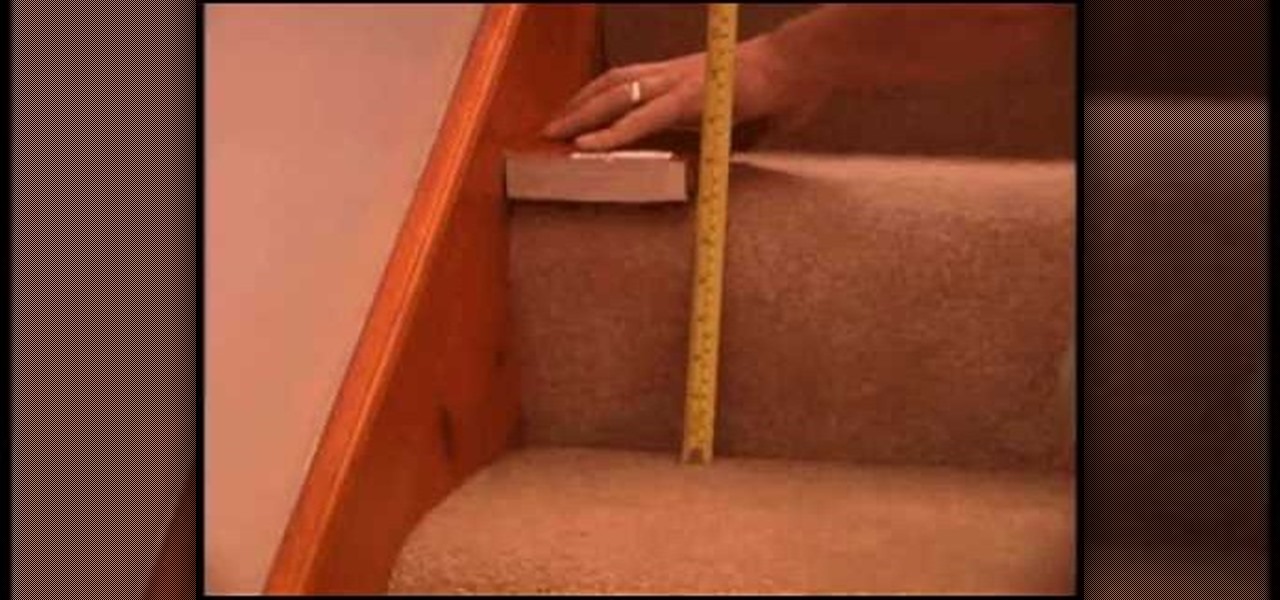
How To: Measure your staircase for a Summit Stair Lift installation
Measuring a staircase for a Summit Stair Lift is a simple process, but it's important that it's done right. This video will outline the quick measuring process so you can start your stair lift installation with no problems.

How To: Build a hoop house or cold frame for gardening
In this DIY guide from the folks at Gardenfork.tv, we learn how to construct a hoop house or cold frame to extend the gardening season. It's easy! So easy, in fact, that this gardener's guide can present a complete overview in about 9 minutes. For all of the details, and to get started making your own hoop houses and cold frames, take a look.

How To: Insulate your attic
In this tutorial, we learn how to insulate your attic with Eric Johnston. To figure out if you have enough insulation, you need to measure the depth of the insulation that you have. Generally, you should have around 22" of insulation in attics. The highest percentage of energy loss is through the attic, even if it's a new home. You can use a blown in insulation system that is easy to install and will not cause a huge mess. With this, you will be able to have your home be much warmed and you w...

How To: Lay ceramic tile
In this tutorial, we learn how to lay down ceramic tile. Start off by laying down the mortar for the base. After this, scrape it around with the ridged laying tool. Then, lay the tile down flat and place a spacer in between the one that it is next to. Once you are finished with this one, continue the same process for the rest of them. Make sure you are laying the tile down totally flat and it is lined up with the other ones. There should be spacers in between all of the different tiles that a...

How To: Repair a ceramic disc tap
In this tutorial we learn how to repair a ceramic disc tap. You will need: adjustable spanner, flathead screwdriver, Allen key, and ceramic disc to do this. To start, you will prepare the sink by turning the water off. Then, remove the tap head using the tools that you grabbed. Once off, grab the cartridge from the inside using the wrench. Once you reinstall the disc tap you will replace all the parts back on top of the handle. When you're finished, turn the water back on and then see if the ...
How To: Easily install a toilet
In this tutorial, we learn how to easily install a toilet. When you pull it out of place, there will be black residue on the toilet, scrape this off with a knife. From here, you will need a wax ring and plumber's putty to apply to the toilet. Once this is on the bottom of the toilet, it will help it stay in place and save you a lot of anguish. Now, take the plumber's putty and put it around the edge of the toilet. Now, when you install the toilet it will be sealed to the floor and stay in pla...
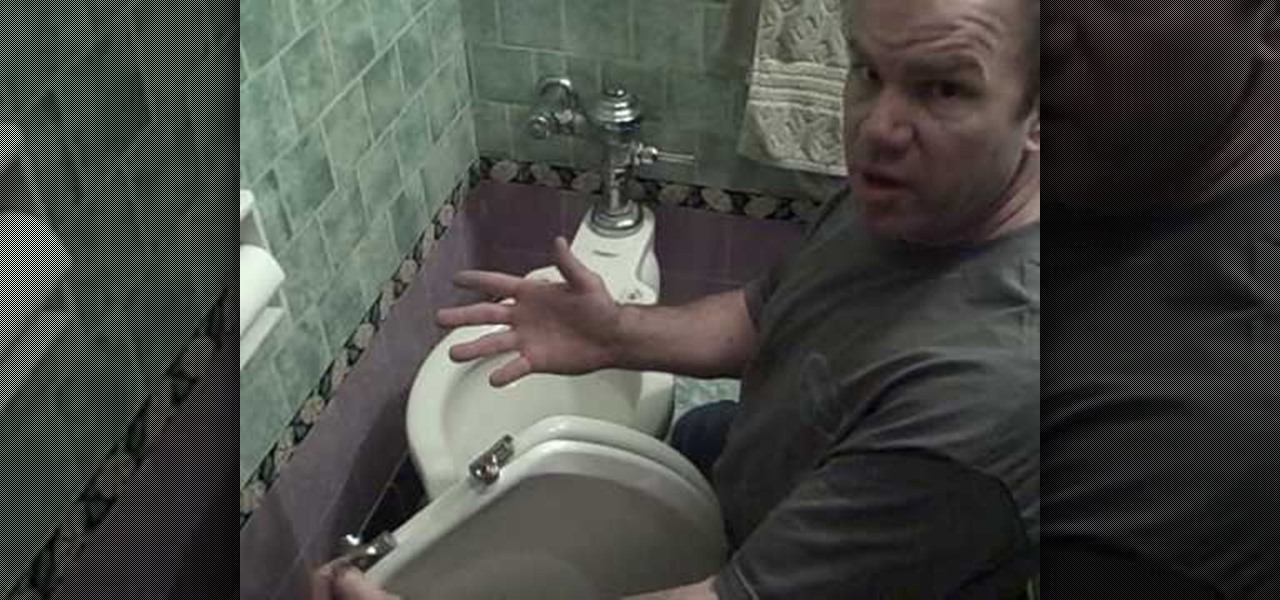
How To: Install a new toilet seat in your bathroom
In this tutorial, we learn how to install a new toilet seat in your bathroom. You will need to get on your knees to do this, but it's a simple process. First, find the two bolts on the toilet seat and unscrew them. After this, remove the toilet seat. From here, you can place the new toilet seat down. Go to the bottom of the toilet and find where the screws are placed at. Twist these until they are secure in place. Then, use a screwdriver to screw them in place on the top. This will finish you...

How To: Scribe break an acrylic sheet
In this tutorial, we learn how to scribe break an acrylic sheet. You just need a Stanley knife and a straight edge to do this to any acrylic sheet. First, put some gloves on and safety glasses. From here, level out the area you want to cut on your sheet, then clamp the angle while laying down. Next, use your knife to cut along the edge, going over the same spot several times. Press down hard to ensure it's completely cut. To finish, all you have to do is to bend the excess piece down and it s...
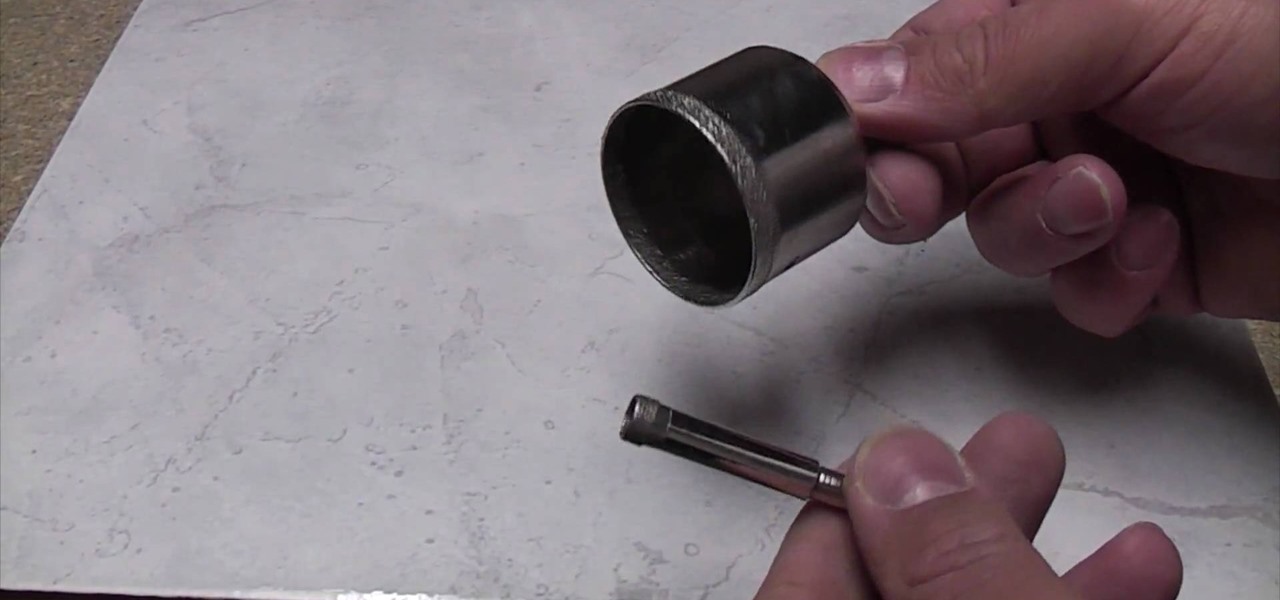
How To: Drill porcelain tile like a professional
In this tutorial, we learn how to drill porcelain tile like a professional. You will first need to get a blade that is round and very sharp. Place this on the porcelain and then gently rock the blade back and forth until it cuts the tile all the way through. Make sure you place tap underneath this to catch any of the dust and debris that flies away from you while you're cutting. Remember not to use really strong force to the drill while you are using it, to prevent any wrong cuts on the porce...
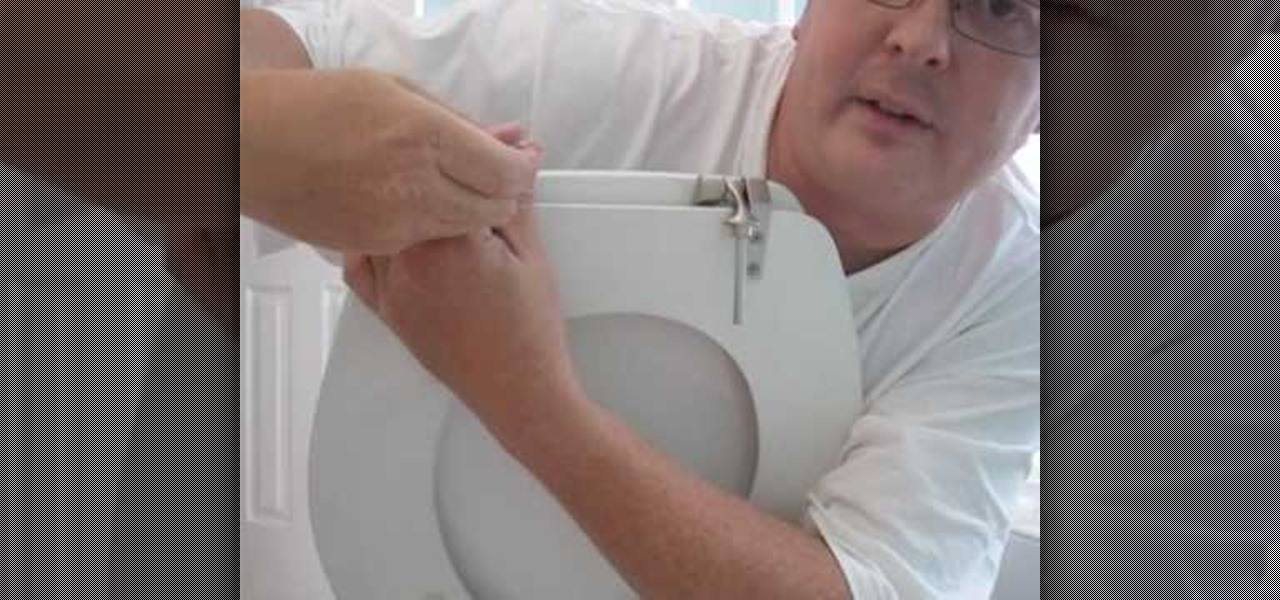
How To: Install a toilet seat
In this video, we learn how to install a toilet seat. Start off by screwing the screws into the knots on the base of the toilet seat. After this, you will lay this down gently on top of the toilet and line up the screws. After this, you will go underneath the toilet. While you're down there, you will need to place on the screws to make sure that the toilet seat and the toilet are down securely. Once you are done, your toilet seat will be installed and it will be brand new and ready to use. En...
How To: Finish hardwood floors naturally & safely
In this tutorial, we learn how to finish hardwood floors naturally & safely. First, buff out the entire floor so the surface will adhere better with the stain. Buffing it will give it a beautiful finish and a glossy look. The spatter that happen white using the pad can be buffered out or mopped out easily. When finished, you will use a polishing pad on the floors to finish up the floors entirely. The floor will look great after just one coat and a polish with the mop. When finished, enjoy you...
How To: Build a decked pathway
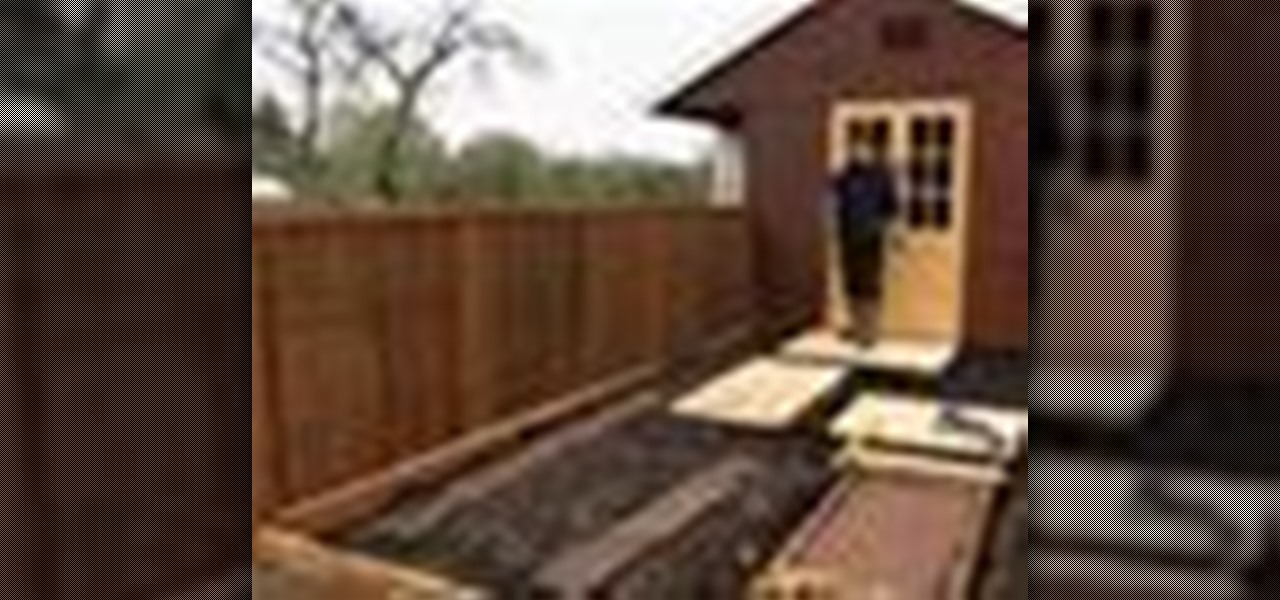
In this video, we learn how to build a decked pathway. The first thing to do is to plan out where you want your pathway to do. Then, build a pathway out of wood that is all the same size. There are all kinds of decking you can use, whether you want hard, soft, wood, or more. Just make sure it has the FSC symbol that ensures it's not cutting down from the rain forest. You can make it into blocks rather than a continuous surface to make a more unique feel and allow you to create different flowe...

How To: Build plumb walls
In this tutorial, we learn how to build plumb walls. A plumb bob is a weight that you can use to make sure your walls are plumb. This tool is the most accurate tool you can get to plumb up any wall. Your level is only good until it's dropped, this won't be ruined and will always be accurate. When using a plumb bob, you have to get up close and personal to the floor and the ceiling. You will need someone on the floor and someone on the ladder to make sure you get the bob exactly on the line. T...
How To: Install cabinet knobs, handles & pulls
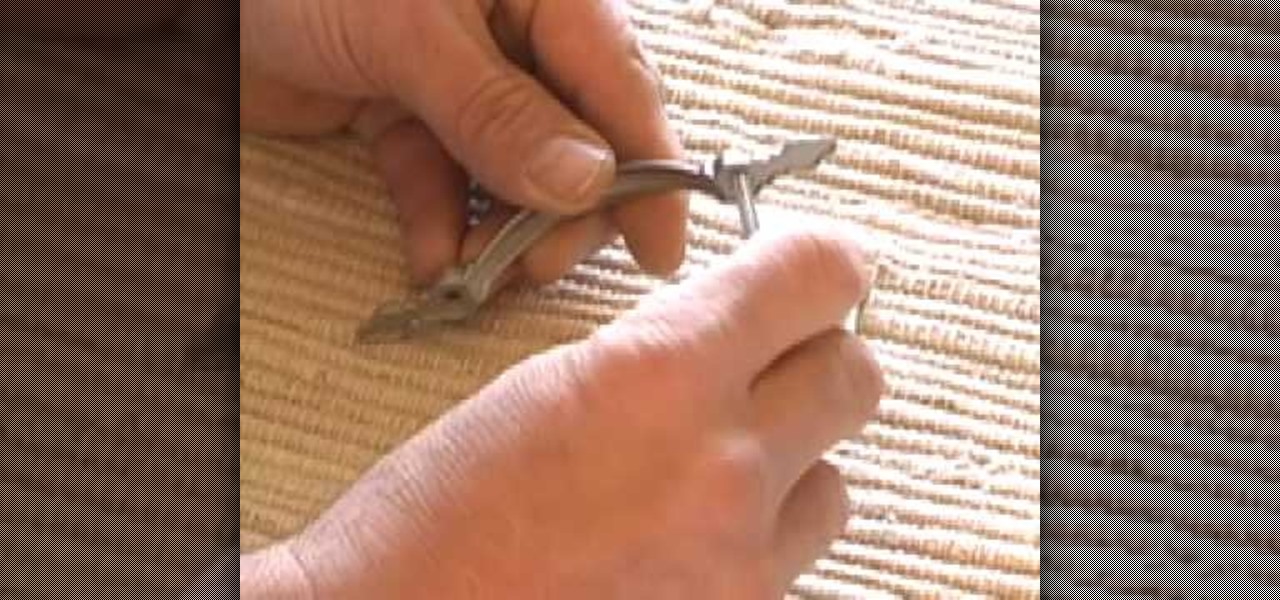
Bob Schmidt teaches us how to install cabinet knobs, handles & pulls in this video. You can easily spruce up a new cabinet or door my just changing out the handles or knobs. First, always take off your hardware and take it with you to the hardware store so you can grab a similar one to fit the right size. Once you find the right handles and screws you will be ready to install the new handles. Place the screw into the appropriate holes on the handles. After this, twist the screws into the hole...
How To: Install a locking hardwood floor with Lowe's
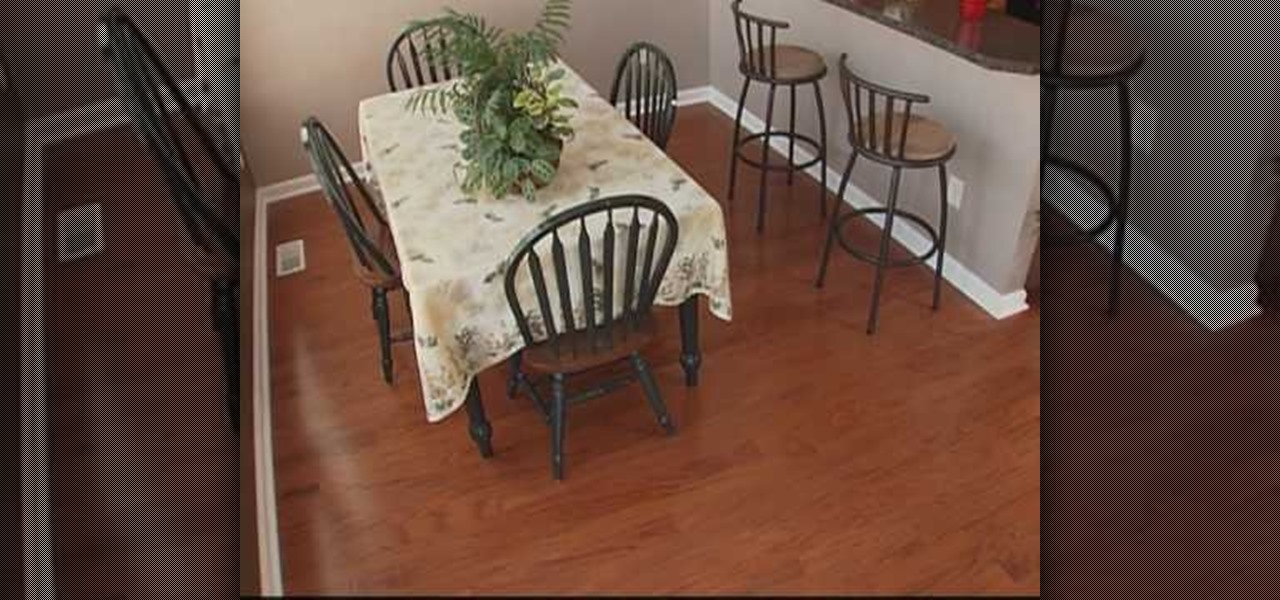
In this video, we learn how to install a locking hardwood floor with Lowe's. First, prepare the sub floor before you begin installing the floors. After this, grab all of the tools you need to install the flooring properly. Place spacers between the flooring and the walls and start to lay it down. Lock the planks together on the first row. Then, lock the sides to the next row and use weights to keep the floors from moving. The ends must be 6 inches apart on each row. For a locking floor, cut o...
How To: Install crown moulding to your room
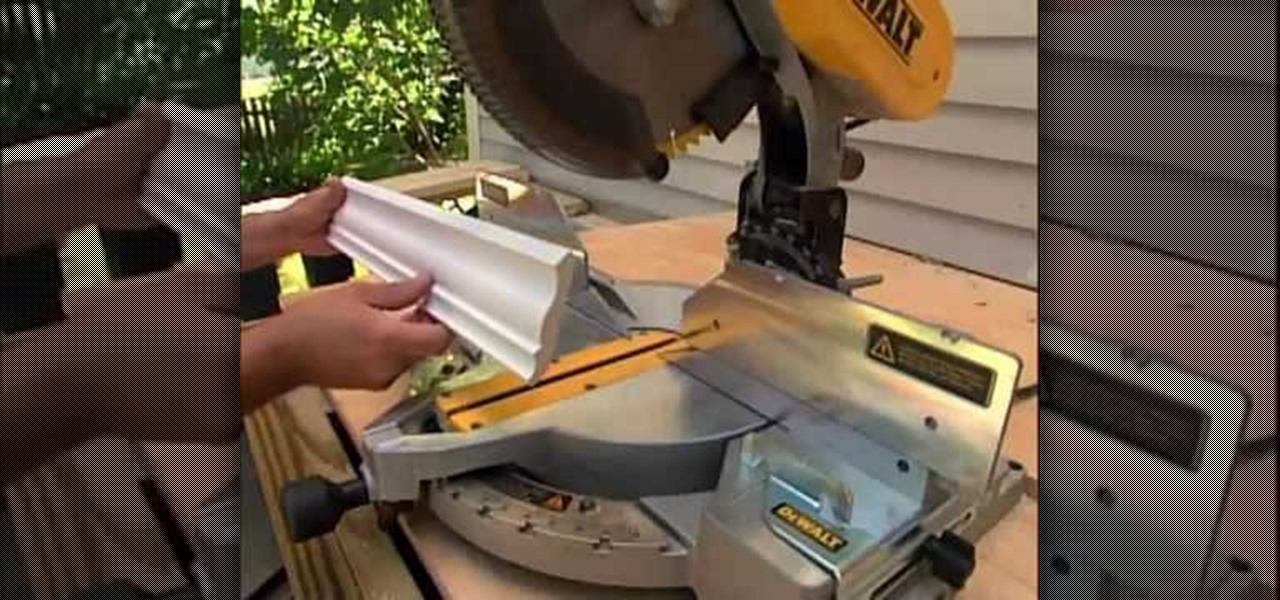
In this tutorial, we learn how to install crown molding to your room. First, choose the right size and style of molding for the room, then measure your room to find out how much you need. After this, you will need to buy a saw to cut the molding when you're ready to install. After you have the pieces cut, you will need to place these against the wall and then nail them in with a nail gun. Secure the molding to the joints in the ceiling and to the studs in the wall. To finish, putty the holes ...
How To: Cut crown molding perfectly for your home
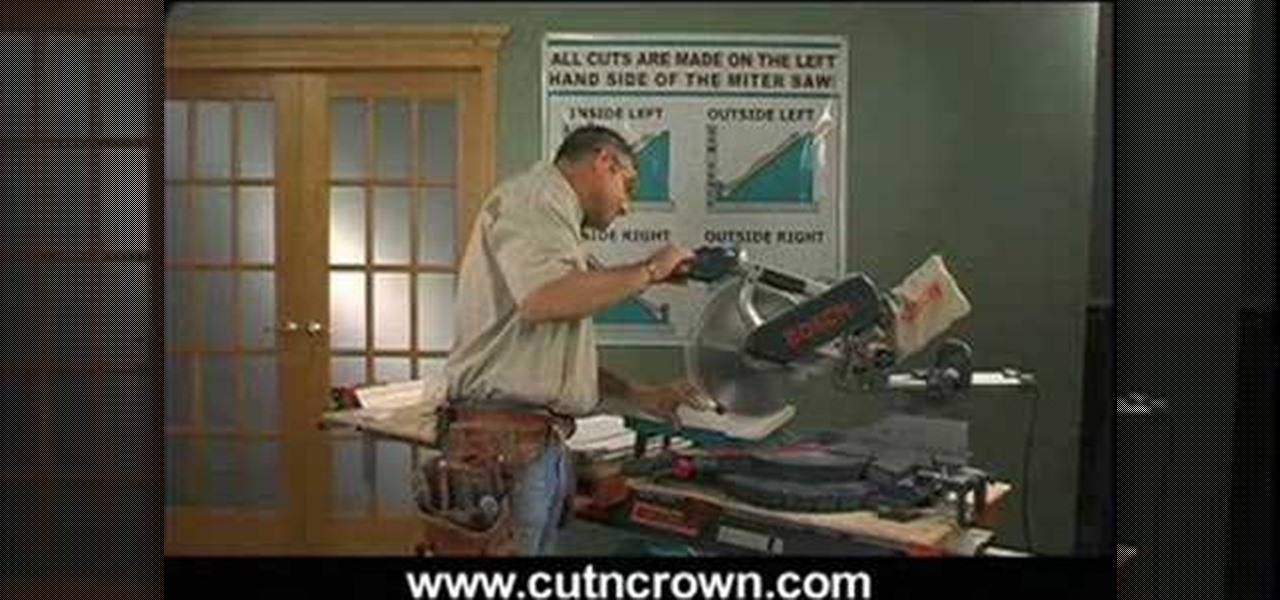
In this tutorial, we learn how to cut crown molding perfectly for your home. First, you will need to determine what spring angle your crown molding is. It comes in 38 degrees, 45 degrees, and 52 degrees. If you buy the wrong kind, it will not match your crown molding and will look odd. Once you have figured out what you need, you will need to cut the molding on the side that is on the back side of the bottom. You will also need to drop your block next to it to get it cut at the right angle. W...
How To: Install carpets on stairs
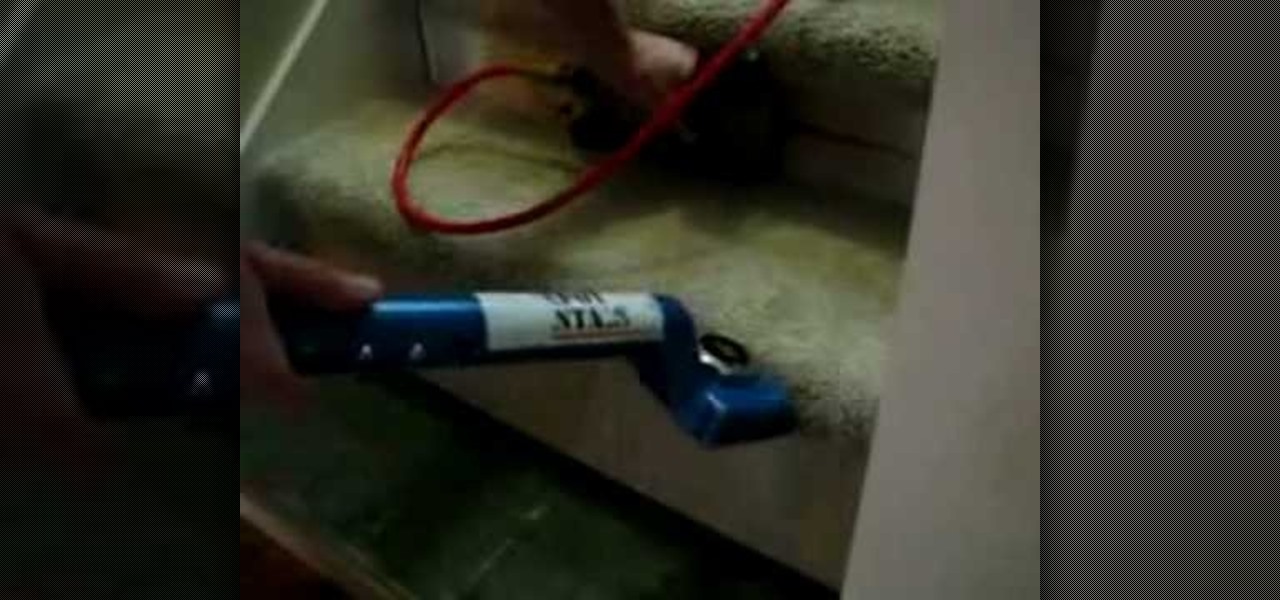
In this video, we learn how to install carpets on stairs. First, install a tack strip along the back edge with a distance between the riser and where you place it. Then, you will place the pad down on the stairs, and then you will place the carpet down. Use trim to cover up the backs of the stairs and the underside of the bull nose. Use a nail gun with staple brads to fasten the carpet to the stairs. This is the easy way to do it, and you must make sure you have the right measurements to fit ...
How To: Solder copper water lines
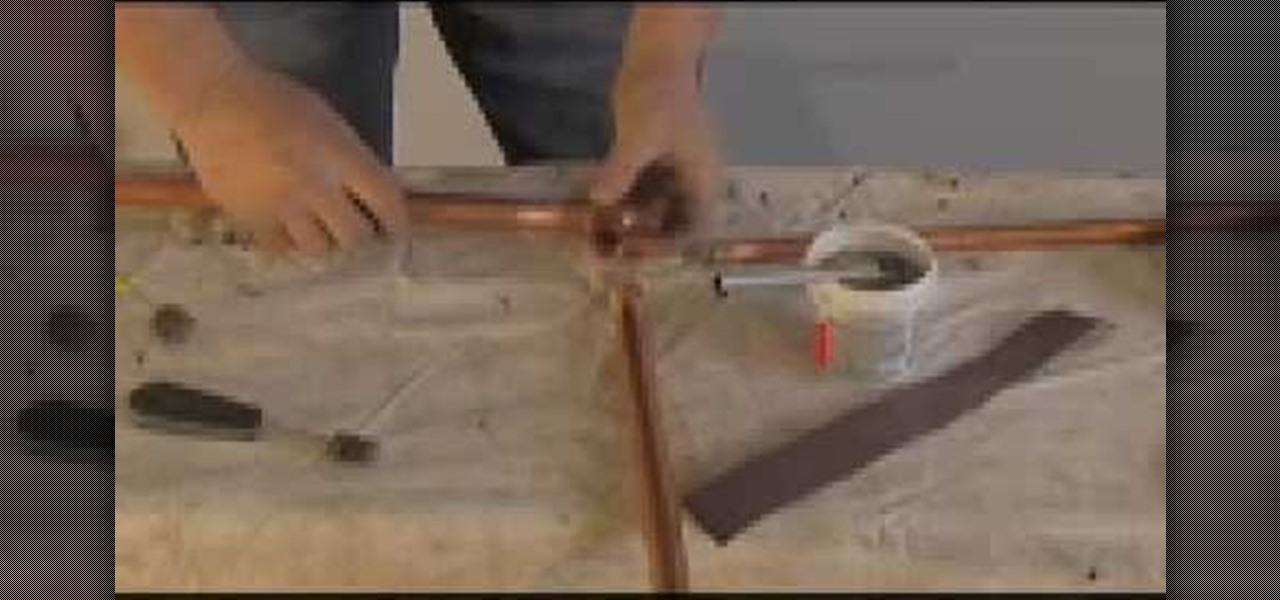
In this tutorial, we learn how to solder copper water lines. First, take a sand cloth and thoroughly clean the outside of the tube. Then, take a cleaning brush and clean the inside cup of each side of the fitting. Apply flux to the inside of the fitting, then insert the tube inside. Make sure the tube is inserted into the bottom of the cup properly. Now, take a torch and apply the head to the cup of the fitting. Wait until the solder starts rolling and goes all the way around the fitting. Whe...
How To: Repair small cracks in wood projects
In this video, we learn how to repair small cracks in wood projects with Bob Schmidt. Even though the cracks are small, they may catch your eye when you walk into the room. You can minimize this with just a little bit of work with a screwdriver. First, grab your screwdriver and rub the middle of it on the corner of two pieces of wood. This will rub out the two pieces without changing the stain on the wood. If you have a missing crack on baseboard, you can do the same thing, which will lessen ...

How To: Change your toilet into a silent clocing toilet seat
In this video, we learn how to change your toilet into a silent toilet seat. A silent toilet seat will shut itself by going down slowly without the loud slam. To remove the old toilet seat, go to the back flaps and pop them up. Remove the plastic screws with a screwdriver and then set them aside. Replace this with your new toilet seat and screw the screws back into the back. Now, lift your seat and the lid up and tap them gently. After this, the toilet seat will slowly start to lower and clos...

How To: Drill through ceramic tile like a professional
In this video, we learn how to drill through ceramic tile like a professional. To do this you can use a normal bit that will drill through most tiles easily. Or, you can purchase a dedicated tile drill that will work the same way. First, find the area that you want to get started on and lay down some masking tape. Then, place the drill down on the area you want to drill through. Press on the drill power button doing small intervals at a time. Once you get into the hole, go full power and then...
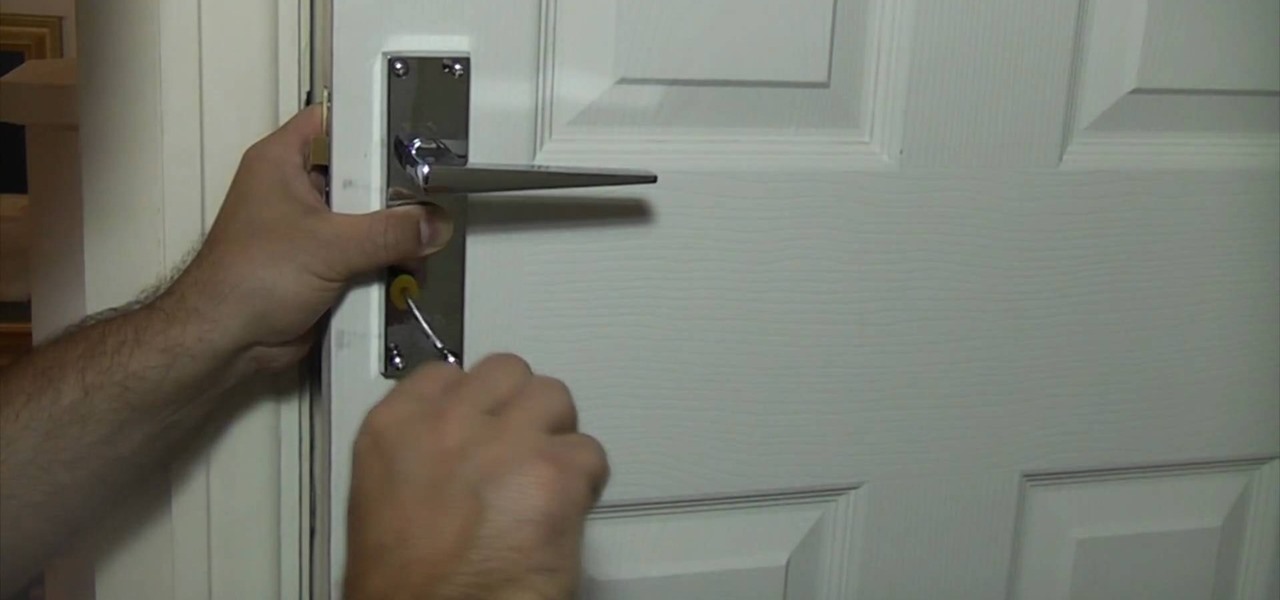
How To: Fit door handles to a door properly
This is a video tutorial in the Home & Garden category where you are going to learn how to fit door handles to a door properly. The first thing to do is to insert the spindle in the door and check if it is of correct length. Quite often it might be longer. So, cut it to the correct size with a hacksaw. Next fit the handle over the spindle and make sure it is straight. Take measurements to ensure this. Holding the handle in place with one hand, drill holes with an electric drill and insert the...
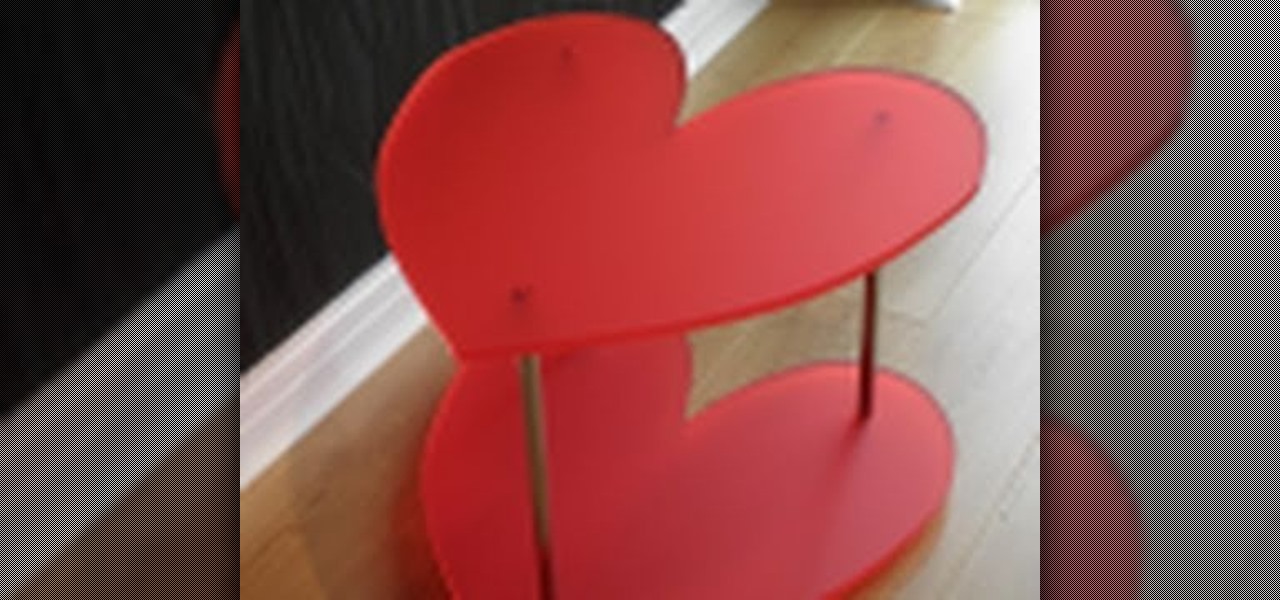
How To: Make a DIY heart-shaped table from a Perspex plastic sheet
Perspex is a durable and fashionable material, so getting tables like this made of it at the stores is expensive. If you've got some tools and wide DIY streak though, you can make one yourself with about 8 hours of time and this video, which will teach you just how to do it.
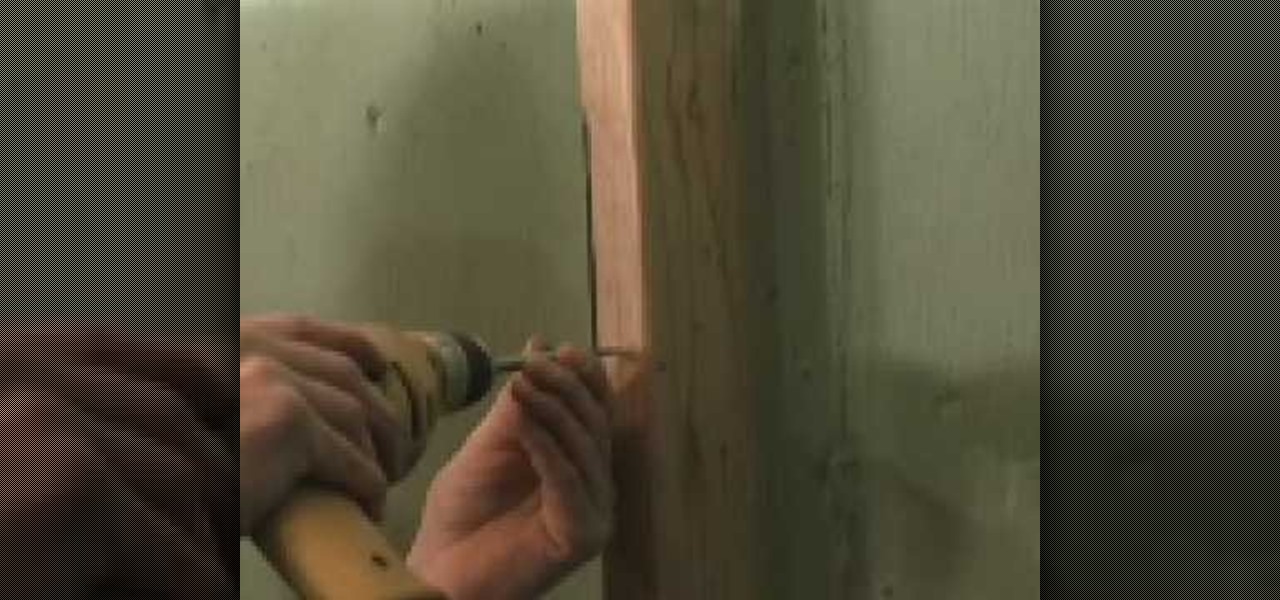
How To: Remove door material to install a mortise lock
In this video we learn how to remove door material to install a mortise lock. If you live in an older home where you have to take out a chunk of the door to change the lock, there are ways to prevent doing this. First take a spade bit and slide it over the lock. After this, take the mortise lock and hold it so it's flush with the door. Go below the hole and above the closest obstruction and put a mark. On the back measure slightly beyond what it would take for this to bottom out. Once you hav...

How To: Get the box spring of your bed to stop squeaking
Boxsprings make a bed much more comfortable, but when they get old they start to squeak obnoxiously. Watch this video to learn several easy ways that you can repair your box spring to return it to it's normal quietness and get your back to sleep.


