Construction & Repair How-Tos


How To: Prevent leaks by putting shingles on properly
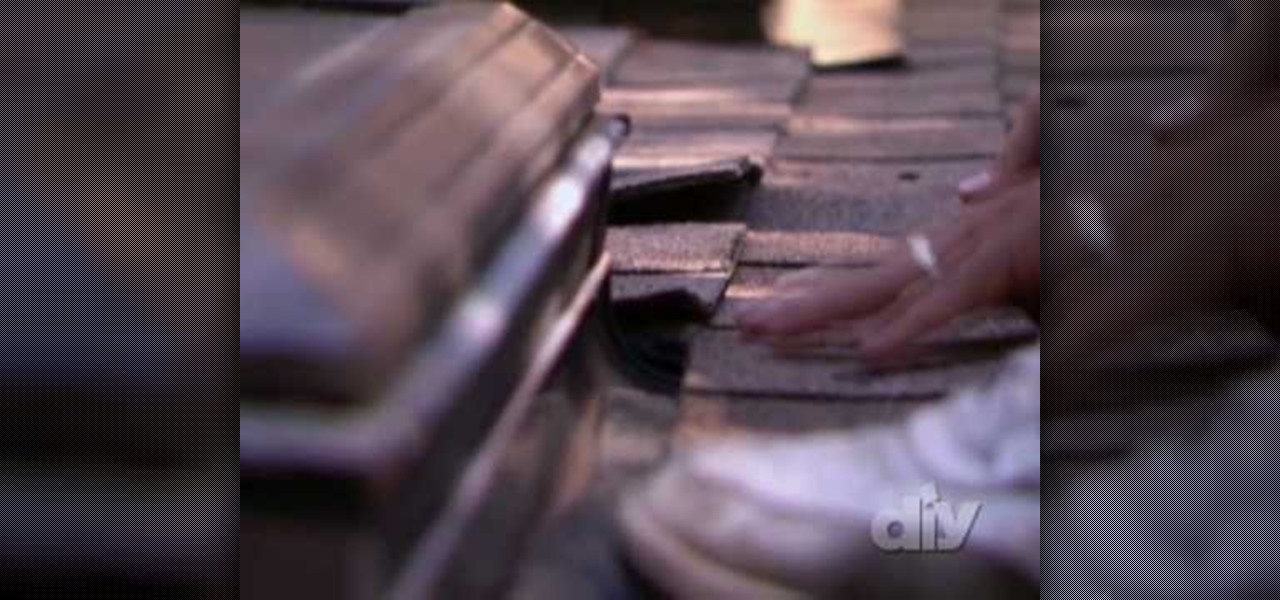
If you plan on installing a skylight to your home, there are something that need to be accounted for, including the shingles. With this next quick tip tutorial, you'll find out how you can prevent leaks by installing shingles properly on your roof. This is especially important when installing a skylight since you're putting a hole in your roof. So check out the video above and good luck!
How To: Properly waterproof a skylight
Adding a skylight to your home can not only be a great way to bring light into your home, but also a smart investment. That is, if you are able to install one properly. Installing a skylight is no easy task and require hard work and the appropriate materials to do so.

How To: Buy a skylight flashing kit for your home
If you plan on installing a skylight to your home, then you'll need to know what to buy. This tutorial covers some pretty information about skylight flashing kits and how to buy them. Purchasing and using the wrong stuff can lead to a poorly constucted project that may lead to other issues as well. Avoid that by watching this tutorial. Good luck and enjoy!

How To: Install a skylight with proper insulation
If you plan on installing a skylight in your home, there are some rules that need to be followed. Not following them can lead to something that was poorly put together and can damage the interior of your home. So check out the tutorial for some helpful tips, pay attention, and good luck!

How To: Insulate an attic pull down
In this video, we learn how to insulate an attic pull down with Roy Honican. Doing this can help keep your home warmer and more energy efficient. First, measure around the top of the attic so you can build a box that will stand on top of it. To build the box, use foam board that is 1" thick. Cut the size to the sizes you just measured. After this, use foam tape to tape all the pieces together. Once you're done with this, you will have a large box and you will be ready to go back upstairs. Pla...
How To: Build an outdoor dog house
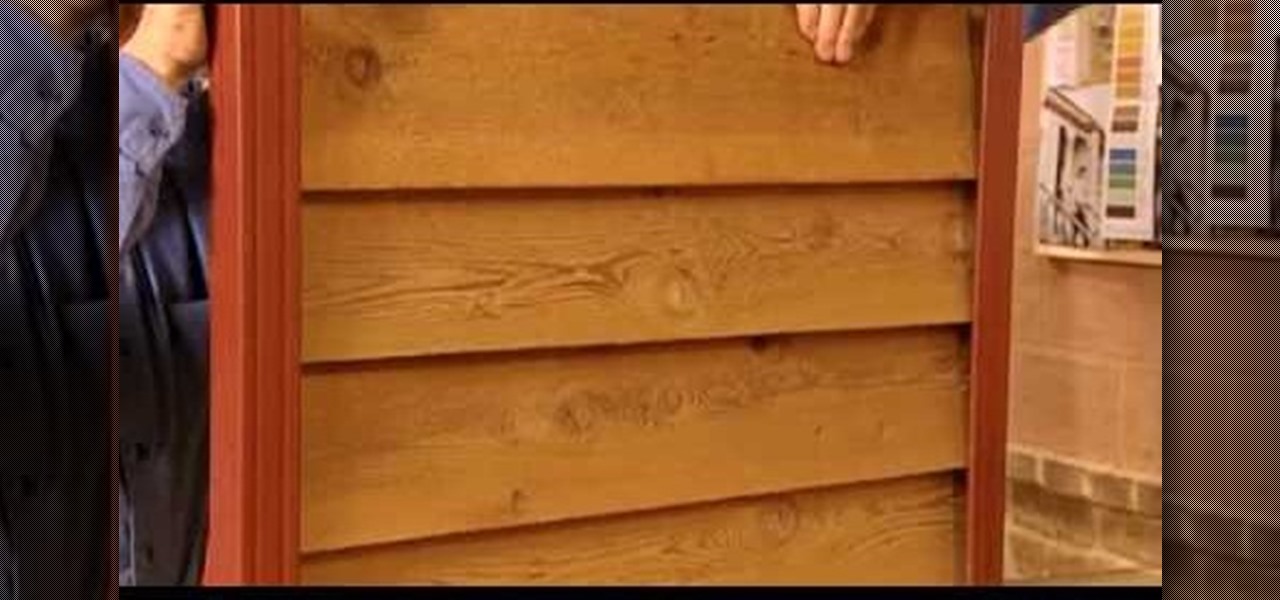
In this tutorial, we learn how to build an outdoor dog house. Start off by making all the measurements for your dog house and cut out your wood. After this, use a metal frame piece to drill into the wood and this will be the base of the house. After this, connect all the metal pieces on the dog house to make the basic outline of the house. When you are finished with this, place wood on the frame of the house and drill it into place. When you are done with this, you can paint the house if you ...
How To: Install gutter screens with Lowe's
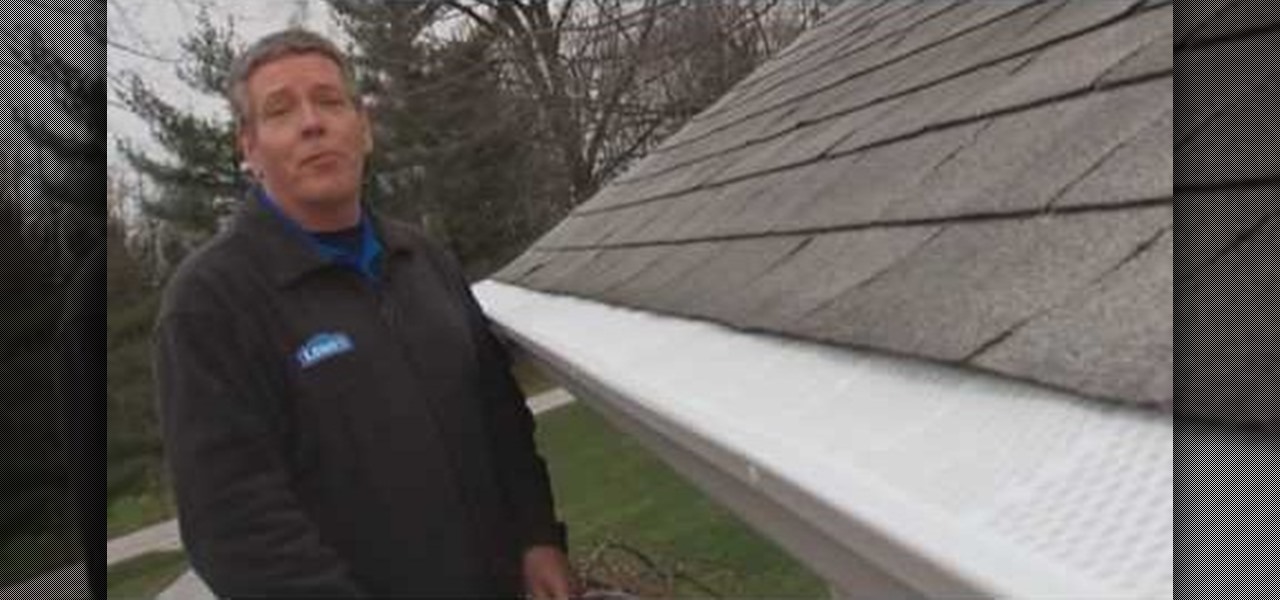
In this video tutorial, viewers learn how to install gutter screens. The materials required for this task are: tape measure, tin snips, drill with bits and sheet metal screws. Begin by measuring the gutter to determine how many screens to buy. Start at one end of the gutter and slide the back edge underneath the shingles. Then snap the edges in place and continue down the length of the gutter. Now drill holes in the edges of the screens and screw in the sheet metal screws to secure the gutter...
How To: Make a poplar wine rack
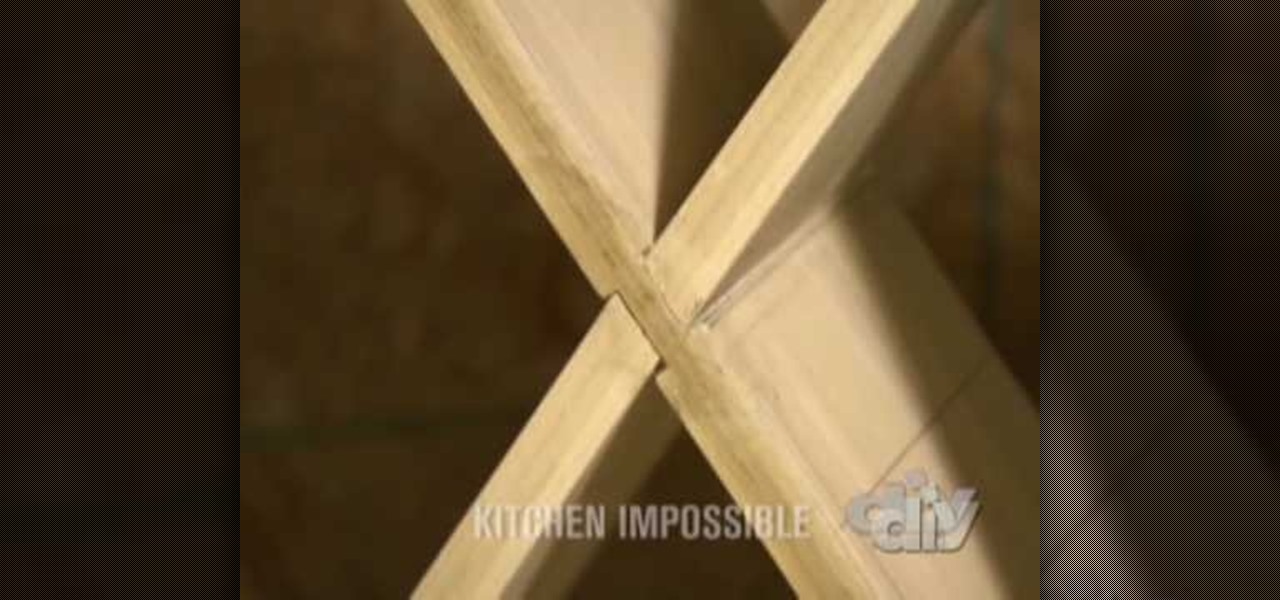
In this tutorial, we learn how to make a poplar wine rack. First, cut the top, bottom, and sides of the rack. Then, use a router to cut out the center of it. Now, assemble the rack together by using wood glue. After this, measure the length of the diagonals, then add in pieces of wood that are criss crossed throughout the box. Next, keep these in place with some wood glue and then place wine bottle on the inside of them. This will make a great wine rack for any home and you can paint it as we...
How To: Install a kitchen backsplash with glass tile accents
This video tutorial is in the Home & Garden category where you will learn how to install a kitchen backsplash with glass tile accents. A tile can be attached to walls with the help of mastic. It doesn't require mixing and it is stronger than mortar. Before applying mastic, sand the wall surface lightly. Don't sand away the paint. Clean the surface with damp cloth. Layout the tile pattern below the space and measure the dimensions. Do the marking on the wall of the centerline. Apply a thin lay...
How To: Drywall your attic & loft with Fermacell
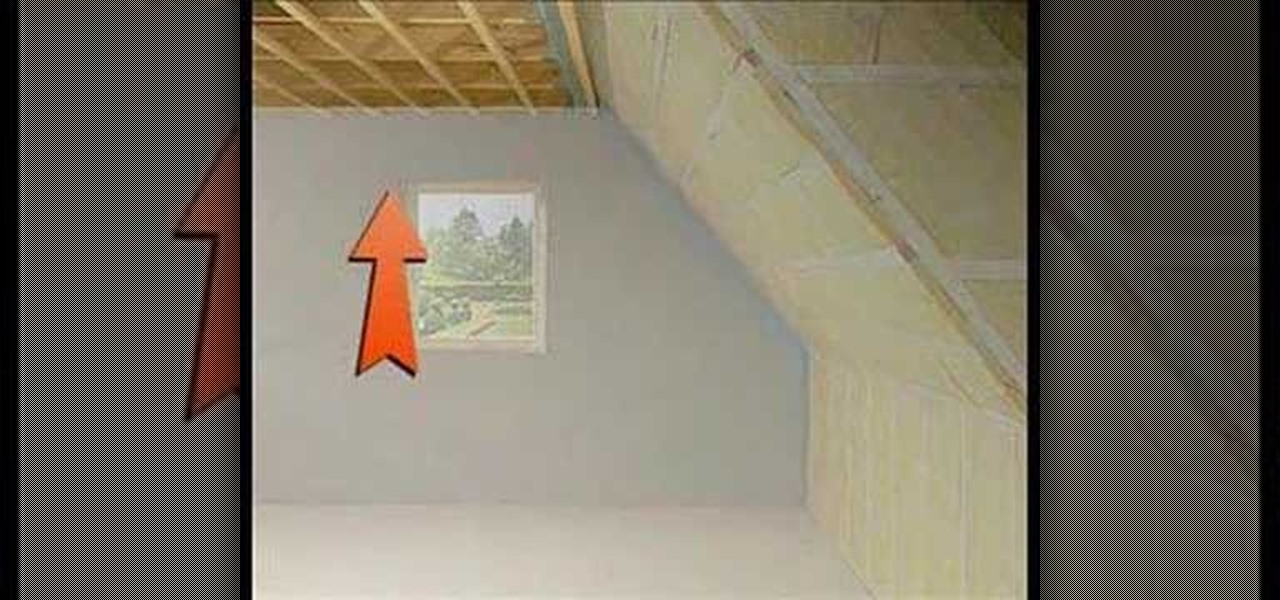
In this tutorial, we learn how to drywall your attic & loft with Fermacell. First, you need to consider the nature of your build and how much you will need to drywall. It is recommended that you install a film to ensure air tightness. You can place this down with a staple gun and tape it down as well. Large holes should be properly sealed as well, to enforce building regulations. Once you do this, you can add the boards on top of what has already been installed. Insulation will be now place o...
How To: Replace bathtub caulk with the Master Handyman
In this tutorial, we learn how to replace bathtub caulk. First, fill your bathtub halfway full with water, then grab your caulk and caulking removal tool. After you have done these steps, apply your caulk remover. Next, scrape it with the remover tool. After this, use bleach and a toothbrush to remove any excess. Now, use rubbing alcohol on a towel to clean the edges of the bathtub. After this, apply mold resistant caulk, then smooth it evenly. Next, wipe the excess caulk with a clean washrag...
How To: Install a ceramic or porcelain tile floor with Lowe's
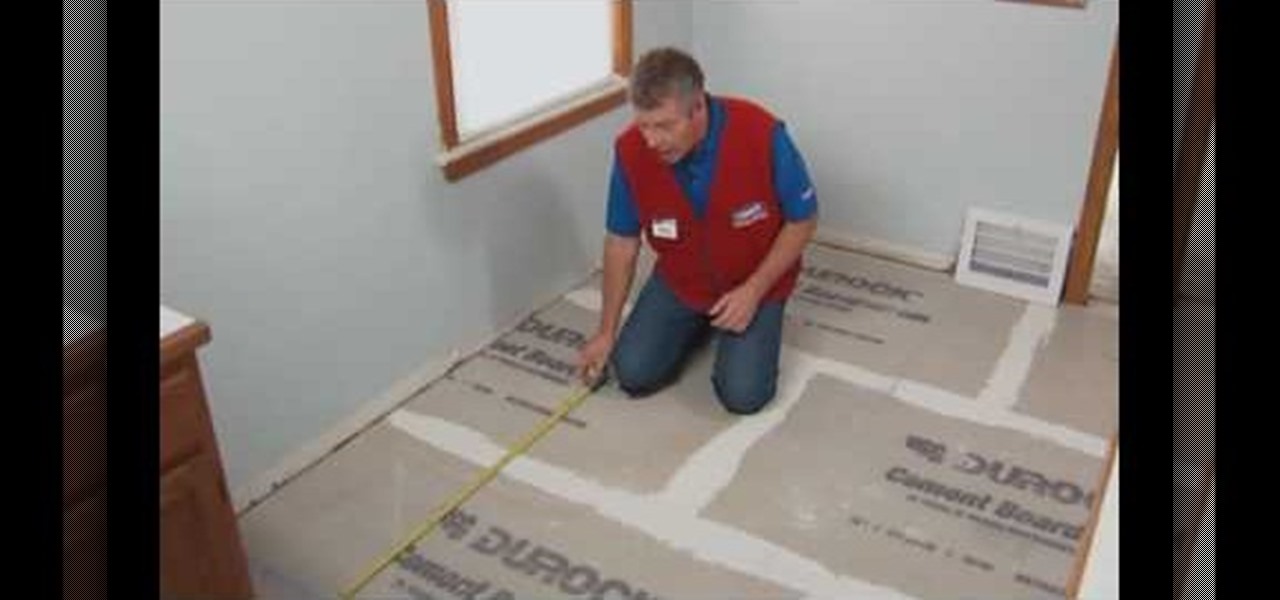
In this tutorial, we learn how to install a ceramic tile floor. Before installing, you need to prepare a solid base. First, you want to take off the trim, then calculate the area of the room. Prepare the floor by inspecting low or high spots. You will want to apply mortar, then set the backer boards into place. Screw these into place, then finish covering the floor with seam tape. Apply mortar over these then let dry. Now, you can start laying your tile onto the top of this! Once you are fini...

How To: Prepare your home for winter snow fall
In this video tutorial, viewers learn how to winterize their home. Users should begin by cleaning the gutters on the side of their house. Scoop out all the debris and seal it with caulk. Then change the batteries of the smoke detector and clean it. It must be replaced if it is over 10 years old. Prepare the lawn mower for the spring season by sharpening the blades, clean it and drain all the gas out. It is a good idea to trim off the shrubs and trees. This video will benefit those viewers who...
How To: Layout and plan your drywall
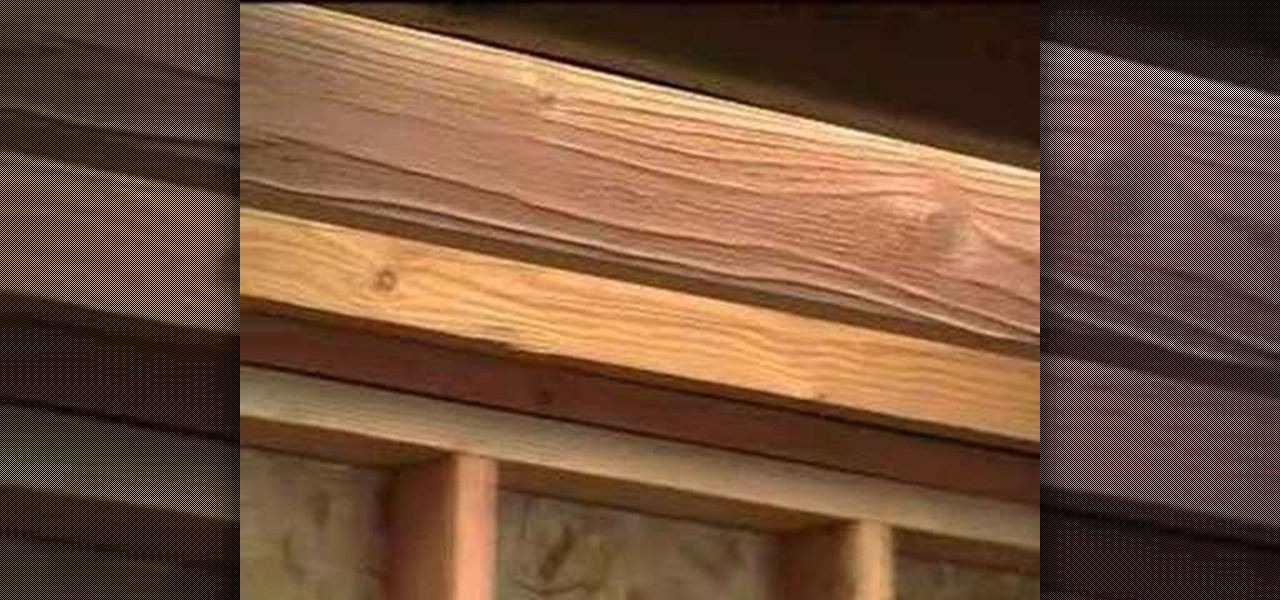
In this tutorial, we learn how to lay out and plan your drywall with Myron Ferguson. First, check the wall to make sure there is proper access inside to see what layout you're dealing with. Next, plan out what kind of materials you are going to have to deal with. Measure the ceiling and windows that are in the building and do the math to figure out how much drywall you need. Next, check for possible problems with the wall, so you can make sure your drywall will attach correctly and not pop ou...
How To: Drywall tape butt joints
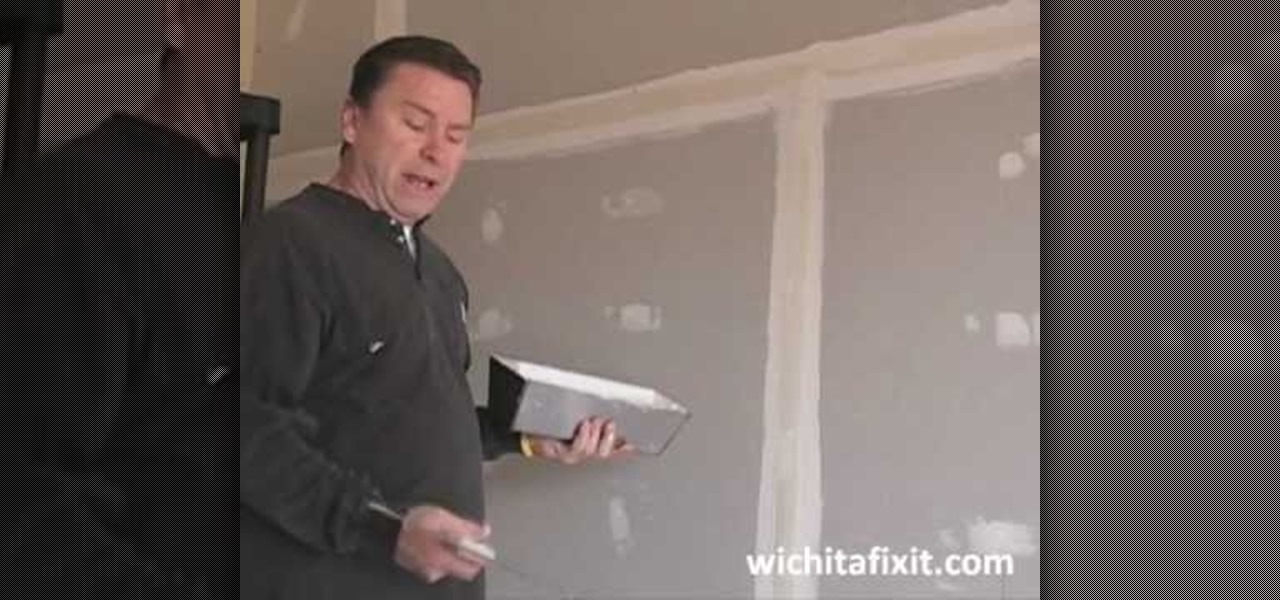
In this video tutorial, viewers learn how to drywall a tape butt joint. This task is very easy, simple and fast to do. Once the tape is on the butt joint, apply a thin layer of drywall compound and then apply a second coat of compound. Scrape off any excess compound. The main goal is to apply the compound over the tape. Make sure to use the drywall knife to smooth out and spread the compound. This video will benefit those viewers who are interested in pursuing a career as in drywall or are re...
How To: Build a PVC greenhouse
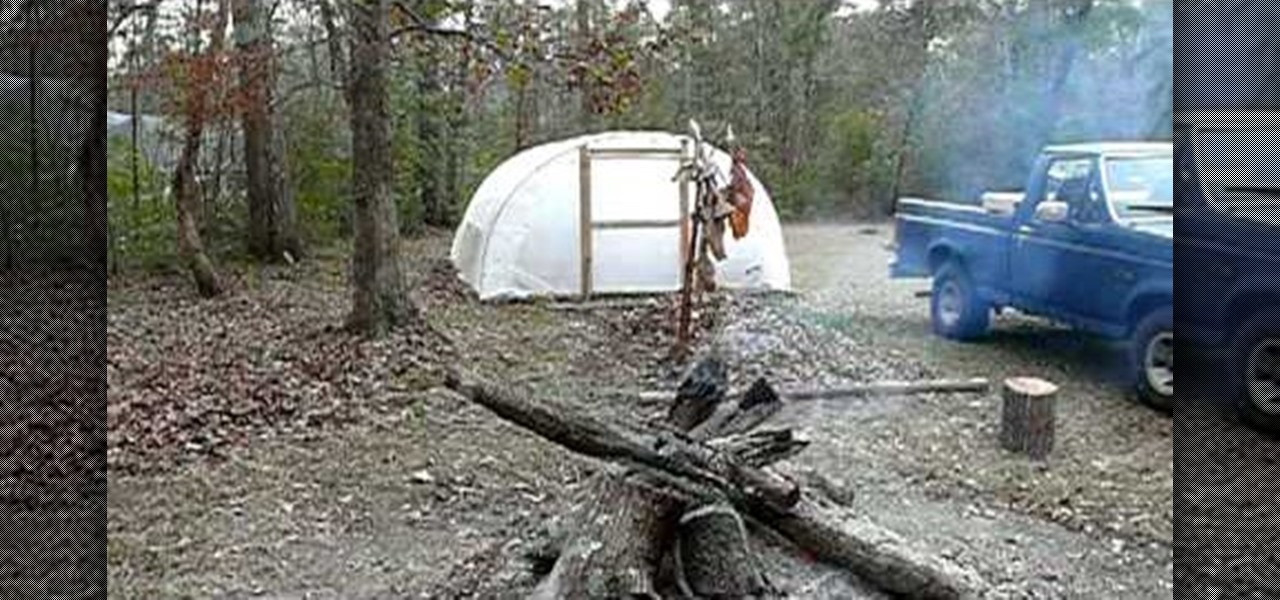
In this tutorial, we learn how to build a PVC greenhouse. The dimensions of this will be 12' x 18'. First, you will use 1/2" PVC pipe that is 12' long that crosses in the middle to make a "t" shape. The frame can be made of treated 2'x 4's. Once you have the frame up, you can use thick plastic to securely cover the pipe and wood and clamp it into place. Once you have this done, you can place your tables inside of the greenhouse and start growing your plants! If you notice the plastic not hold...
How To: Tape and finish textured drywall
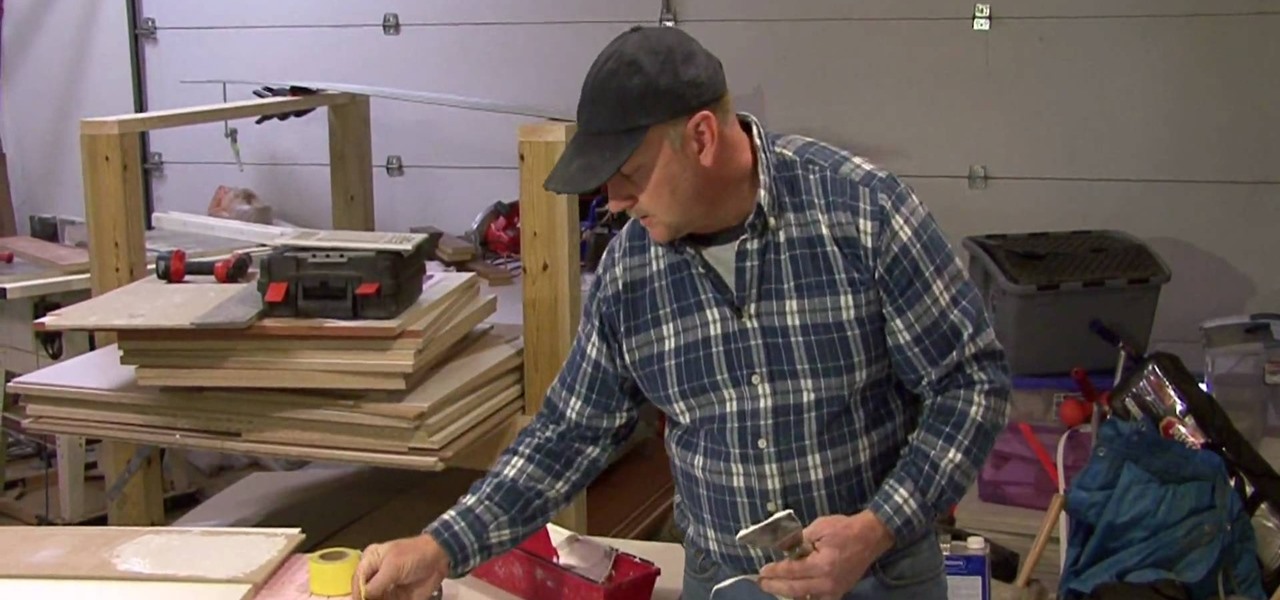
Tim Gibson teaches us how to tape and finish textured drywall in this tutorial. To begin, use a scraper to scrape off any texture around the join. This will leave 4-5 inches to replace the joint. If it doesn't come off easy, use a sponge to wet the area on both sides before you scrape it. After this, use either fiberglass tape or paper tape with drywall joint compound. If you use the compound and paper tape, you have to put a thin layer of compound down before you place the tape over it. Let ...
How To: Hang drywall in your own home
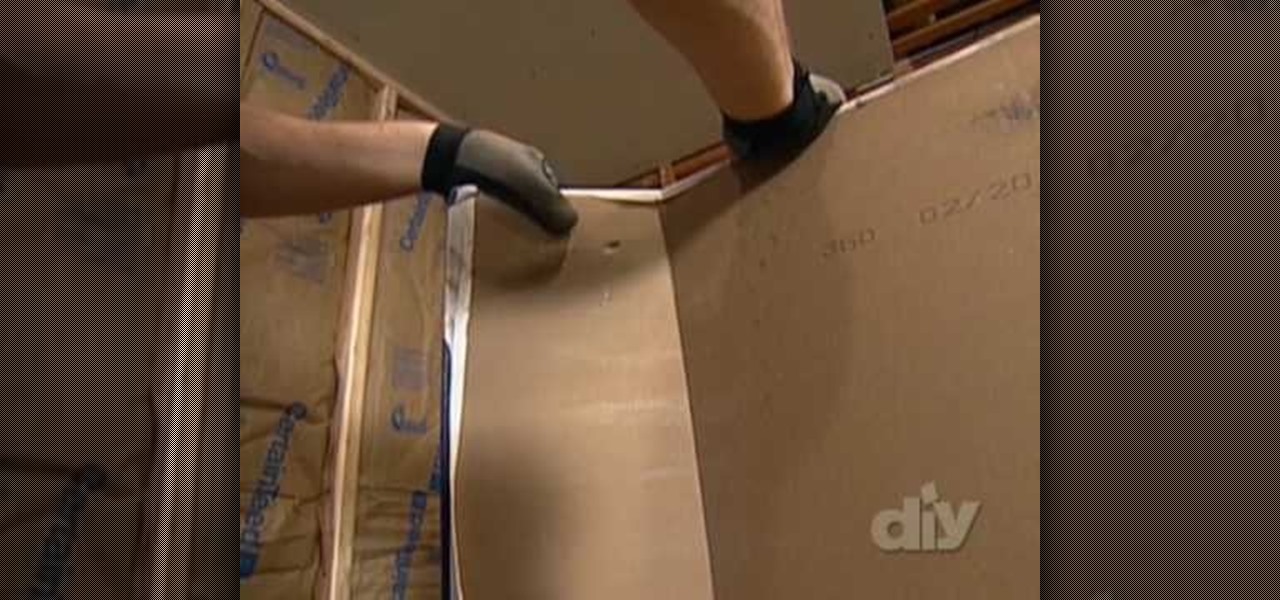
In this tutorial, we learn how to hang drywall in your own home. Hanging your own drywall will save you a lot of money, but it takes a lot of time. You will first need to start on the ceiling and then secure the drywall with screws. You will have to use a saw to make boxes for electrical boxes. When finished hanging the walls, you will need to apply compound to the walls and then paint over it when you are finished. Hanging your own drywall can save you tens of thousands of dollars over profe...
How To: Install a decorative tile border
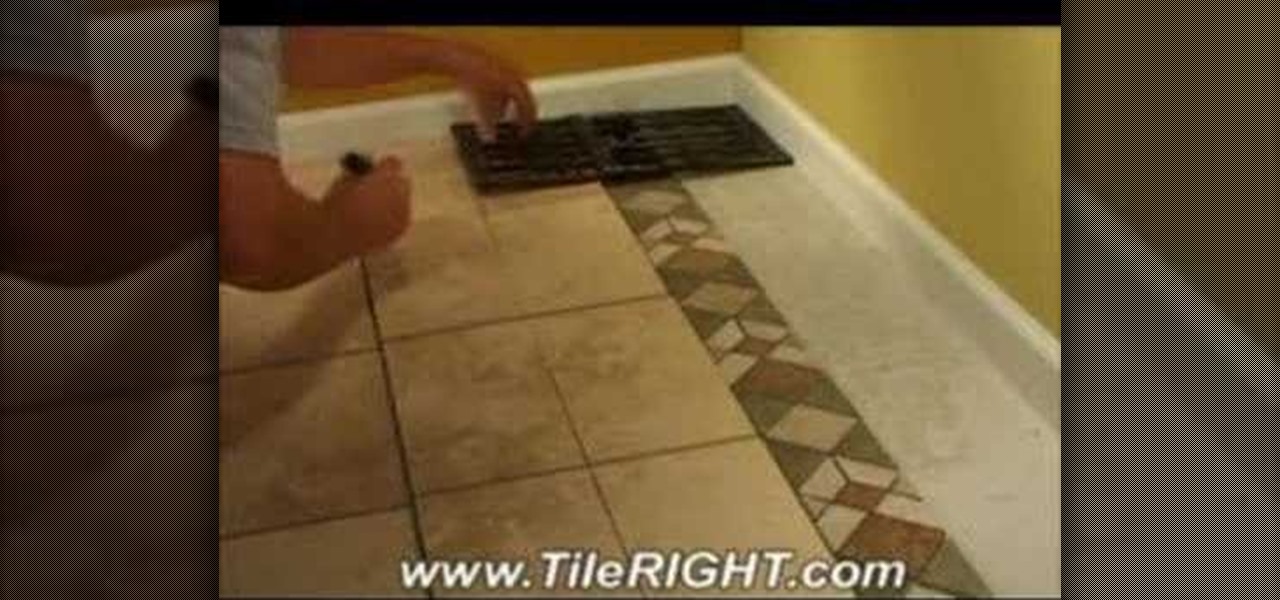
In this Home & Garden video tutorial you will learn how to install a decorative tile border. Decorative borders add a beautiful accent to any room. Start by setting the "measure right pro' tool. Slide the tool open to cover the entire tile and the width of the border. Next move out one eighth for the wall space and lock the tool. Now place the fill tiles on top of the set tiles. Then you slide the "measure right pro' along the wall and mark the tiles. Write the sequence numbers on the tiles a...

How To: Install an interior door set on a pre-bored door
This video tutorial is in the Home & Garden category where you will learn how to install an interior door set on a pre-bored door. For this you will need a tube latch, straight plates, door plates, two knobs, two sets of ring guides and a spindle. You will also need a tape measure, ruler, screwdrivers, a drill and safety glasses. A pre-bored door has a face and an edge bore. First install the tube latch through the edge bore ensuring that the angle side of the tube face is towards the door ja...

How To: Remove ceiling water stains with sealer
Got water stains on your ceiling? See how to get rid of them with this DIY home repair guide. Provided you don't have an active leak, the problem's easier to fix than you might think. So easy, in fact, that this clip can present a complete overview of the repair in just a minute and a half. Take a look.
How To: Repair a drywall taped seam easily
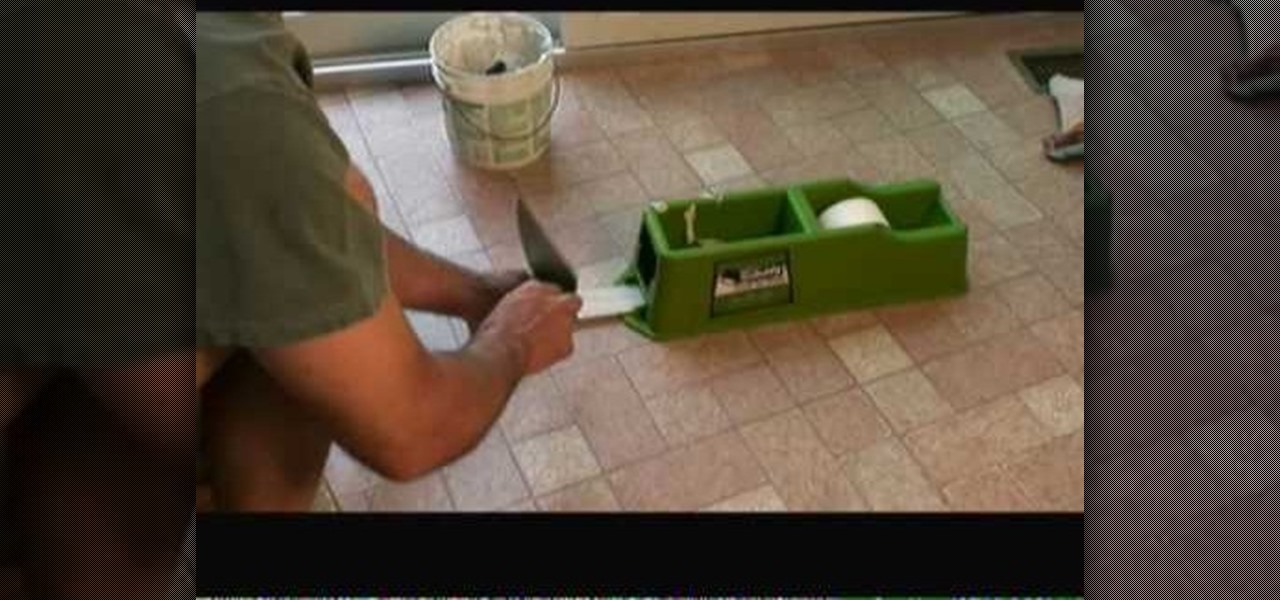
If you have a problem with your drywall tape being exposed or possibly cracking, it could have happened for many reasons. But no matter what that reason may be, it's an ugly sight to see.

How To: Blank out and finish a drywall
In order to blank out and finish a drywall, you will need the following: a large putty knife and mud. You should begin at the top. Lay on a thin layer of mud. Put a little on your putty knife. Place your putty knife in the crevice, where the ceiling meets the wall and pull it down. Repeat. Do this, until you cover your working area. Then, go back over where you started and feather it. You will need to smooth it and even it out, without distressing the area that you did first. When you finish ...
How To: Install an insulated basement floor
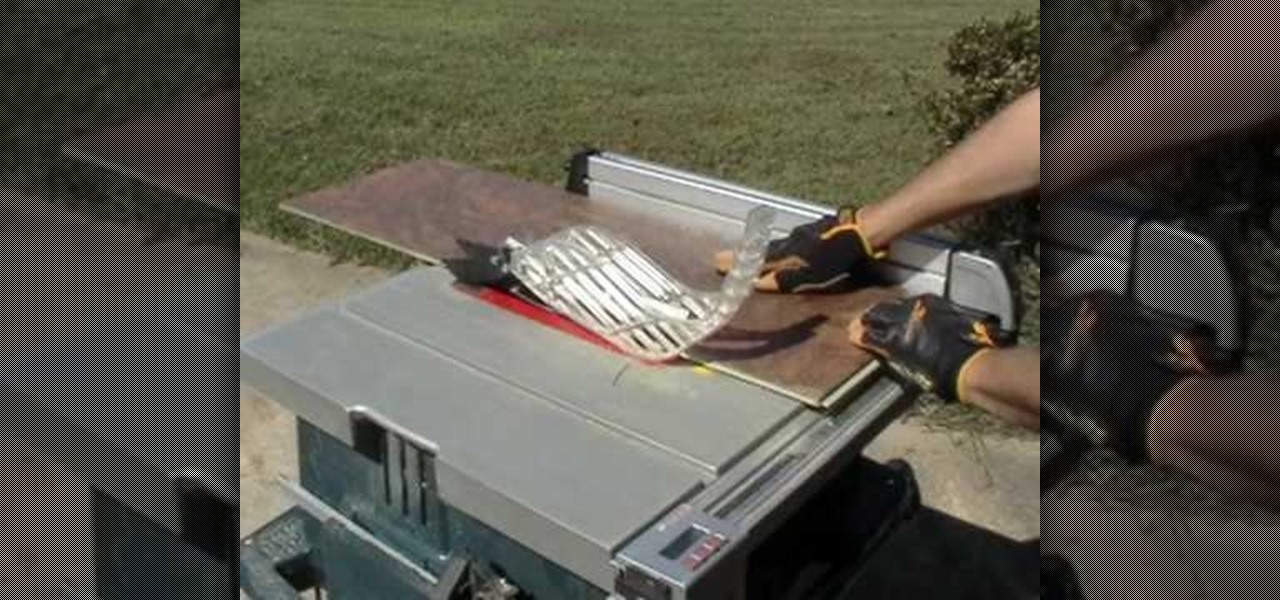
In this tutorial, Mat Weber teaches us how to install a basement floor. Start with an insulated subfloor system, top it with cork panels, and then top it with easy to install carpet squares. First, you will install OSB subfloor panels, these will protect against moisture extreme and can be applied directly over concrete. When you have finished installing these, apply cork panels to the top of the subfloor and press down so these don't come up and are packed down hard. When finished with this,...

How To: Replace bathtub sealant or caulk with Rob Hazelton
In this video tutorial, viewers learn how to replace caulk on a bathtub. Begin by placing a fresh blade into a utility knife. Then use the knife to cut out the old caulk. You want to make 2 cuts. The first cut with the knife plying flat on the edge of the tub. The second cut with the knife tip up at about a 45 degree angle. This will allow most of the caulk to come out in one piece. For any remaining caulk, take a razor blade and scrape it off. To remove any remaining mildew, apply 6 ounces o...

How To: Sand and Repair Drywall
In order to sand and repair drywall, you will need the following: 100 grit sanding sponge. After you have applied mud to the walls evenly, you will need to sand the walls until they are smooth. Hopefully, you minimized or mitigated most of the need for sanding in the application of the mud, by using feathering and thin layering. When the mud is completely dry, you will need to choose a good sander. It is recommended that you use a 100 grit sanding sponge. Place the sponge against the wall, an...

How To: Refinish hardwood floors in your home
In this video tutorial, viewers learn how to refurnish hardwood floors. Using a drum or belt sander, begin by cutting 36 grit abrasive. Then remove all the old finish marks and scratches from the main body of the floor. Using an edge sander, do the same thing. Now vacuum the floor and then repeat the process once again with both sanding machines, except use 50 grit abrasive this time. For the third time, use 80 grit abrasive and 100 grit abrasive for the fourth time. Remember to vacuum each t...

How To: Install shelves for a more organized closet
In this tutorial, we learn how to install shelves in a closet. First, you want to map out your space and then get ready to install. You want to do something that is quick and easy to install. A regular closet should only take a few hours to install. Be sure to read the manufacturer's instructions before you begin, so you know exactly what you are doing and know how to install. Now, purchase a wire shelving kit and all the accessories, a Lowe's employee can point to you exactly what you need. ...
How To: Build your own backyard patio
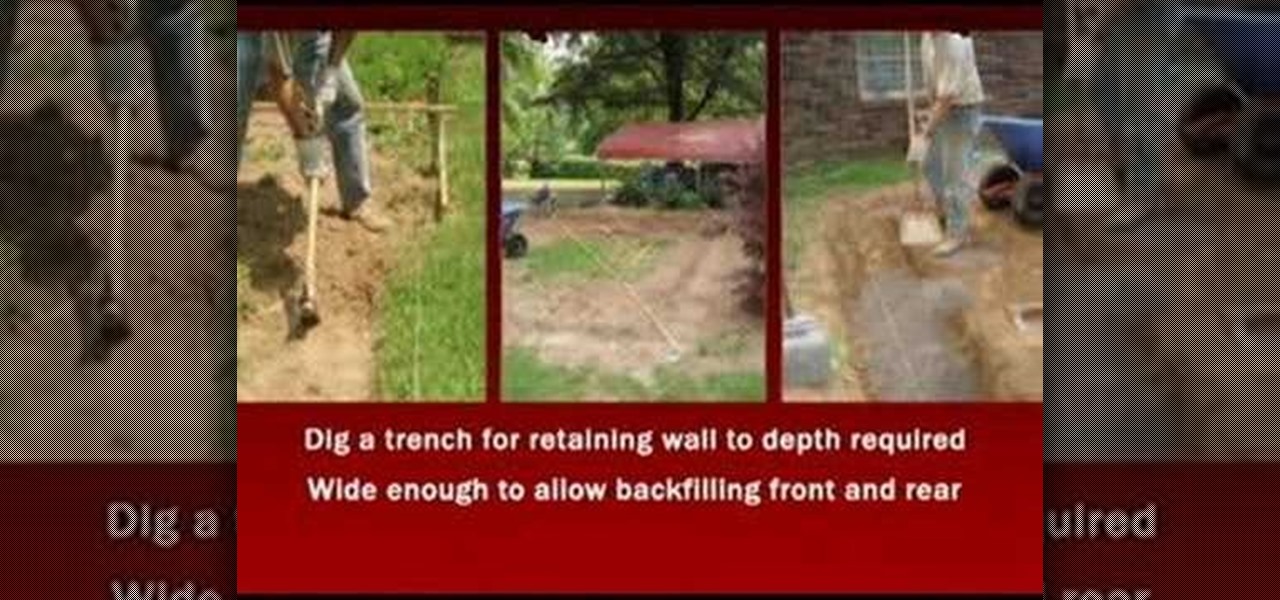
In this tutorial, we learn how to build a backyard patio. First, determine the location keeping in mind other buildings and landscape features. There should be a retaining wall around the patio so measure out all the different dimensions. Position a cap block at the highest center location. Then, use a level to transfer the patio height over the proposed location. You will then have to figure out how many blocks you need. When you calculate your digging depth, take into account your foundatio...

How To: Prevent or defuse workplace violence
In this next serious and important tutorial, you'll be taking a look at how to defuse or prevent any voilence from occuring in the workplace. This can range from a fist fight with a customer to an armed robbery. You'll find out what you need to do in order to stay alive and make sure that no one gets hurt.

How To: Operate a forklift safely when pedestrians are around
This very informative safety video, was intended to teach you the importance of using a forklift correctly when there are others walking. Just like cars, forklifts can be dangerous weapons when someone who is irresponsible or not paying attention is behind the wheel.
How To: Replace a single floor or wall tile
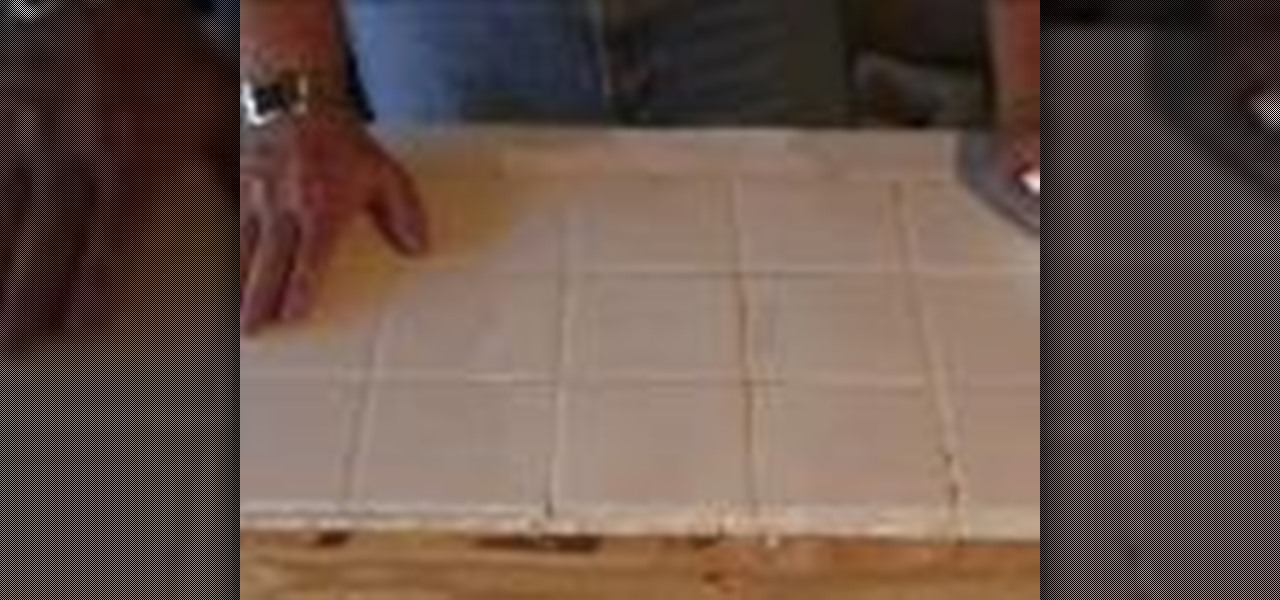
If you've recently found out that you have a broken tile in your kitchen or bathroom, not only can it bring you down but it can look a bit ugly as well. Some may think that the only way to fix it is by replacing the other tiles surrounding it as well, but that's not the case.

How To: Replace old shoe molding in your home
It may not seem like a big deal, but it can be for some homeowners. Shoe molding around your cabinets and island tables, can asily be damaged or become worn out over a long period of time. Replacing it, may seem like a pain, but it's really simple and can be done in no time. Check out the tutorial above on how to replace old shoe molding in your home today. Good luck and enjoy!
How To: Repair, prime and paint an exterior siding
Over time, the siding of a home can become damaged and lose a bit of it's color due to many reasons. Weather, is usually a common factor, but whatever it may be, it's something that you don't want on your home. This can hurt the overall curb appeal to the outside of your home and can be taken care of easily.

How To: Paint your home's exterior trim
Painting is one of the easiest and simplest things you can do to help improve the overall look of your home. Inside or out, it's easy to do and the results will be great.

How To: Protect your basement from water
Protecting your home from water sounds like an easy enough task. It's only water, right? Well wait long enough and you'll find out that water always wins. Whether it builds up in your walls or in your basement, some sort of damage will arise due to the wet substance. But there are ways to hold back the water in order to protect the very space you live in.

How To: Tape drywall when renovating your home
Whenever your renovating a room and using drywall, it's important to know what you need to do in order to prepare it properly for a paint job. There are many things that go on before you can lay the first brush of paint, and one of those things is laying tape on correctly. This not only connects the drywalls with each others, but ensures that no liquid or others moisture is able to get inside the drywall.

How To: Replace an exterior light fixture outside your home
Whether it is damaged in a storm or you're just replace an old one with a new model, replacing an exterior light fixture can help the overall look of your home. It's an easy job that can be done in less than an hour, but it's very dangerous.
How To: Insulate garage doors with foam board insulation for a warmer winter
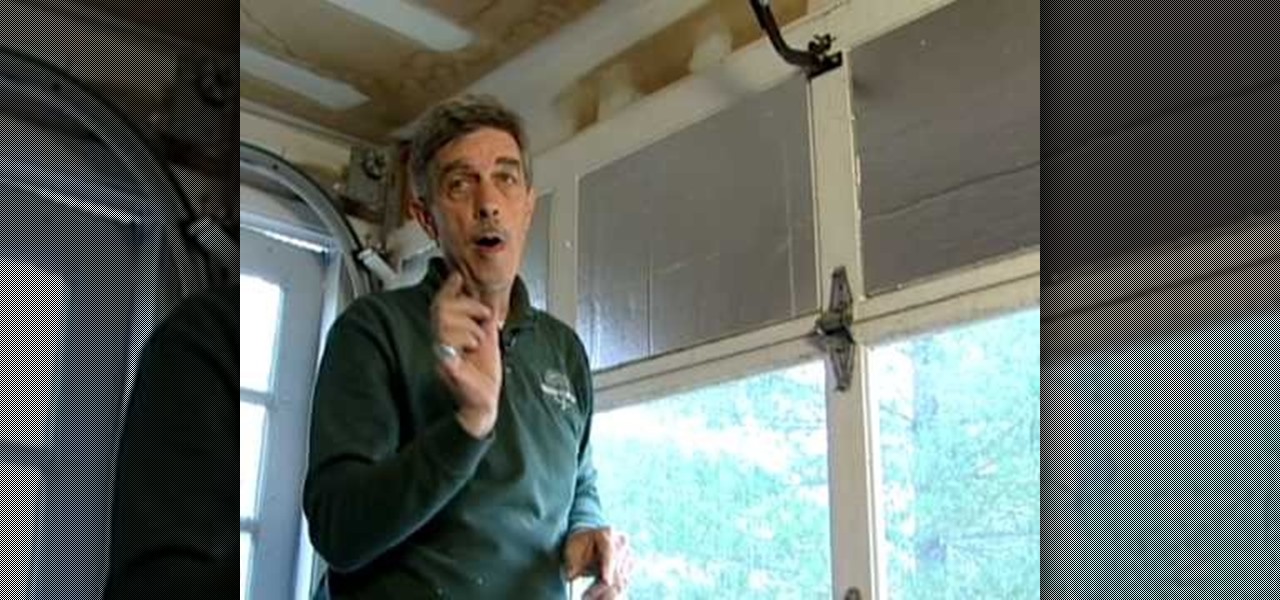
When it comes to winter weather, the garage should not be neglected, especially if you have a room directly above it. Neglecting to properly insulate and seal your garage doors will create a constant rush of cold air inside, making the garage really cold, in turn making the floor upstairs really cold. This will drive up your gas or electric bill in no time during the winter months. But you can fight higher heating costs with some DIY ingenuity, and Dave Mars will show you how!

How To: Build a swing arbor for your yard
In order to build a backyard swing arbor, you will need the following: 2x4s, 1x6s, a bench swing, 4x8' sheet, a drill, carriage bolts, galvanized nails, and screws.


