Everything Else


How To: Make maple syrup in a sugar shack
Learn how to make traditional maple syrup with expert Bill Hiller. This great tutorial series shows you what to look for in the trees as well as how to process it.

How To: Use Dap Foam sealant and 3.0 Weather seal caulk
In this video tutorial, viewers learn how to seal gaps in houses using DAP foam sealant DAP 3.0 Weather seal caulk. The DAP products are designed to meet the tough standards demanded for professional window & door installations while effectively sealing large cracks, gaps and voids. Users learn to use the foam sealant to seal in gaps from inside the house. The gaps found behind wall trims. The seal caulk is used outside around windows. This video will benefit those users who want to learn how...

How To: Replace a doorknob in your home
Is your current doorknob sticky, wobbly, or just not cutting it out for you and your family? Well in this video Barbara K will demonstrate exactly how to replace any doorknob in your home.
How To: Remove an acrylic scratch
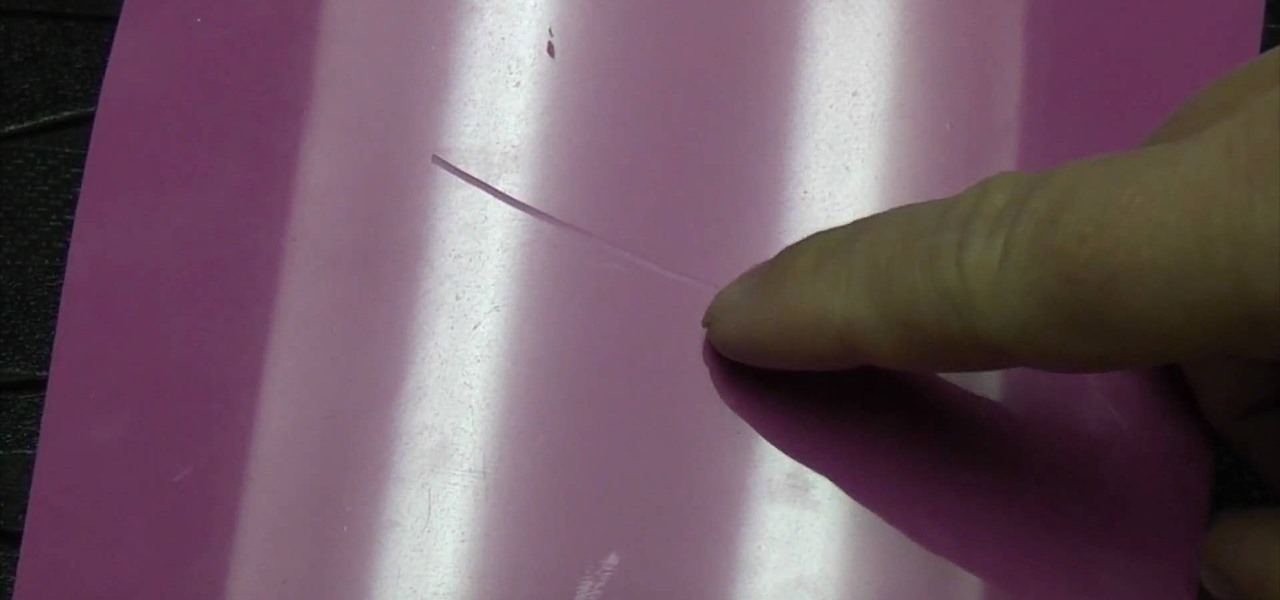
To remove the scratch in acrylic you need to first use Silicon Carbide water proof paper of 600CW grade. Turn over the paper and rub the scratched area of acrylic in a circular motion. You will see the scratch disappears after few minutes. Thereafter use the Silicon Carbide water proof paper of 1200CW grade which is more fine. Again rub over the scratched area in circular motion. Then wipe off the area and you can see after some time of rubbing the scratch is completely disappeared. But it le...
How To: Make a bicycle rack out of repurposed closet racks
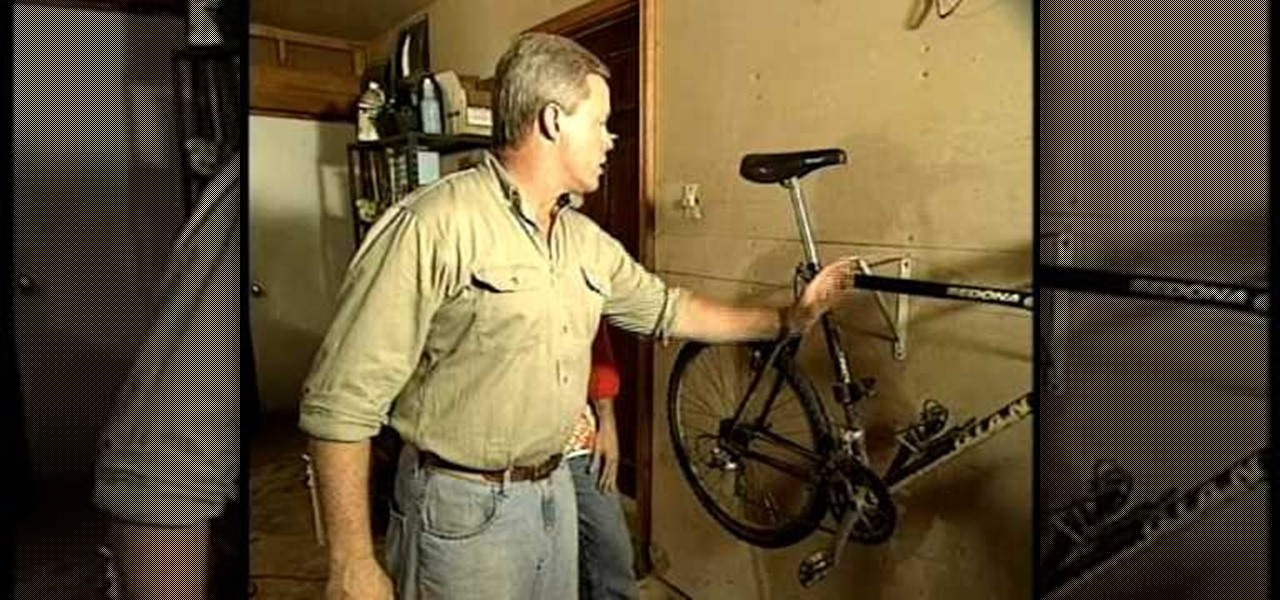
Danny Lipford and Joe demonstrate how to make a bicycle rack out of repurposed closet racks. Closet brackets can be used to store bicycles. Instead of hanging the bicycle on the ceiling for long term storage, fasten closet brackets to your garage wall to more practically easily access your bicycles on an everyday basis. First, drive drywall screws into the wall studs. Space the brackets about 16 inches apart. Hang the bike right on its crossbar from the brackets. This method only works with b...

How To: Stack cut lumber
In this video tutorial, viewers learn how to stack cut lumber. This process if very simple to do. It will save the worker a lot of time, instead of measuring and cutting each piece individually. The stack cut will cut a number of lumber into the same length. This can be used to cut a single stack or an entire unit. Begin by squaring up one end of the stack. Mark your measurement on top. When you cut, it will leave a mark on the next board. Continue to cut through all the lumber. This video wi...
How To: Install a glass tile backspash
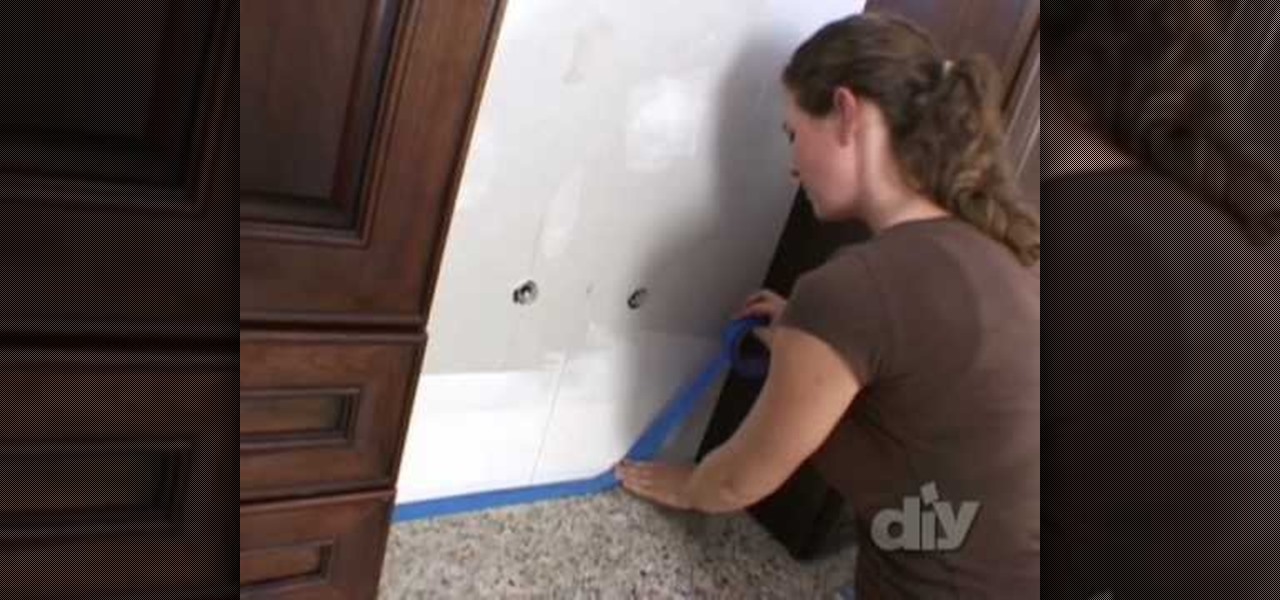
This video is to show how to install a glass tile backsplash. Because installing glass is a little different then installing ceramic, knowing what to do is important. Use painter's tape to protect your surroundings wherever you are installing your glass and use only a white thin set mortar recommended from the glass manufacturer to adhere your tiles. Since the glass is see through, unlike ceramic tiles, you need to make sure there is no discoloration and smooth out the ridges on the mortar fo...
How To: Repair a chip in a procelain sink
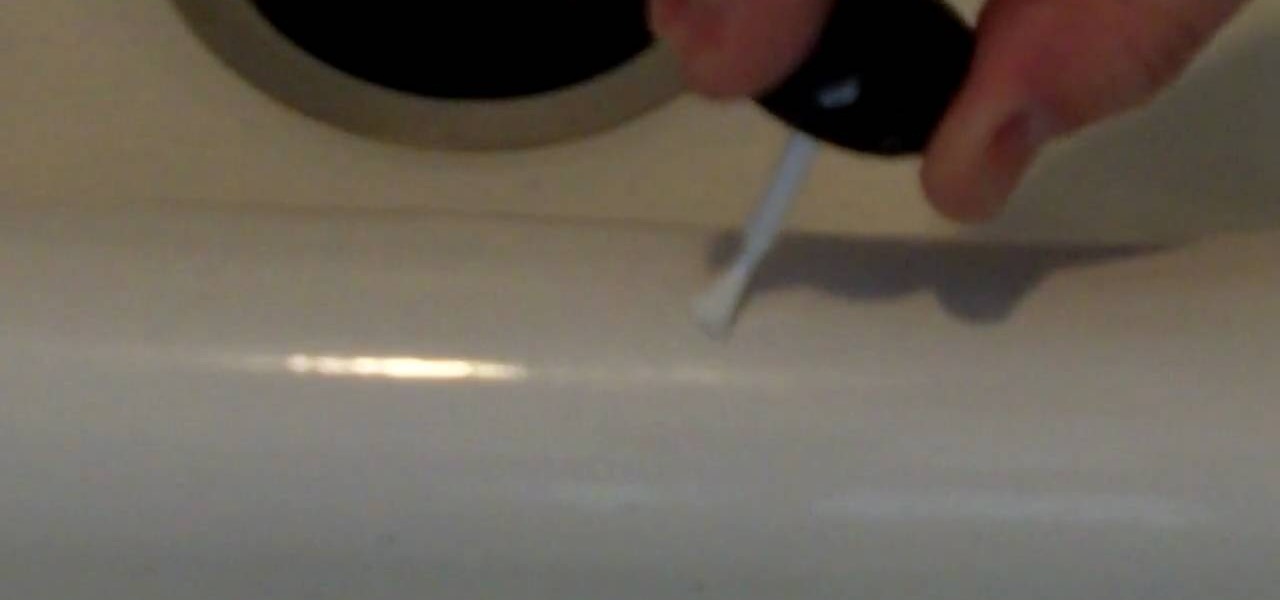
You can buy a porcelain patch kit to fix chips in your porcelain sink. You used to have to take two steps to repair it starting with a filler followed by a glaze to make it shiny. The video teaches how to use patch kits that you paint on like nail polish. To apply the patch you want to put on several thin coats and let each coat dry. When you apply the coats the key is to get the patch level with the rest of the sink. Then you can sand it with 220 grit sandpaper. After you have sanded the are...

How To: Fix a crack or gouge in your hardwood floor
Start by putting tape around the area that you want to patch. This will keep the wood filler from getting all over the rest of the floor. If there is anything down in the floor like dog hair or crumbs make sure you get that stuff out before you put the wood filler in the area. Then take some wood filler in a plastic tube and put a line of filler in the hole. Use a putty knife to force it down into the area you are filling and then scrap the excess off. Do this until the hole is completely fil...

How To: Lay ceramic tile with drywall spackle
Tree Climbing Man demonstrates how to lay ceramic tile with drywall spackle. You don't need to rip up your existing floor and put down plywood or a sub floor to lay down a new floor. You can put ceramic tile right over existing linoleum with less work, less heartache and less problems. First, spackle the back of each tile and lay it down. You can also use a stapler and tape to fix problem areas. You don't need to go crazy with the adhesive. Spend your money on quality tile. You can use clay f...
How To: Pay your contractor
Ilyce Glink with ExpertRealEstateTips tells us about how often home owners ask her "How much should I pay a contractor before he or she starts the job?". The one who will be answering this question is Line Epstein, Vice President of Baker Construction Group. "You should never pay your contractor in full before the entire job is completed" -he says. "Not that he's going to run off with your money, but you want to keep some incentive to get the job done right. You should give a deposit of 5 to ...
How To: Weather strip your house
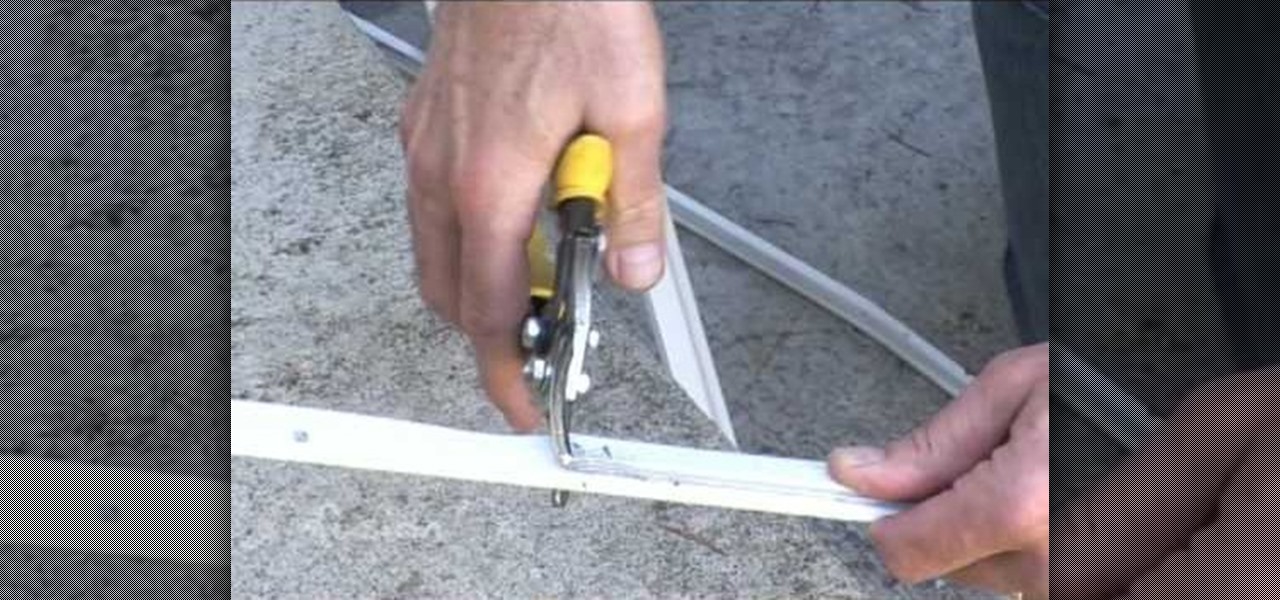
The hosts, Robin Burke and David Musial, show how to install weather stripping to keep the heat in your home and the cold out. David demonstrates how to remove old, worn weather stripping. He shows the new weather stripping and makes a cut, demonstrating what to do if a new piece of stripping doesn't fit your door. Robin then shows us how to install weather stripping on windows, demonstrating how easy it is to attach the material. Using these techniques, you can further insulate your home fro...
How To: Repair a wash machine lid switch
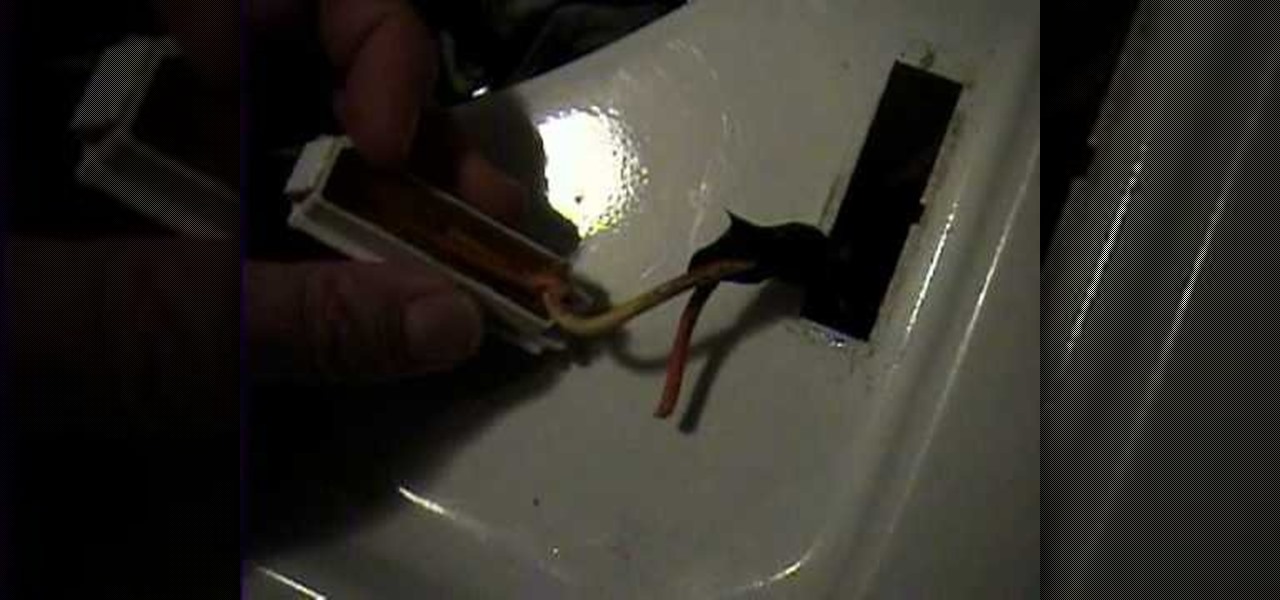
This Home and Garden video tutorial shows how to repair a wash machine lid switch. This video is on a GE Prodigy machine. Looking inside the machine under the switch, she finds that two wires are broken. Take a screwdriver and press down the clip of the switch from underneath. One end will come out. Then, pull out the switch. After that it is very simple. Cut off a bit of the plastic coating from the ends of the wires, connect them to the switch and put some electrical tape around them. Now y...

How To: Build storage shelves
Nine inch storage shelves are spaced and constructed in a practical way. It shows the right screws. This requires a drill some wood. The viewer is shown how to make a good back brace for the shelves. It shows how to make the shelving unit level. You learn the screw head must be flat. You are also shown how to put in a good support for underneath the shelves. It shows the center support being constructed. He shows how to set the shelves up so there is support from all sides and to make the she...
How To: Build a platform storage bed for under $200
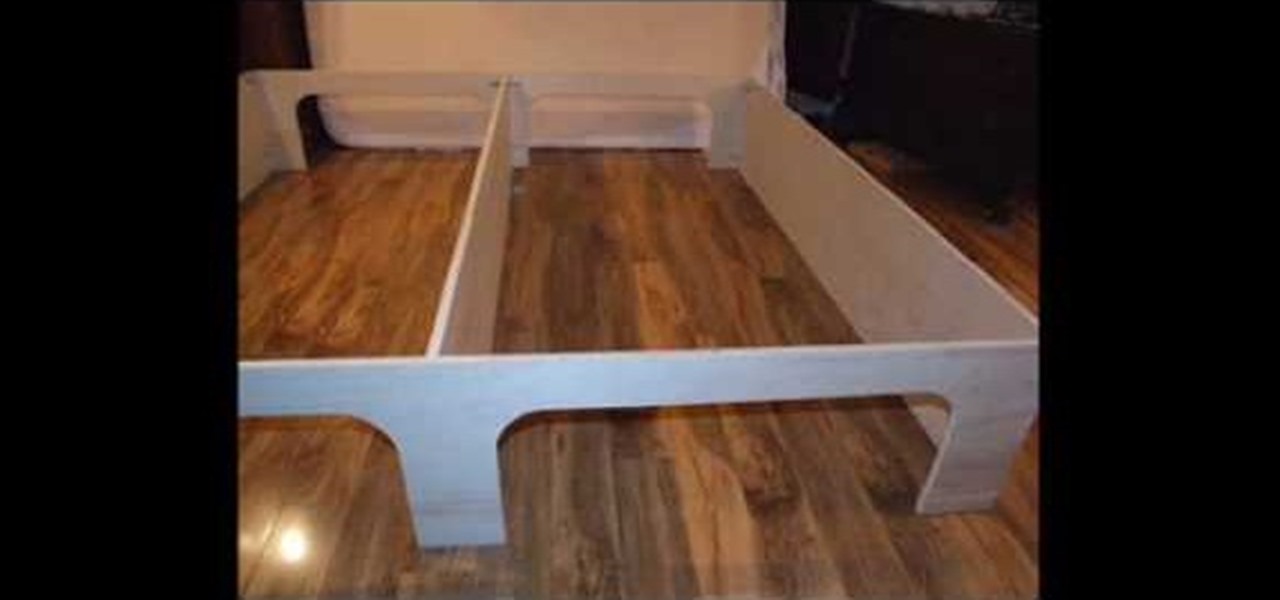
Following are the steps to describe how-to build a platform storage bed at a low cost: 1. All you need are the following materials: (Say a bed size of 16. 5 inch)4 sheets of plywood, 3 (1x4x8) plywood, 20 2-inch corner braces, 1 (1/4-inch) drywall screw, few nails.

How To: Build makeshift outdoor stairs
In this video, Andy Bell shows different ways of how to build temporary makeshift stairs for use during construction or remodeling projects. He will teach you how you can easily measure your own stringers (the sides of the stairs, that the steps rest on to cut them on your own, or, as he tells viewers, you can also build stair building kits that come with the stringers precut and ready for use. Learn about the variations of precut stringers, as well as their affordability! Then, the procedure...

How To: Sew a blind hem stitch to make Roman shades
This video demonstrates how to sew a blind hem stitch to make Roman shades. This stitch is very easy to do. You need a sewing machine that has a blind hem stitch already programmed in it and a blind hem foot. The video shows two different kinds of blind hem foot for two different sewing machines. The one for Viking machines is used here. Fold and pin a one inch hem on your panel, making sure that the pins are pointing off the edge of the panel. Lay your panel on the machine with the hem side ...
How To: Find a leak in the roof of your house
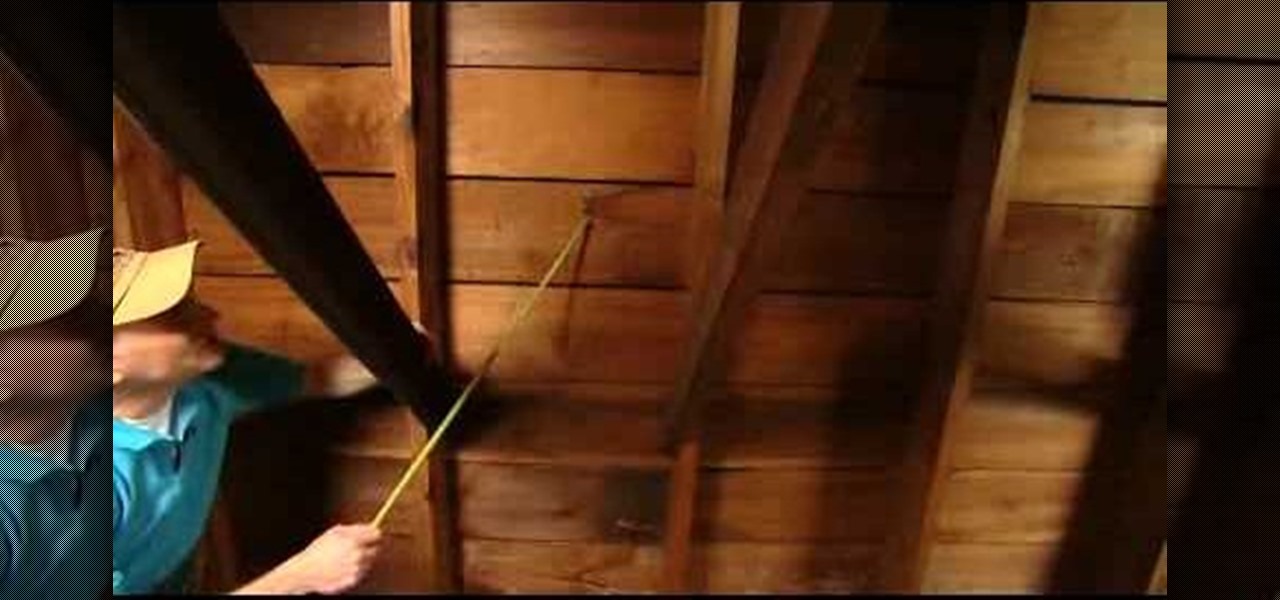
You might notice a brown water stain on a wall in your house and the source of the stain may be a leak in your roof. So, it's good to go up into the attic and look around to see if you can find the source of the leak. When you get up in the attic take a flashlight and look around at the boards that make up the roof. If you see any brown rings that is a sign that you have a roof leak. Water can leak through the roof and run down the rafter and into the wall. The best time to check for a roof l...
How To: Prep for painting
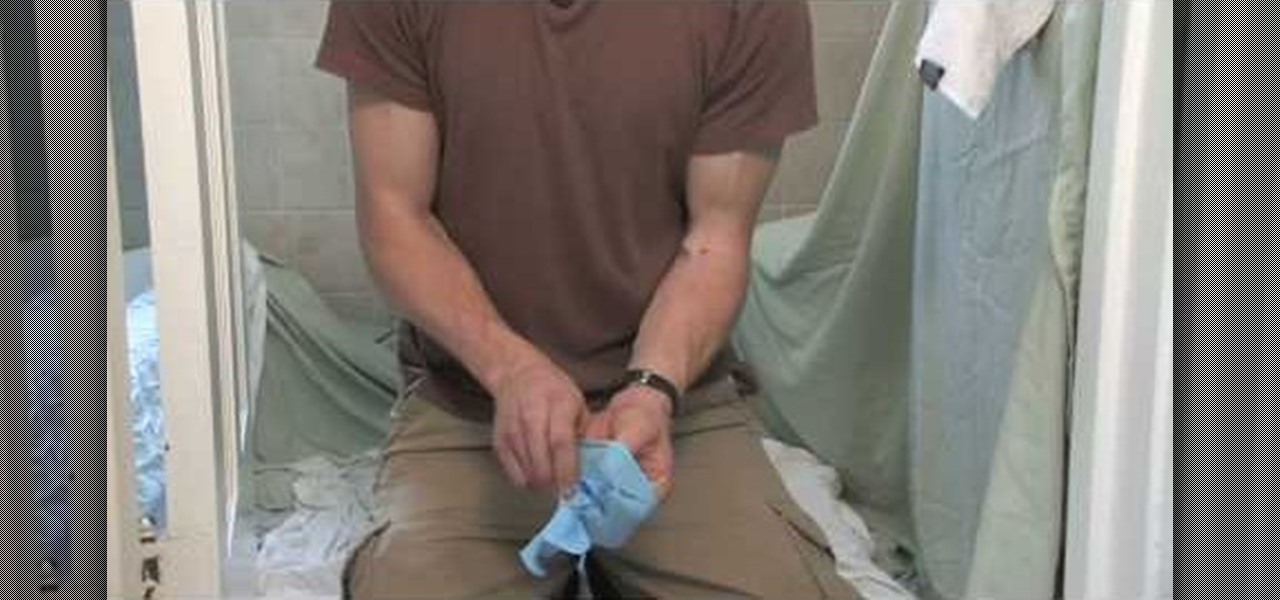
Expert Real Estate Tips and Andy Sjostrom with The Good Handyman demonstrate how to prep for painting. A good handyman will handle your items with care. Be sure to remove light fixtures. Before you begin to tape off an area, take a damp rag and clean the areas that will be taped so the tape will adhere to them. Use latex gloves to keep yourself clean during the painting process. Then, tape off the area needing painting and put down a drop cloth. If you get your paint from a big box store, mak...
How To: Install mosaic tiles in your bathroom vanity
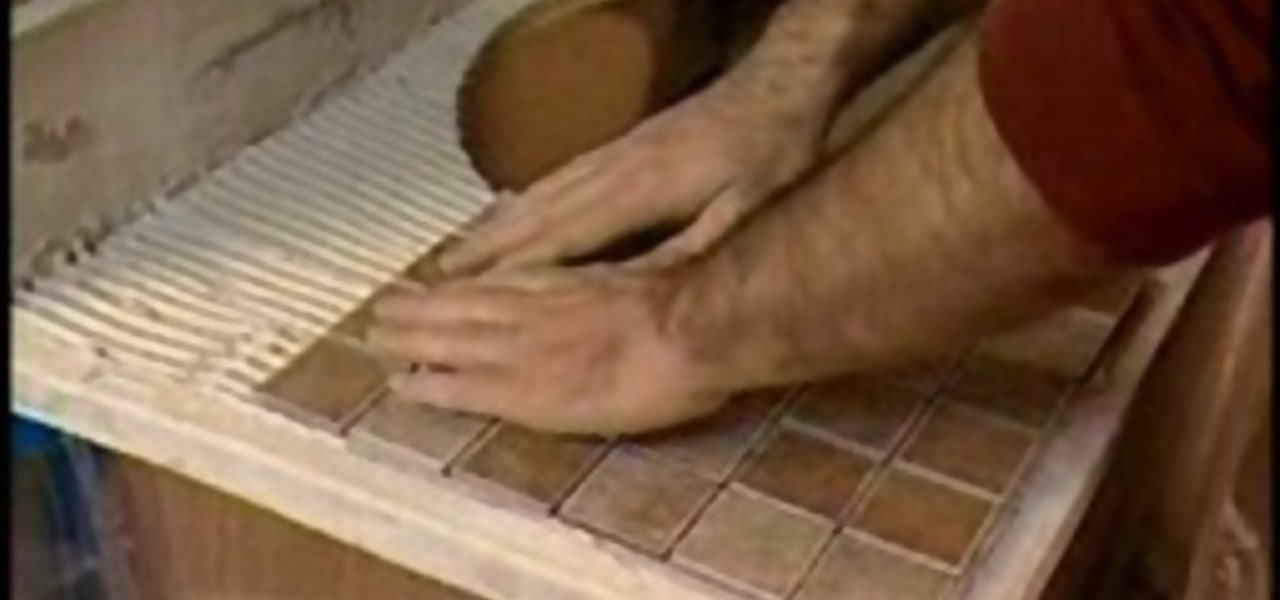
In this Home and Garden video you will see how to install mosaic tiles in your bathroom vanity using mesh pack sheets of 1 inch mosaic tiles and cap edge tiles. Hold a cap tile against the edge of the vanity and draw a line along the edge of the vanity. This will be the first joint line. Lay off the mesh pack mosaic sheets over the vanity top. The edges should be aligned with the line you drew. Mark the line near the joint on the last full sheet near the back splash. Also draw reference lines...
How To: Repair a self-closing door
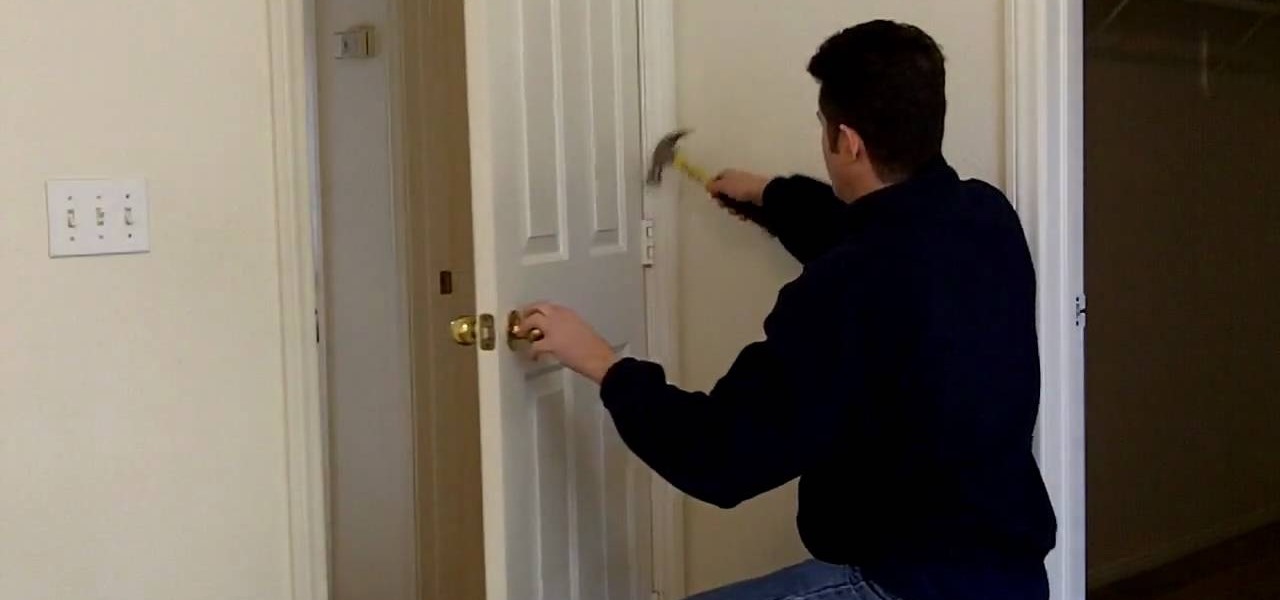
This video is about fixing self-closing doors. Doors close by themselves when they're not hung plumb, and gravity closes the door. The solution is to remove the hinge-pins and to roughen the bottom of the hinge-pins to create friction, keeping the door open. One removes the hinge-pin with a hammer and small screwdriver. Tap the bottom of the hinge-pin against a cinder block or rough, hard surface. If using this "friction-ized" hinge-pin does not solve your problem, try repeating this process ...

How To: Build a simple miter clamp
In this Home and Garden video tutorial you will learn how to build a simple miter clamp. Chuck Miller in this video explains how simple and easy it is. When you glue in two parts together, you need to hold them in place so they join firmly. A simple way of doing this is by a miter clamp. Take a spring clamp, remove the protective seals from the end of the clamp, put some oil and drill a hole through it. Using a wooden block hold the jaws apart and screw in a fine threaded screw on both the ja...

How To: Set up a generator for a home or business
This video details how to set up a generator to provide back-up power for a home or business. Generators are the ideal emergency power solution for a home or business, generators can automatically transfer the power load from the utility power line to the generator when an outage occurs. To make sure the generator is always ready, generators can self run weekly and perform self diagnostics so maintenance issues are minimized or eliminated. When planning to use a portable generator, it should ...
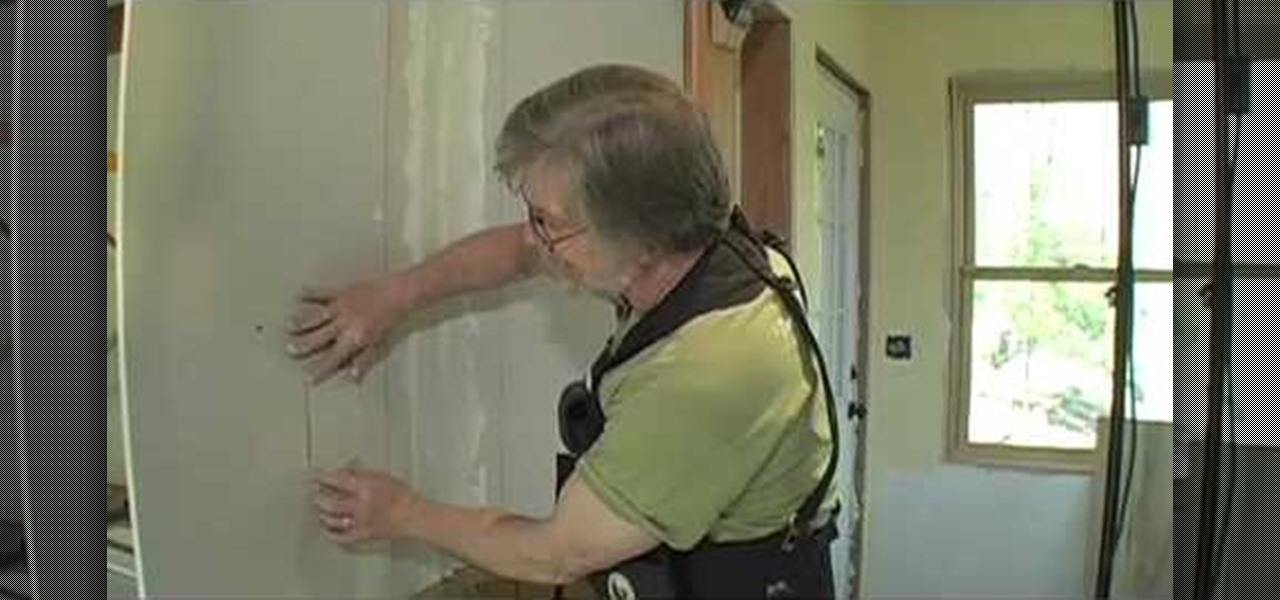
How To: Patch drywall on your own
Chuck Miller gives us a great tip for patching a small hole in drywall, such as a hole from an outlet box.
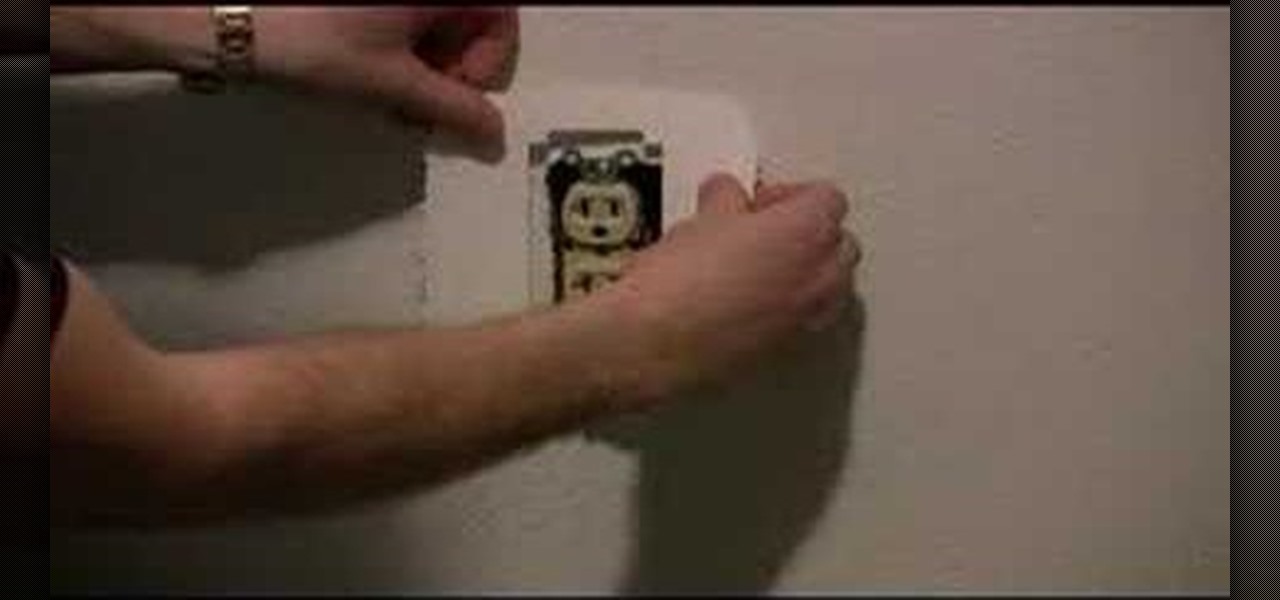
How To: Repair damage around wall elements such as outlets
This Home and Garden video tutorial is going to show you how to repair damage around wall elements such as outlets. The video demonstrates how to repair a gap around a socket that was created due to a miscalculation on the part of the mason. The simplest way of repairing this would be to take the cover off, get a patch which is pre cut to the correct dimensions, peel it off, place it correctly over the opening in the wall and press it on. You could paint the area with matching color. Then put...
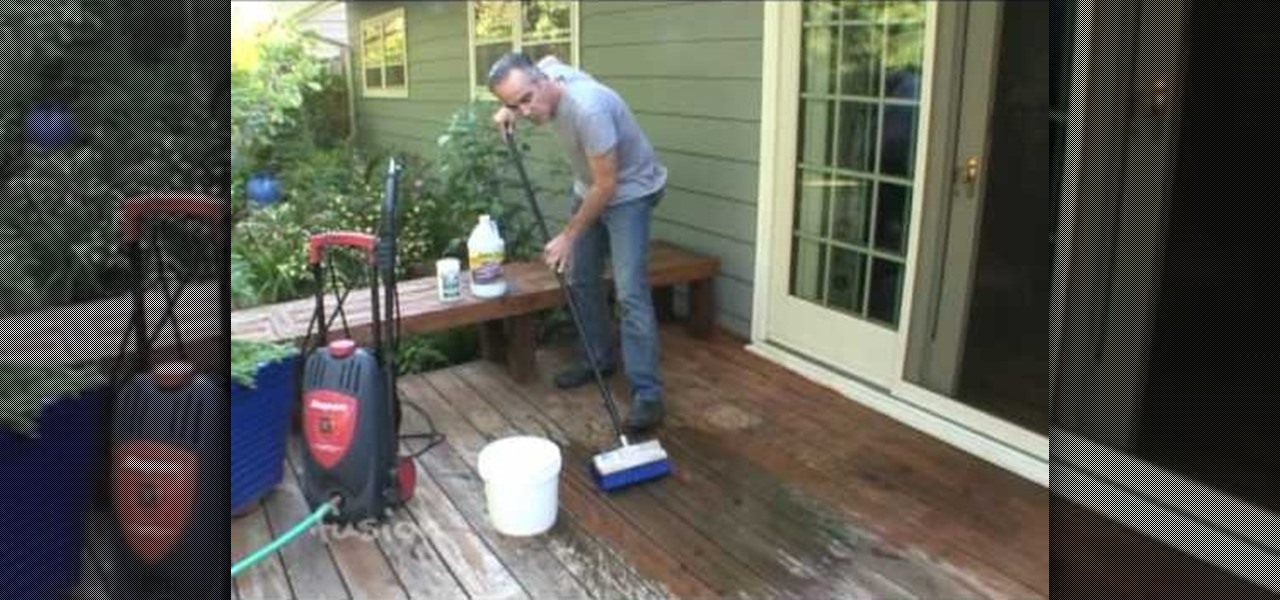
How To: Seal your outdoor deck
This is the demo showing how to seal your deck. The first thing you should need to do is to wash the deck. Most people prefer to use a pressure washer for that. You should be careful while using a pressure washer. The components needed for this are Armor All E-Z Deck Wash. It’s a good bleach and a good cleaning product. You should be careful while using it because it can stain your clothes. Another product is the Sun Frog Deck Cleaner. This is a product which you should mix with water. Before...
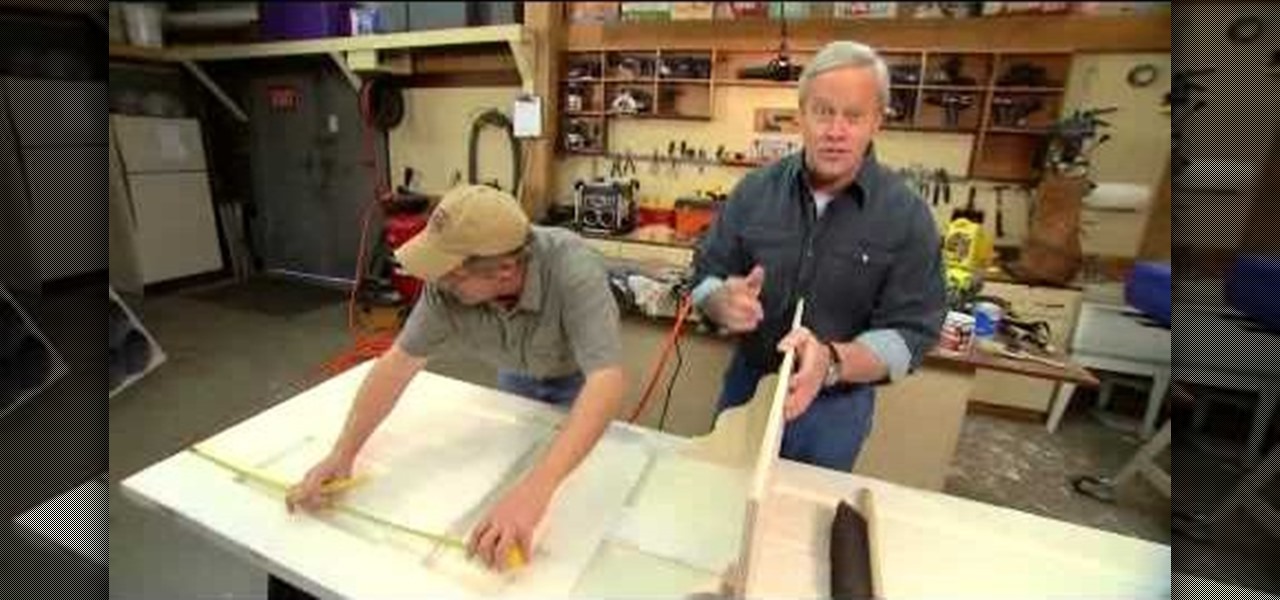
How To: Turn an old door into a small computer desk
This step by step tutorial will show you how an old door can be turned into a beautiful desk. Danny Lipford explains how an old door can be used to make a headboard, room divider or even as art. He then gives you basic instructions on revamping your door to become a desk. He starts off by removing all the elements that make a door a door, like hinges and door knobs. By filling in the holes left from the missing hardware with bondo you are left with a smooth surface ready to be cut and shaped ...
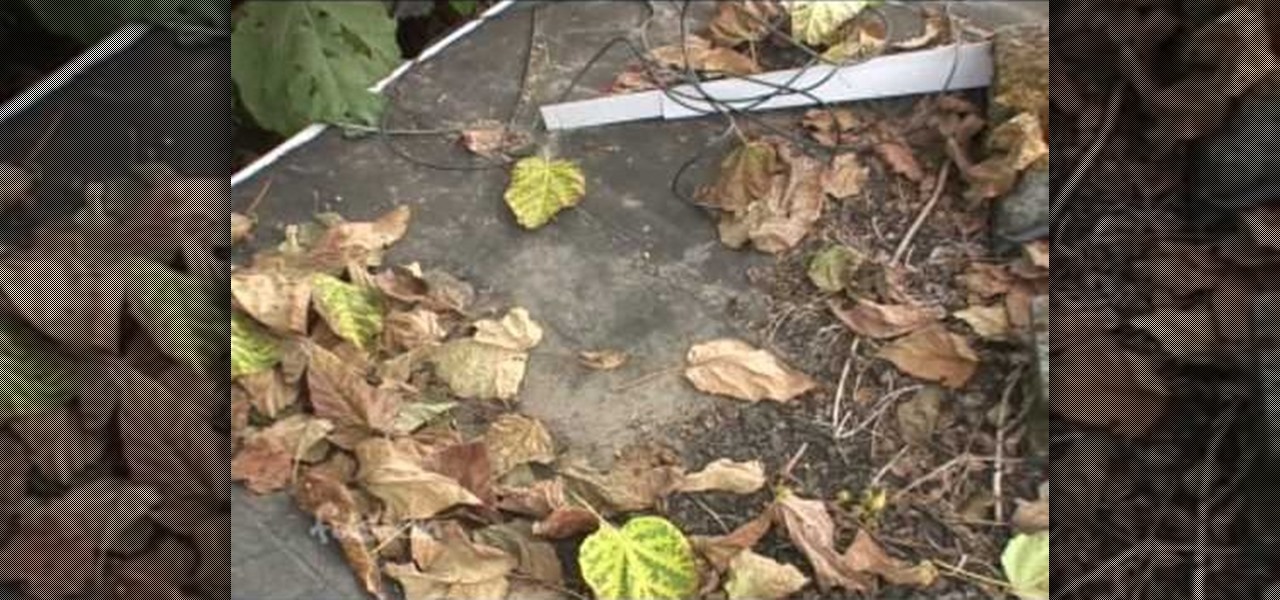
How To: Inspect your roof
There are a number of things that users must check on their roof to insure safety and prevent any leaking. For example, users should check that the roof vent is fastened and ensure that there are washers or caulk under the nails. On the chimney, make sure the flashing is fastened tightly and downwards. Users should also inspect the condition of the chimney. Remove any tree branches and clean the roof. This video will benefit those viewers who want to learn how to secure their roof from proble...
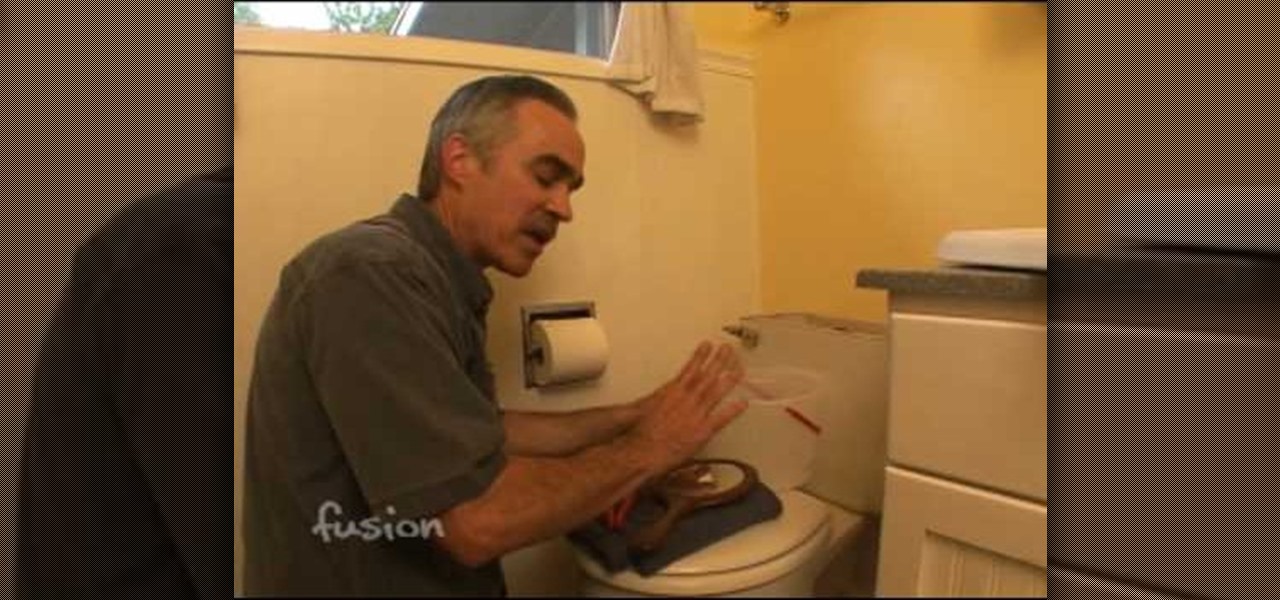
How To: Fix a leaky toilet
FusionGuy09 tells us how to fix a leaky toilet. You should be able to hear the leaking toilet. First thing you want to do is turn the water off. You can do this by reaching behind toilet and turning a lever. Next, flush the toilet to remove the water from the tank. Remove the flapper and check for wear with your finger (don't worry about the water back here, it's sanitary). Look out for cracks or pieces coming off. Also check the valve seat for spots without a seal. If you find parts that are...
How To: Build a storage rack for muddy shoes out of buckets
If you have a lot of spare buckets lying around your home, it's time to finally put them to use. Join Danny Lipford from dannylipford.com as he walks us through a useful storage method. Danny will be teaching us how to create a simple rack for storing muddy or dirty shoes, using only spare buckets. In his walk through, you will learn how to cut and shape your buckets, as well as the kind of tools you will need to build your shoe rack. You'll definitely save a lot of money on storage supplies ...
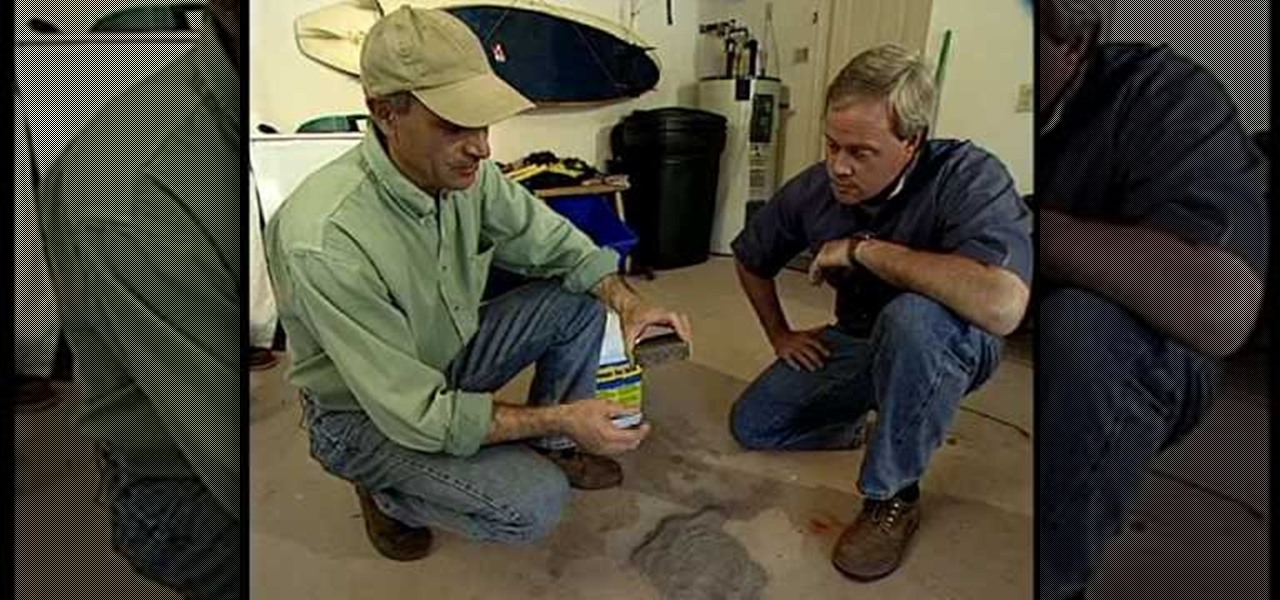
How To: Remove an oil spill in your garage
Has your car recently had a leak and left your garage floor looking stained and grubby? Get your garage or driveway sparkling clean with this video from Danny Lipford.
How To: Cut a crown molding and coving scarf joint
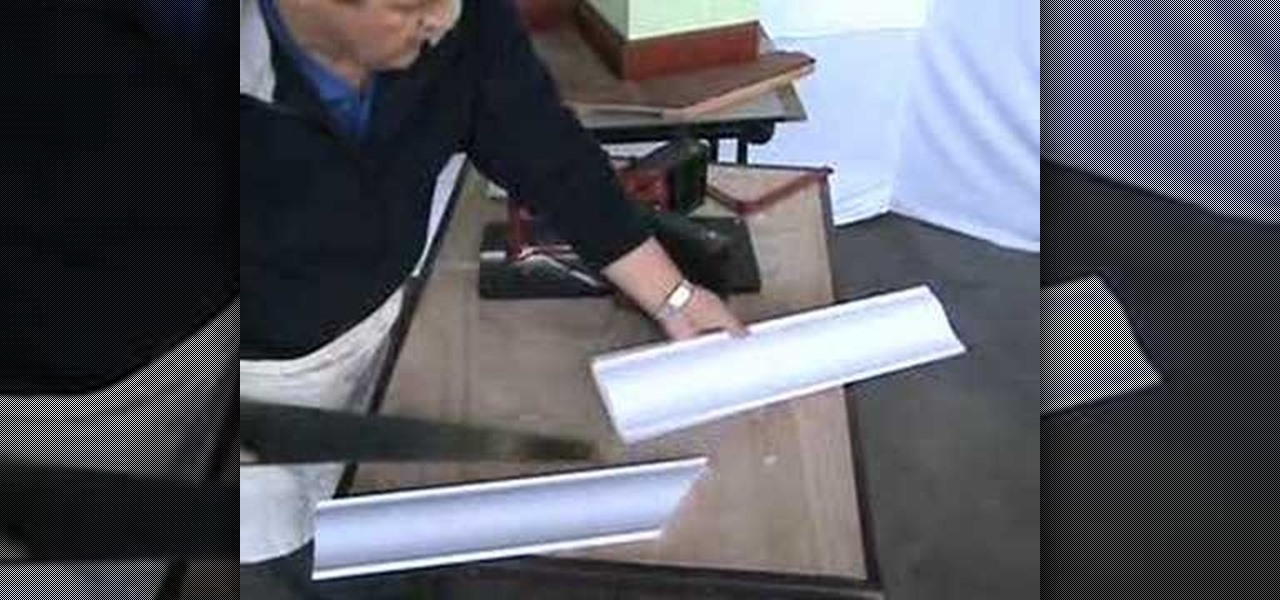
In this video tutorial, viewers learn how to cut a scarf joint in crown molding and coving. Scarf joint is simply two flat planes meeting on an angle relative to the axis of the stock being joined. Users will need a magic miter. The magic miter is a miter box for cutting miter joints at any angle in crown molding, baseboard, chair rails and more. Adjust the machine to a 45 degree angle and lock it. Put in the mold and cut it. Repeat the same step for the other side. This video will benefit th...
How To: Clean a dirty window screen
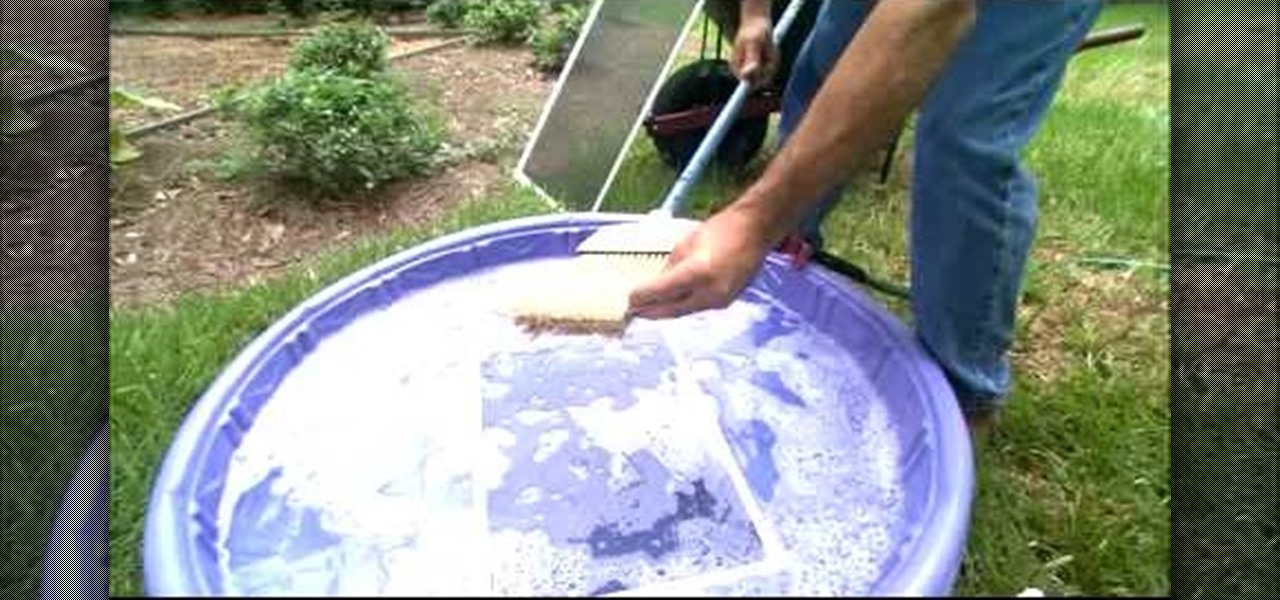
This video is a tutorial on how to clean a dirty window screen. The man in the video points out that most homeowners will take the screen off the window and spray it with a hose. This leaves the screen still somewhat dirty. To clean it properly, you need a wading pool filled with water and liquid detergent. Put the screen in the wading pool and soapy water. Let it soak for a minute or two. Then you will take a broom and gently sweep both sides of the screen. He recommends to use a soft bristl...
How To: Refurbish brass door furniture with cleaning polish
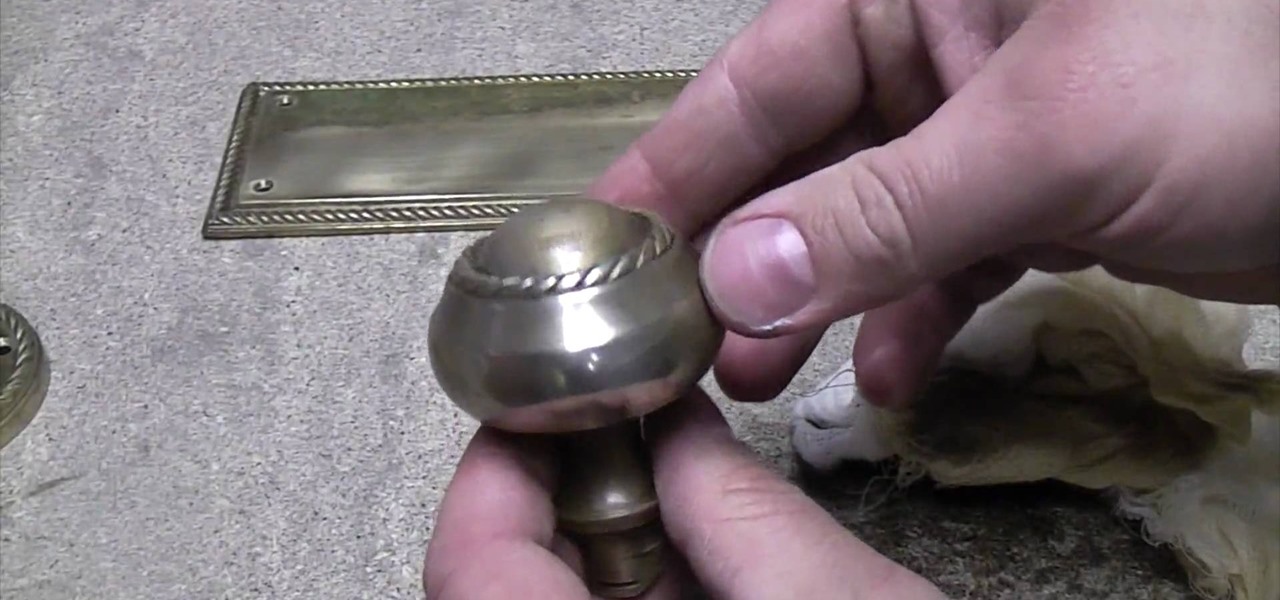
The video is a description of how to refurbish a brass door frame, and door knob that has gone dull due to the lacquer. Purchase lacquer and metal polish at a hardware store. Before beginning work, remove the circulate at the back of the door knob with circulate pliers. Take the component parts of the door knob apart and set the spring and clip aside to be replaced later. Take a clean cloth and put metal polish on it. Using the cloth, polish the knob. It may take a while to get all the grime ...
How To: Install a toilet for an RV
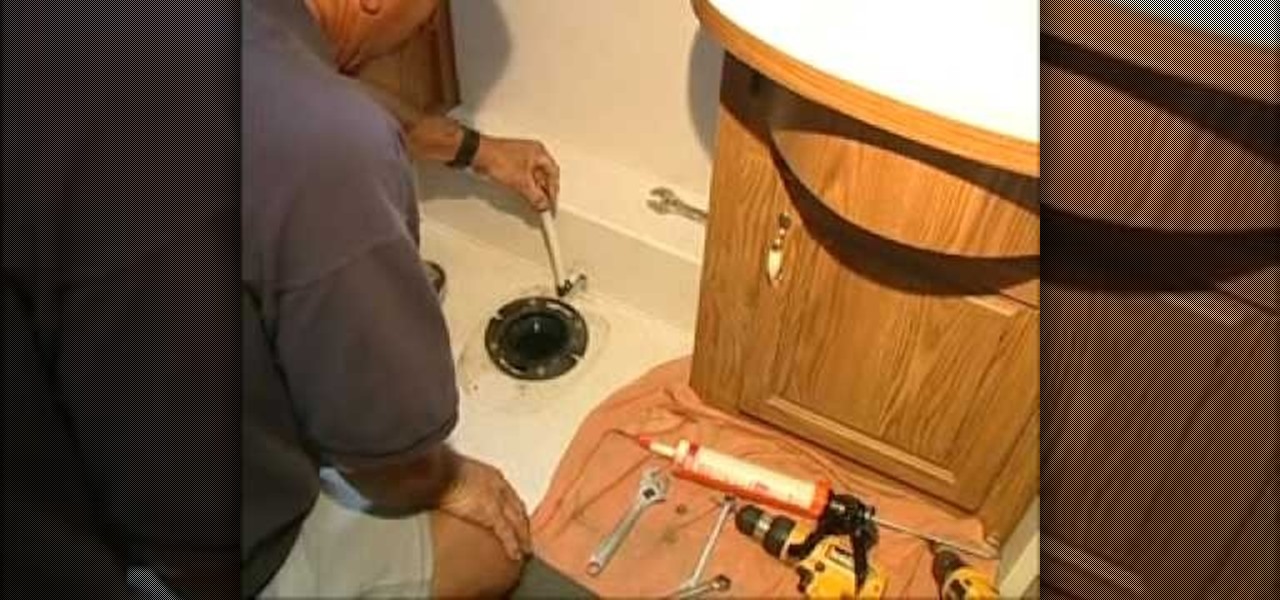
In this video tutorial, viewers will learn how to install a toilet for an RV. Installing a toilet for the RV is a great idea because an RV is basically a mobile home, and having a bathroom in a home is mandatory. Users will need a mounting kit, gasket and some bolts. Make sure that before you begin, remove the old gasket and bolts. You may need to modify the water line. In this video, the plastic toilet is being upgraded to a porcelain toilet. This video will benefit those viewers who have an...

How To: Clean your gutters around your house
Maybe one of the hardest jobs you can do around the house is cleaning the gutters. When cleaning the gutters by hand, you have to constantly keep moving the ladder to get to the various spots of the gutter which contain a mess. If not done properly, the gutters can get clogged, which will not help the appeal of your home. This video explains a simple and easy way to clean the hassle-prone gutters. The powerful leaf blower makes cleaning the gutters simple and easy. Just make sure to keep your...
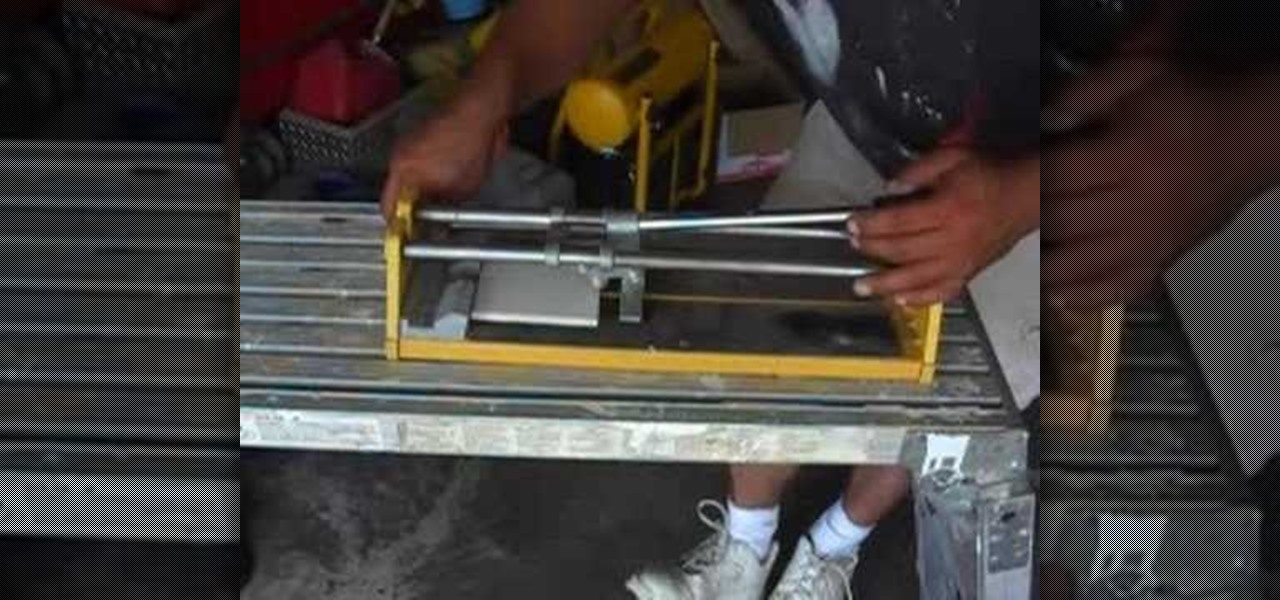
How To: Cut tile with a tile saw
In this video tutorial, viewers learn how to cut ceramic tiles with a tile cutter. Ceramic tile cutters are used to cut tiles to a required size or shape. The tile cutter does not require too much pressure when cutting. The tile cutter used in this video is for simple and basic tile cuts. As users cut the tile, they should hear a screeching sound. This tile cutter allows users to cut both wet and dry ceramic tiles. This video will benefit those viewers who want to learn how to cut tiles. This...

How To: Cut nested crown molding with a DEWALT miter saw
dewalttv teaches you how to cut nested crown molding with a DEWALT miter saw. The advantage of this position is that it doesn't require a bevel angle. The bottom of the molding should be placed against the fence. To cut the right piece, set the miter to 45 degrees to the left and make the cut. To cut the other piece, the left one, set the miter angle to 45 degrees to the right and cut. You are done. This technique is useful when you don't want to worry about setting up a level cut.

How To: Install a toilet with ease
First, apply wax to the toilet hole so it doesn't leak. Next install the supply line. Set the bolts on the flange and attach a wax ring onto the bottom of the toilet. Set the toilet over the bolts. Next, stick the gasket to the bottom of the tank and put the tank on the toilet. Tighten the bolts on either side of the tank. Then, hook the supply line up to the toilet. Attach the toilet seat to the toilet by screwing it into place. Finally, turn on the water supply. Your low flow toilet is now ...
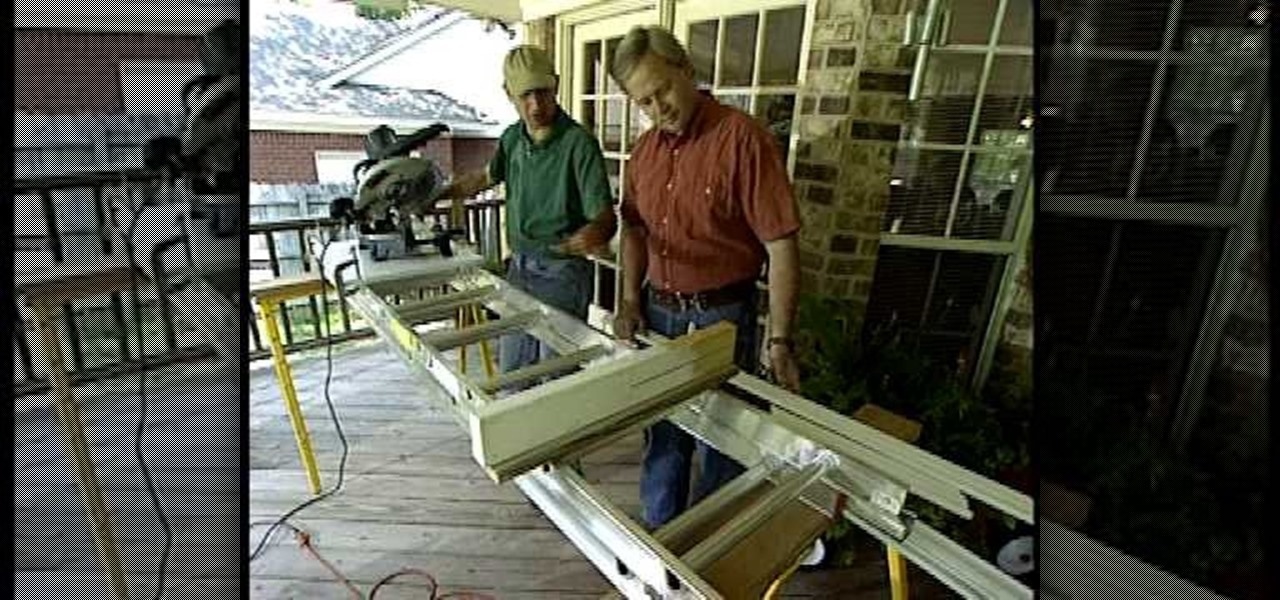
How To: Cut crown molding using a ladder and sawhorse set up
This is a how to video that explains how to do the difficult task of cutting crown molding and how to do it with tools you have laying around, a ladder and a saw horse as a support, and a miter saw. The author of this video explains that if the molding sags then it will not cut straight and your seams will not line up properly. The author is using an extension ladder and explains that you can cut very long pieces using this process. He also explains that you will need more than one brace to s...


