Hot Construction & Repair How-Tos


How To: Unlock a Bathroom Door
How to unlock a bathroom / bedroom door that has a privacy door handle set installed. Have you ever been in that situation where you have accidently locked yourself out of your bathroom or bedroom, or your toddler has accidently locked themselves in the bathroom / bedroom and you can't get them out! The first thing to do is not panic! Don't call the locksmith and don't reach for the closest sledge hammer and commence smashing the door in. it really is easy to open the door when you know how.I...

How To: Install Drywall Anchors
Wall Anchors. Drywall Wall Anchors. Plasterboard Wall Anchors. I discovered these plasterboard (drywall) anchors / plugs a few years ago and think they are fantastic. They are ridiculously easy to use and are extremely effective in attaching fixtures to walls. One of the main things to be aware of (as with all things that have fixtures hanging from them) is the recommended maximum weight loading of each size of anchor. What ever the packet says, adhere to it.

How To: Remove a Door
How to Remove a Door. How to Remove Hinge Pins. Todays video we will look at how to remove a door by taking out the hinge pin, followed by planing off the bottom of the door so that once the door has been re-installed, the door won't rub on the carpet. In a nut shell you will learn how to:
How To: Change a Tap Washer.
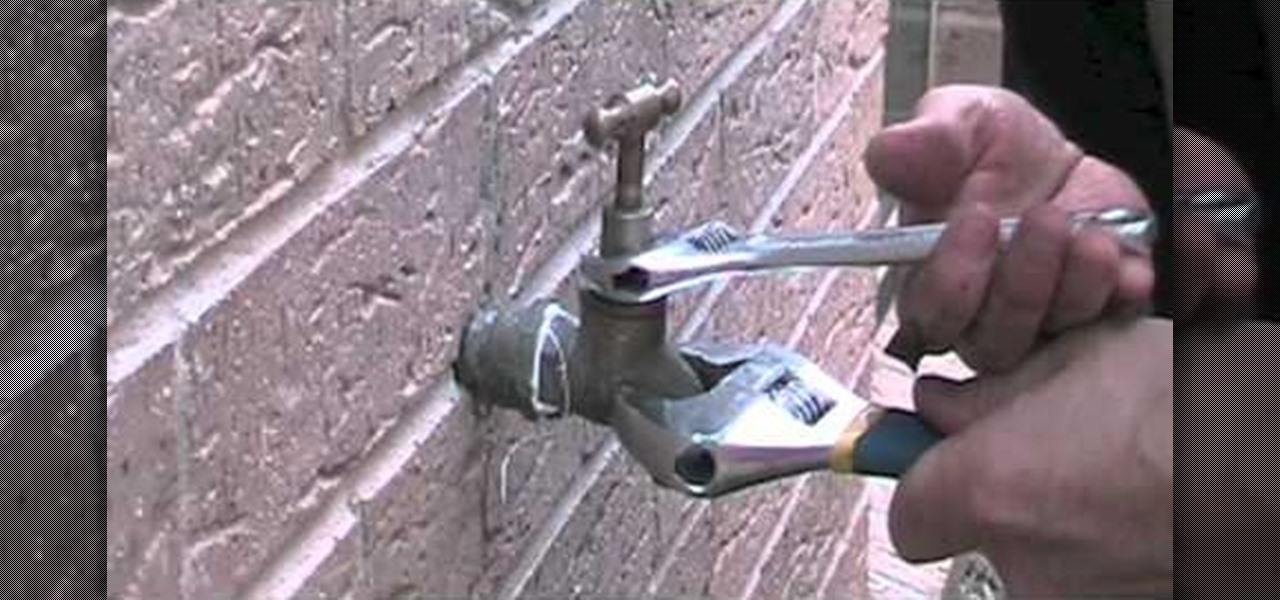
How to replace a tap washer. Dripping Tap. Dripping Faucet. Replacing a tap / facuet washer is quite an easy process as long as you follow the 6 steps in my video. Basically all you need to do is this:

How To: Build an Outdoor Brick Fireplace
This is a how-to video on how to build an outdoor brick fireplace. It has 5 parts and is a total of about 45 minutes long. It covers laying brick, acid washing, installing firebrick, installing flue tubes, and installing a stainless steel grill. It also covers brick string guides and cutting bricks.
How To: Install a new over-the-range Panasonic NN-SD277WR microwave oven
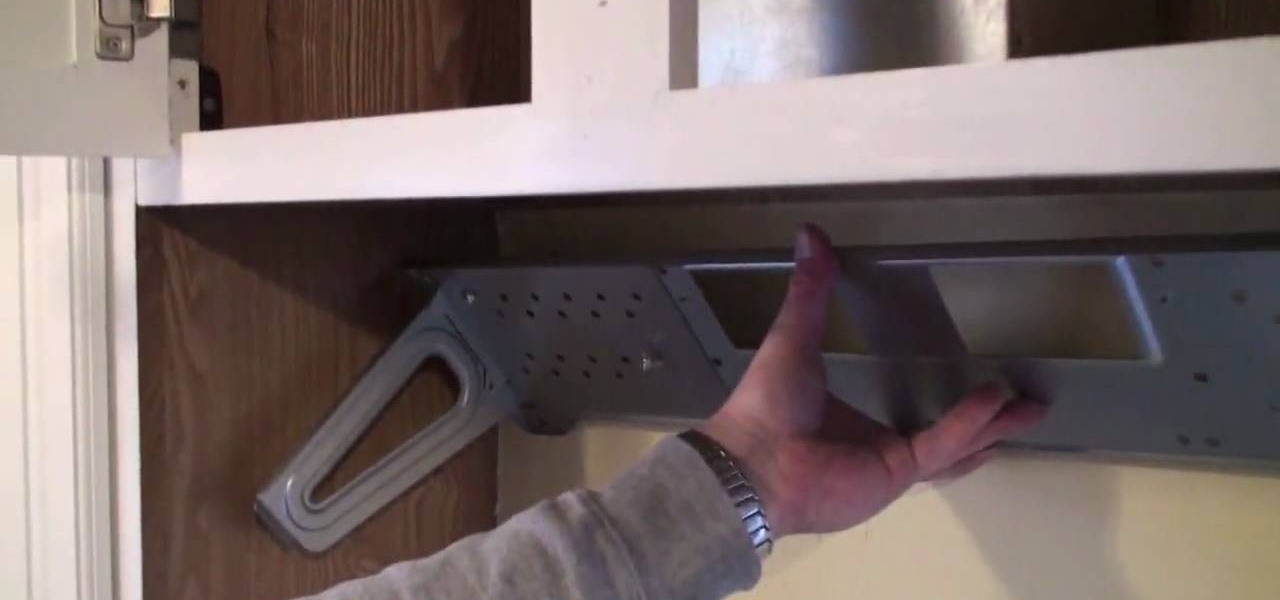
If you are looking to replace your old microwave with a new one, or making your first foray into the world of microwave cookery, this video can be your guide to installing you microwave in the wall. The Panasonic NN-SD277WR is used as an example.

How To: Combine Two NYC Penthouses into One
Here's a rich man's problem for you: two NYC East Village penthouse condos and the need for one combined living space. What do you do? Simply add a helical slide! When the homeowners came up with this fun idea for combining their two condos, they contracted architecture firm TCA to design and construct two separate options to descend and ascend between the two living spaces— an Italian-made "Rintal" stair (an open spiral staircase), or the much speedier and much livelier option: a stainless s...

How To: Build an outdoor rabbit run
Run rabbit run! Well, your rabbit can't run unless you build it a place TO run! Check out this video and see how-to make a space in your backyard for your bunny to get its hop on. You'll need some tools, including a saw, screw gun, or hammer and nails and a skill saw. The dimensions are 80L x 43W x 36H. (measured in inches) This project takes about 4.5 hrs to build. Get building and give your fluffy little pet some outdoor love. Know what? He'll return it in leaps and bounds. And hops.

How To: Add a door In an exterior brick wall
If you've got a brick house and are looking to install a door in the brick, this how to will get you there. Be prepared, it's a big job and you'll need to be comfortable wielding several power tools. Are you ready to take the challenge?
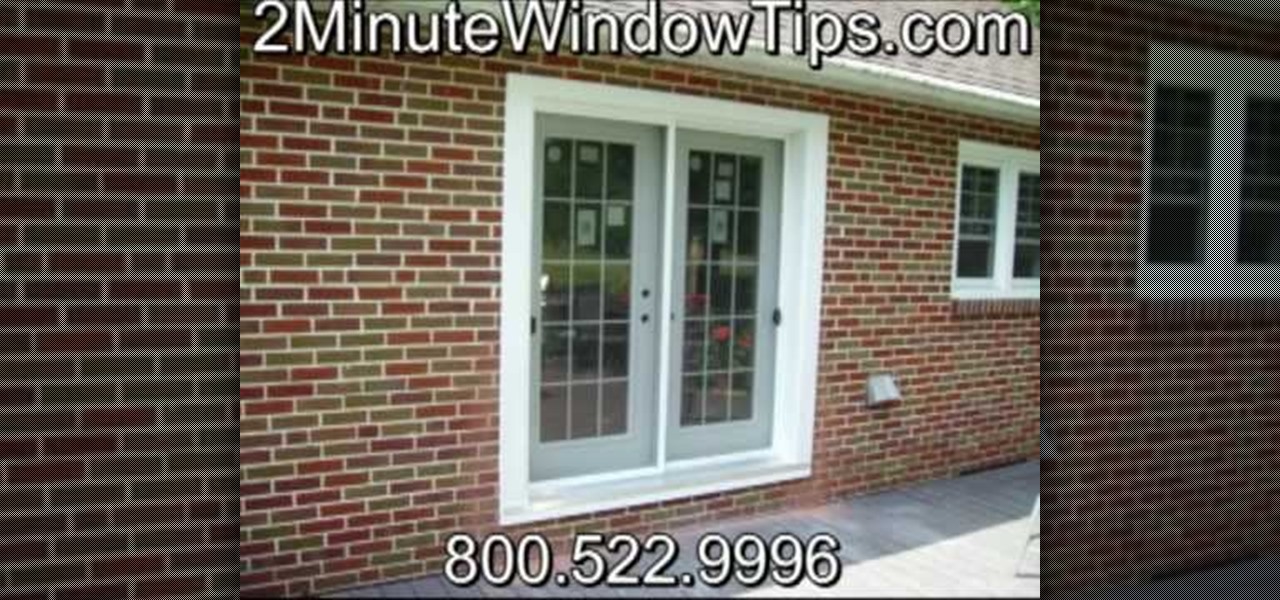
How To: Install patio doors in a brick wall
If you've got a brick wall and you're thinking of installing a door, you may have thought you were out of luck. Not so! This helpful how-to walks you through the steps so you can see how it's done. First off, know that this is not a simple task, so be prepared to wield a brick cutter, which is a serious tool in itself. After that you'll be framing out the door, shimming it up, and installing the door. Go for it!
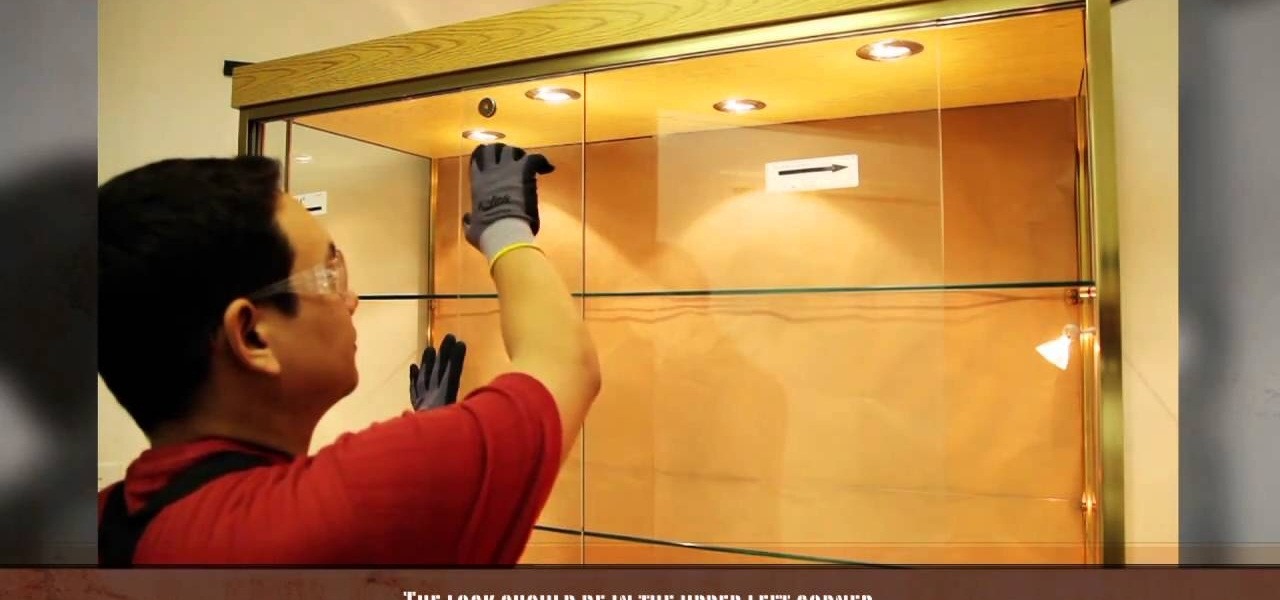
How To: Install a Sliding Glass Cabinet Door
Cabinets that open straight out and shut to close make so much ruckus, especially when you've got someone who's angry in the house. Sliding doors, meanwhile, are super chic, classy, and easily draw open and close without a fuss. Not to mention that most sliding cabinet doors are made of glass, which means you can show off your newest Wedgewood dinnerware set and Rosenthal cups.

How To: De-Ice Your Gutters (The Secrets of Ice Dam Removal)
I feel sorry for all of you homeowners stuck in snow right now. The snowy, blizzard conditions effecting most of the country is causing some serious headaches across our nation. And it's not just the cold weather I'm talking about. I'm talking about ice dams— something that more suitably should have been called ice damns, because they pretty much damn your roof to hell.

How To: Install Laminate Flooring on Stairs
Installing Laminate Flooring on Stairs Laminate flooring can be installed on a flight of stairs, and this process can also be used when installing laminate on a floor and having to drop down a step to a sunken room.
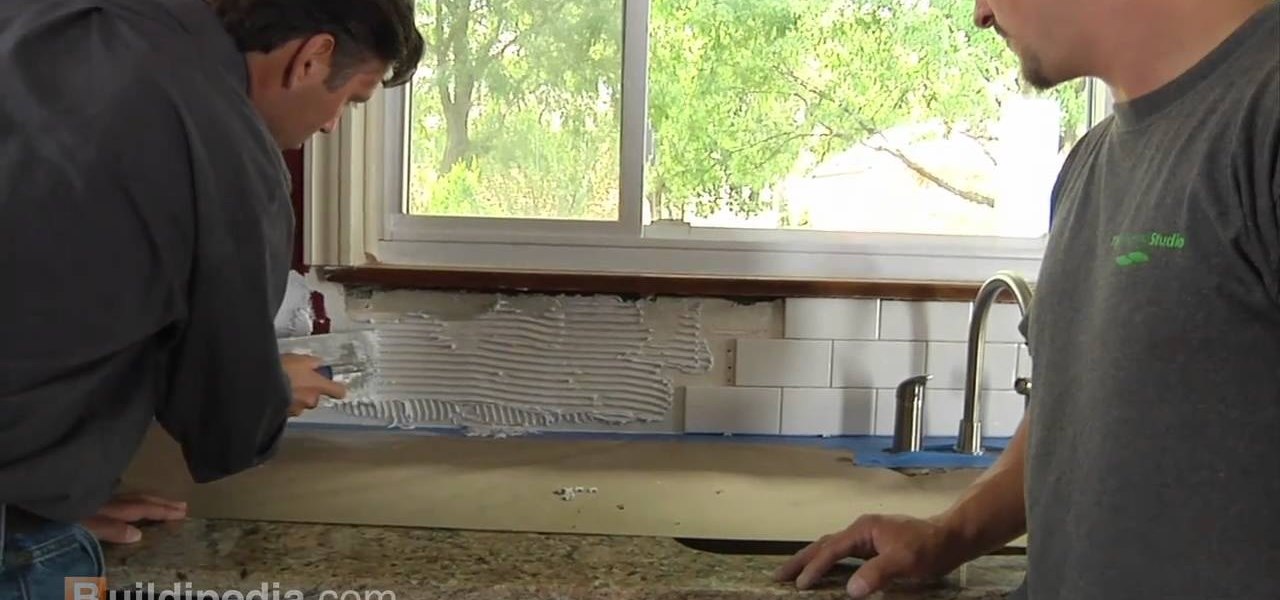
How To: Install a ceramic tile backsplash
Installing a ceramic tile backsplash in your kitchen or bathroom can not only add a great new look, it can help prevent your walls from crumbling due to excess exposure to water. This simple little vid from buildipedia will walk you through the process.
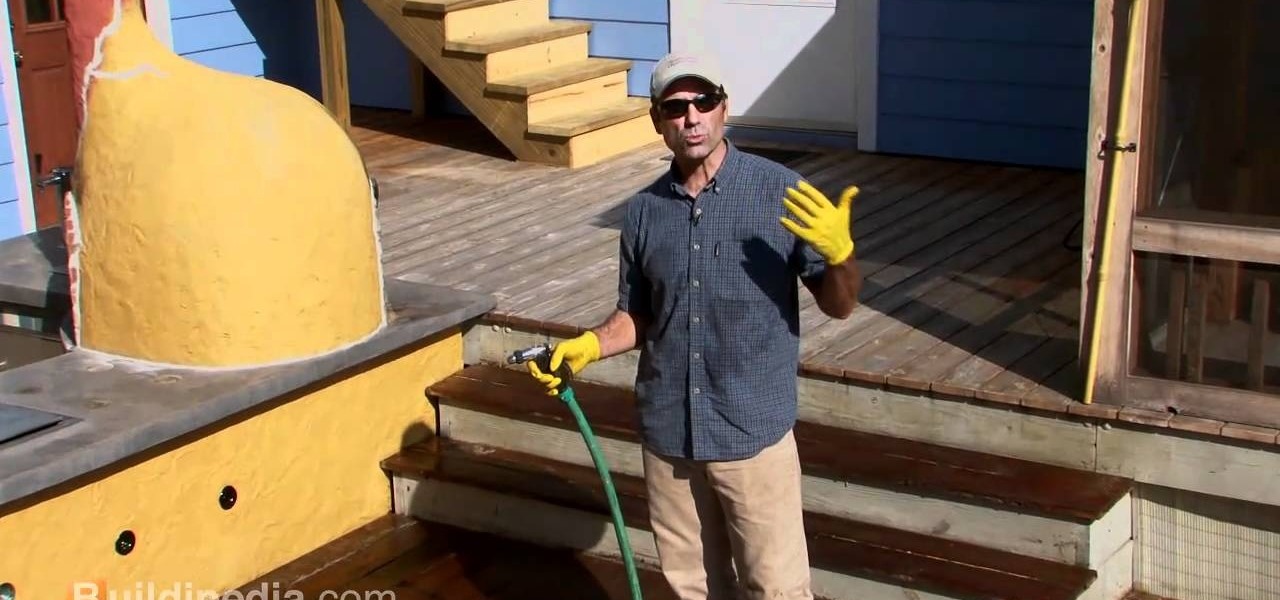
How To: Refinish, maintain and waterproof a wood deck
Wood decks can be a wonderful thing, however they do require cleaning and maintainence. This DIY video gives you the info you'll need to clean, repair and refinish your wood deck, ensuring it's looking great when it's time for that backyard blow out.
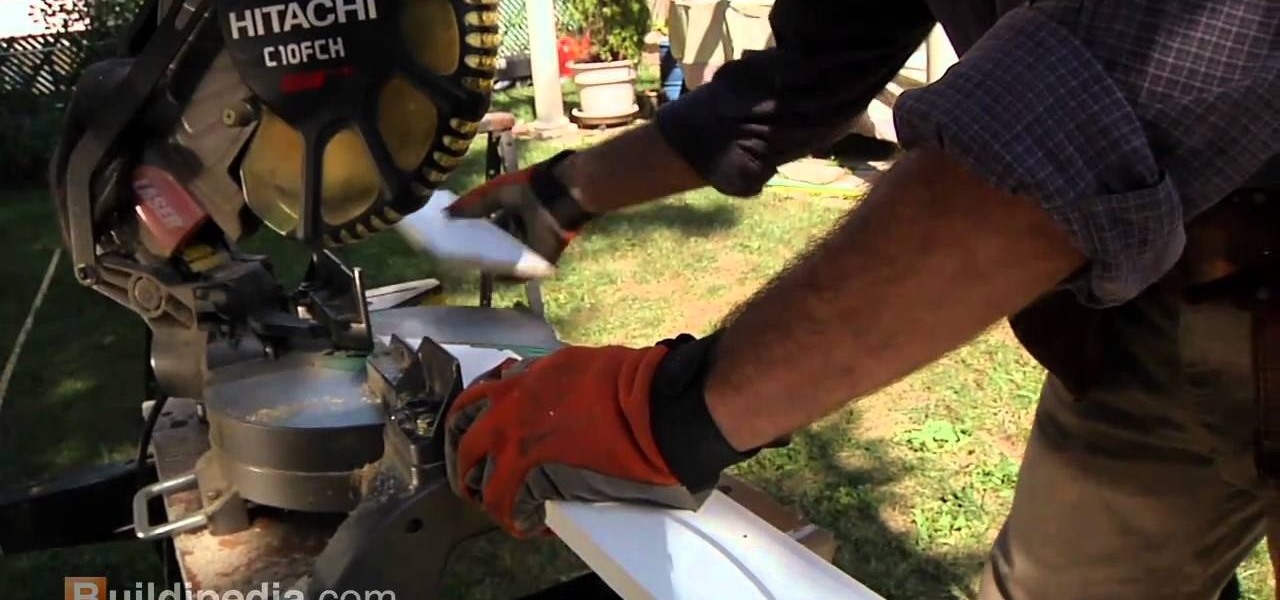
How To: Install door casement trim
A little trim can really add a nice look in your house or apartment. This DIY from Buildipedia gives you clear, easy instructions on this task that any home DIYer can do with a few tools. Give it a look and give it a try!
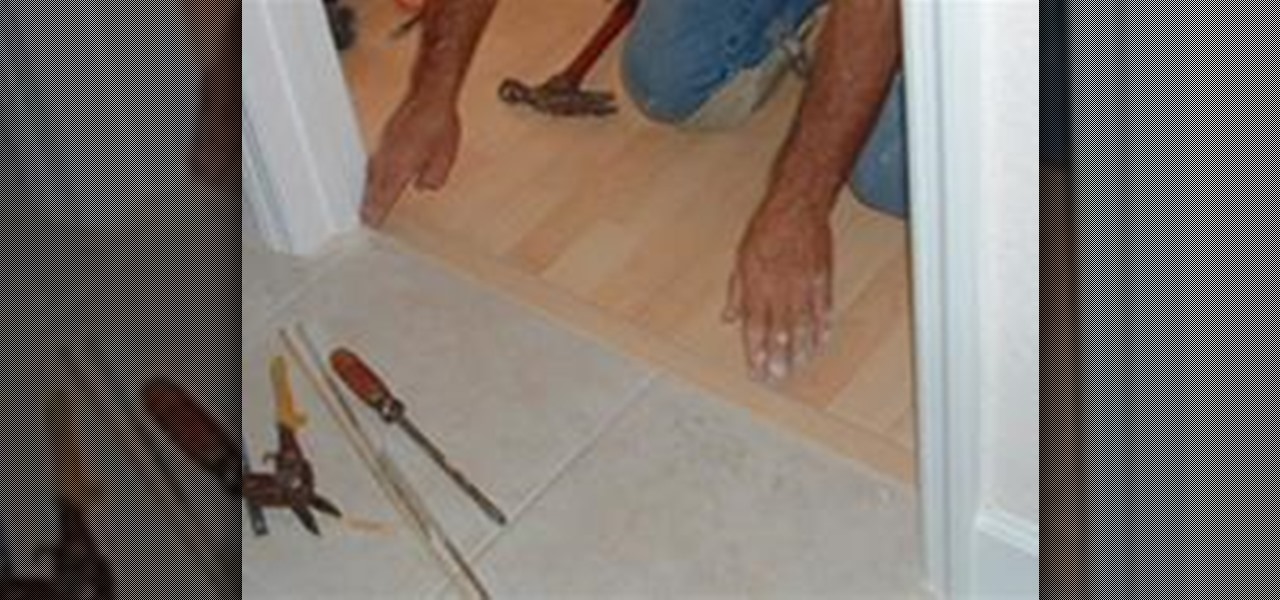
How To: Install a T-Mold Transition Between Laminate & Ceramic Tile
Installing a T Mold Transition Between Laminate and Ceramic Tile There are several different types of laminate transitions that you may need when installing laminate flooring. Each one is used specifically for where the laminate flooring ends, such as where the laminate stops at ceramic tile. Other transitions are used where the laminate ends at carpet, vinyl flooring, a threshold or a step down such as a sunken living room or stairs.

HowTo: Build Your Own Anti-Slip Ice Claws
Ever experience a devastatingly embarrassing fall on the ice? Perhaps as a child in front of, say, an entire school bus of your peers? (Let's just say I haven't tread lightly on icy sidewalks since the age of 12.) If you've been battling icy terrain this winter, you may want to avoid such embarrassment and consider building a pair of cheap ice cleats. All you need is a couple screws, two metal plates, and some mesh straps, and you'll be prepared for the slipperiest of situations.
How To: Sand cut and polish Perspex for a high-gloss finish
Need a smooth, polished, and glossy surfaced piece of acrylic for your next project? Then check out this video for a handy guide on how to sand, cut, and polish Perspex, a type of acrylic, for a high-gloss finish. Perspex is thick and difficult to work with, but this video will give you tips for a professional look.

How To: Repair Cracks in Your Asphalt Driveway
Weather - there's no escaping it! Mother Nature can be hard on asphalt: if you live in an area where there are extreme weather changes from season to season then your asphalt will eventually become damaged. As the ground freezes and thaws there is movement that flexes the asphalt. Repeated flexing can cause weakness to occur. In many cases the first damage you will see will be cracks forming in your asphalt driveway.

HowTo: Build an Air-Powered Star Trek Sliding Door
Live in the future (à la Star Trek, circa 1966) with uiproductions' pneumatic air-powered sliding door:

HowTo: Make Your Own Privacy Glass for Dirt Cheap
Privacy glass is pretty pricey, and if you're living in a rental, your landlord likely won't appreciate you painting glaze on the windows. So, if you're a privacy hound, here's a simple, cheap hack that will prevent peeping toms.

How To: Move A Safe
Moving a 2000 pound safe isn't easy... I was working as manager for a construction company that was performing an up fit on a century old building in downtown Concord, N.C. The owners wanted us to move a two thousand pound (that's a ton!) safe up to the second story so that it could be displayed in their new office. The safe was located between the first and second floors in a small office that was used for accounting purposes in the old days when said building had been a hardware store.
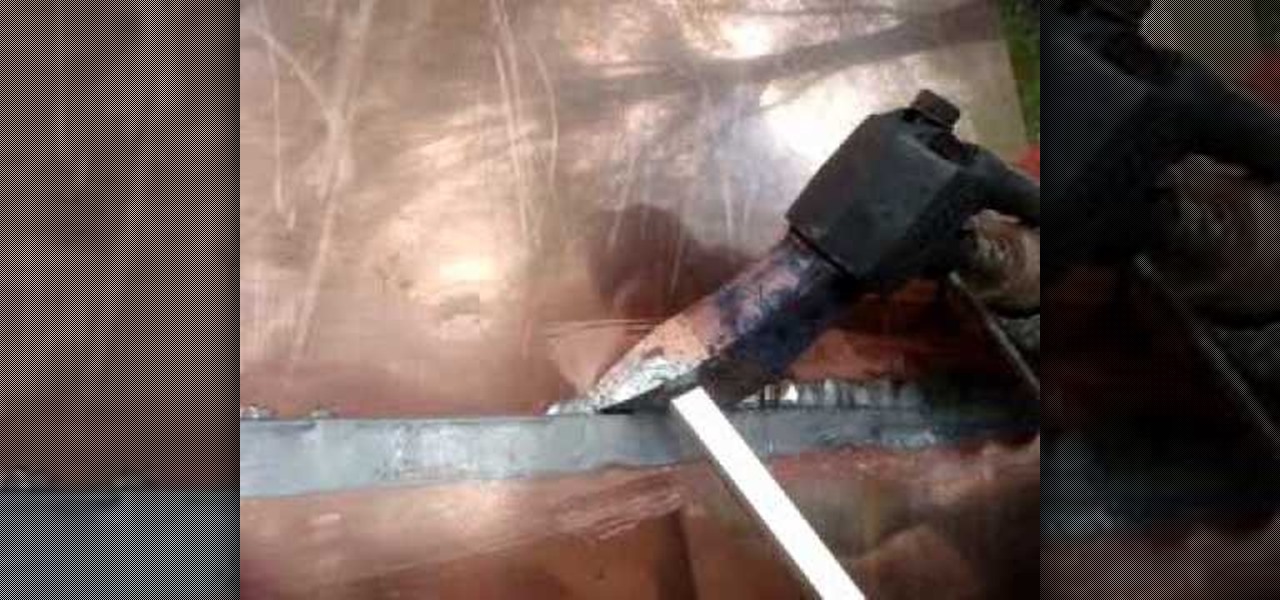
How To: Install a copper snow apron on the eaves of your house
Fend off the worst that Snowpocalypse has to deal! Prevent leakage caused by ice and snow by installing a snow apron on the eaves of your house. This is an easy thing to do, and a must for any homeowner in a snowy area.

How To: Plan bathroom renovations on a budget
Times are tight, but no one deserves to stare at an old, fugly bathroom day after day. If you simply can't stand the hot pink paint the previous owners left on the walls anymore or your linoleum floor is falling apart, check out this video to learn how to plan bathroom renovations wisely and on a budget.

How To: Remove extra sticky labels easily using Label Remover
We understand why companies affix sticky labels to their products. We just don't understand why they manufacture these labels with unyielding, Godzilla strength glue. Who wants to open up a new microwave only to end up with partially peeled labels and glue stains?
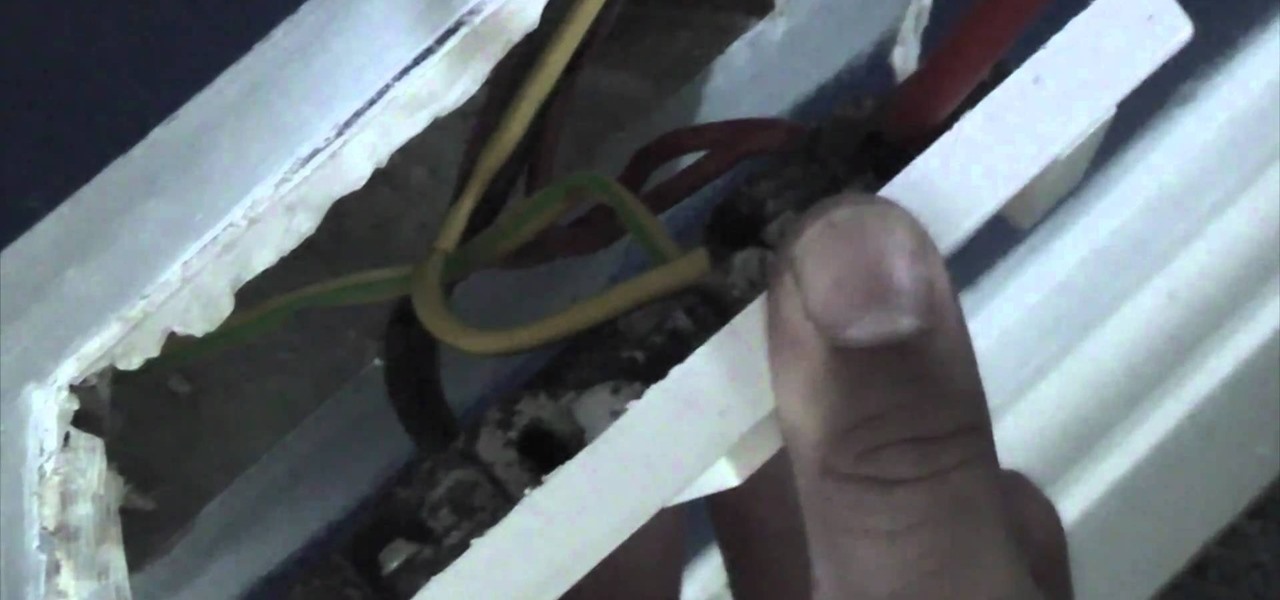
How To: Replace an electrical socket step by step
Electrical sockets are often taken for granted. It's not until one of them breaks or stops working and our laptops won't turn on that we truly have a crisis (mostly over lost internet time).
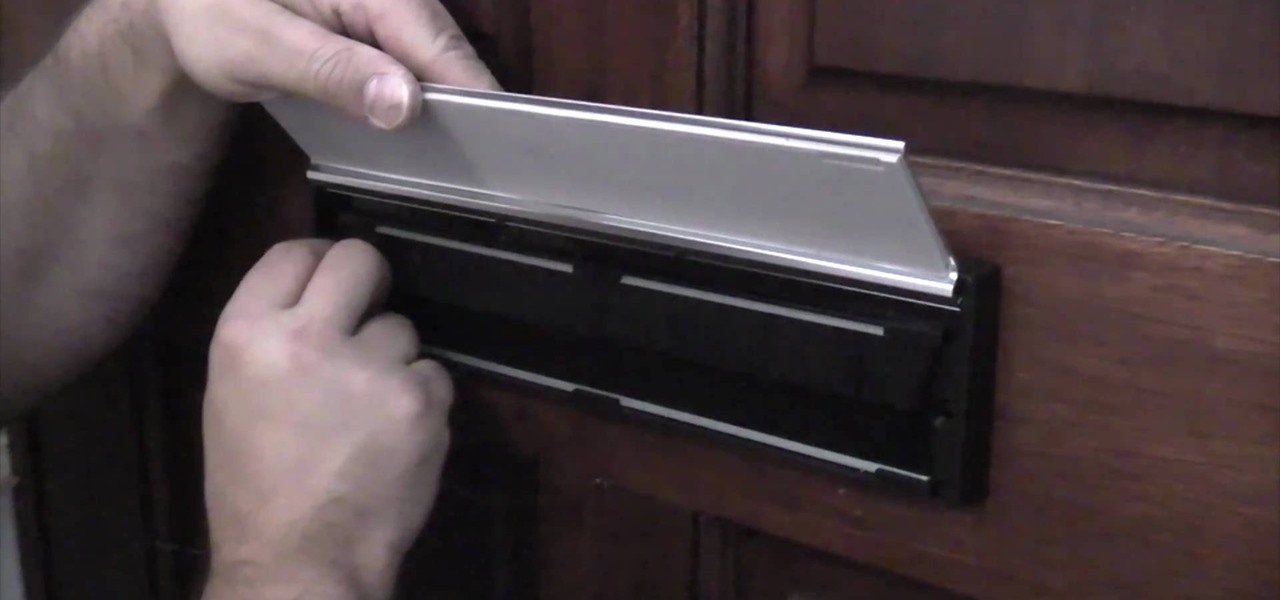
How To: Fit a sleeved letter plate onto a letter box hole that's too big
While most of us have mailboxes from which we receive our deliveries, some of us still have small slits in our front doors known as letter box holes. This allows for the mailman to deliver mail straight into our homes, which is convenient for all intensive purposes.
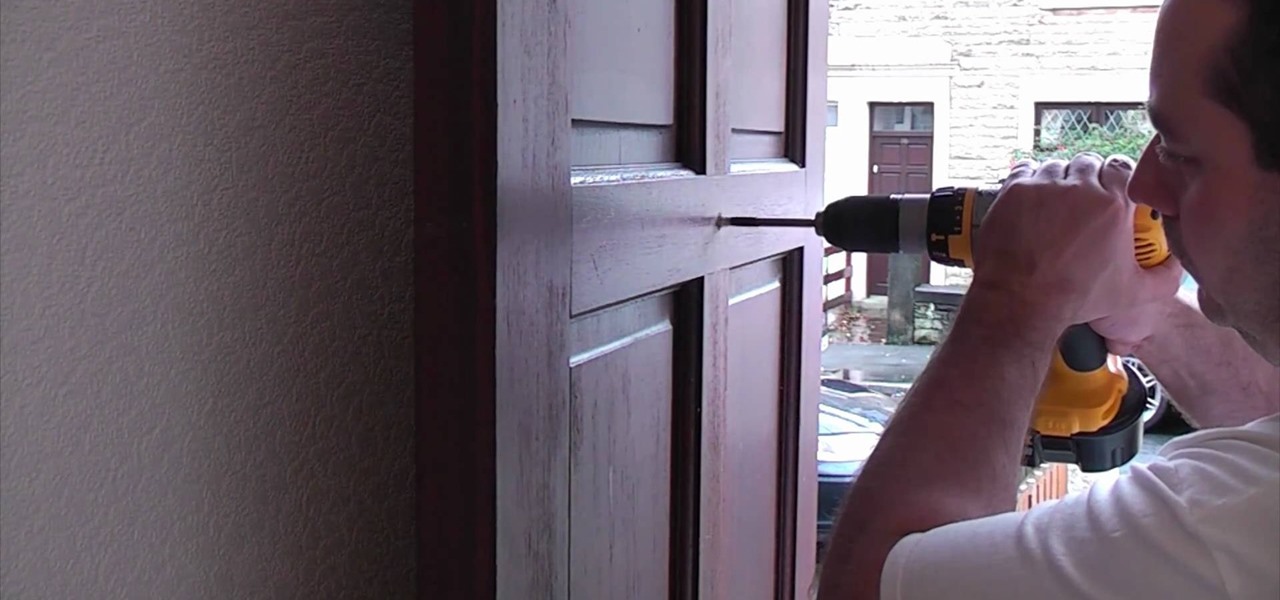
How To: Install a door viewer for home safety
Just because a person is cordial enough to knock at your door doesn't mean that he isn't a conman or burglar out to knock you out and steal all your belongings. So you can probably understand the usefulness of a spy hole, or a door viewer.
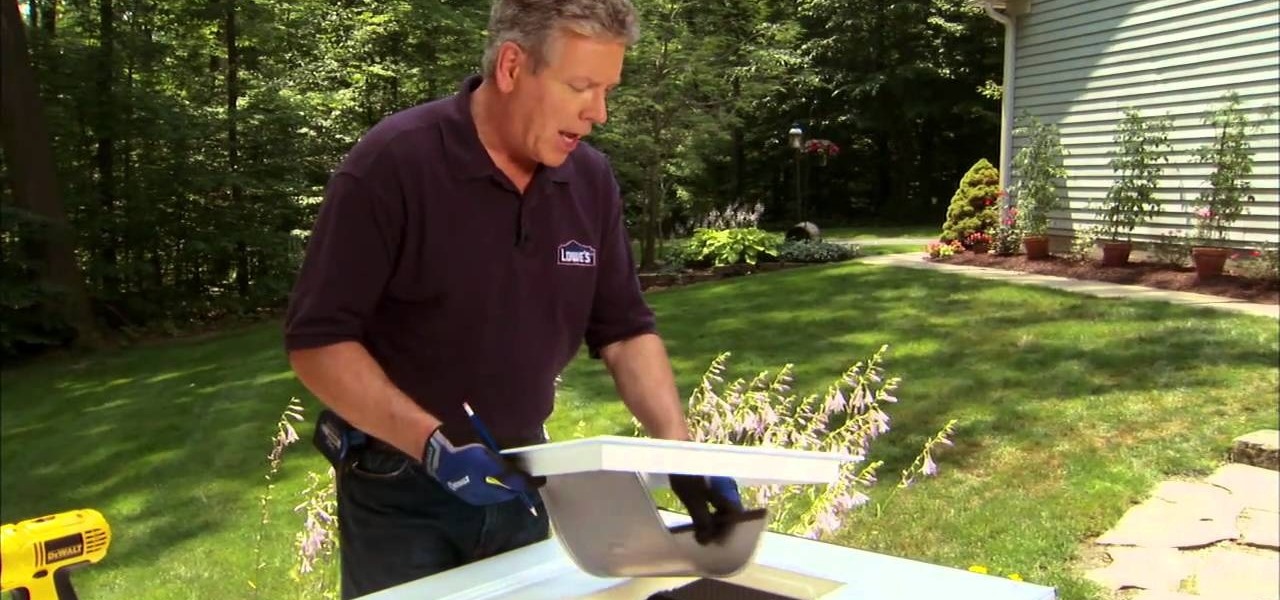
How To: Properly install a dog door for your canine with tips from Lowe's
Your precious dog can't be a dog without its freedom, and the number one way to make a dog feel its freedom is by giving it unrestricted access to your landscape, meaning— a doggy door. Granted, your pet can't go roaming all across the county, but a dog door is a surefire way to make your canine feel at home.

How To: Replace the time clock on a Ferroli Falcon combination boiler
Timing your cooking is everything. And if you happen to be a mom who works full time and then flies back home to prepare dinner for your family, then making sure you hard boil your eggs for five minutes while you bake your pie for half an hour can easily turn into a burnt mess if you're not careful.
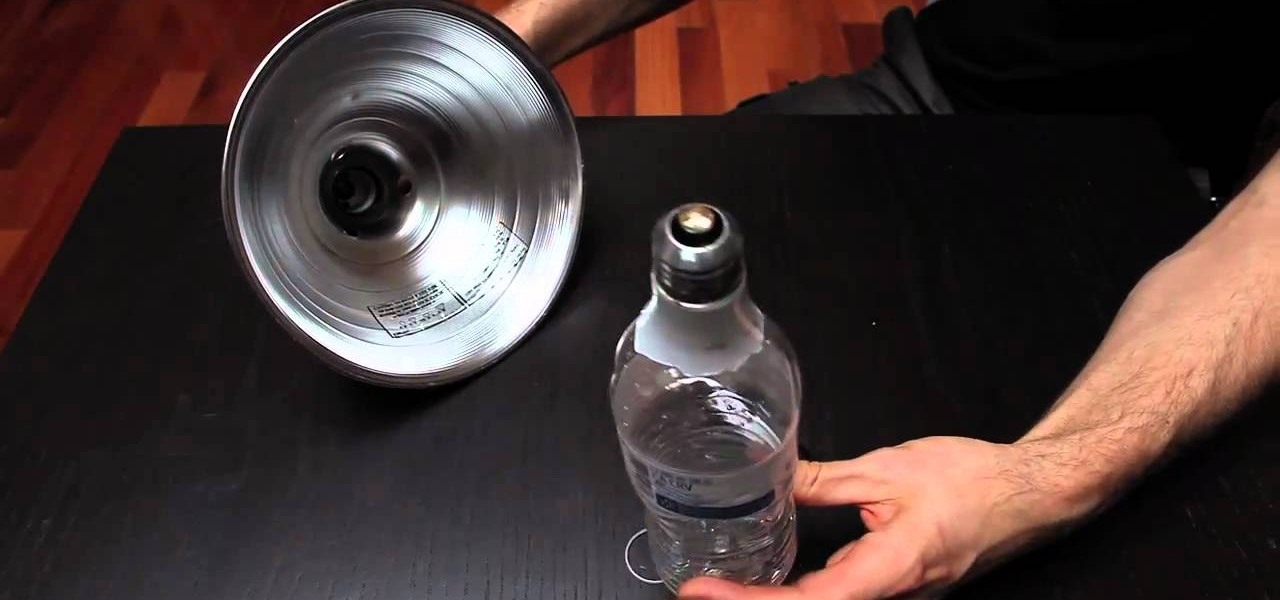
How To: Change a broken lightbulb using a water bottle
Removing lightbulbs that have gone out is easy enough: Unscrew the broken lightbulb and then pop in a new one. But what if your lightbulb happens to be broken with sharp edges?
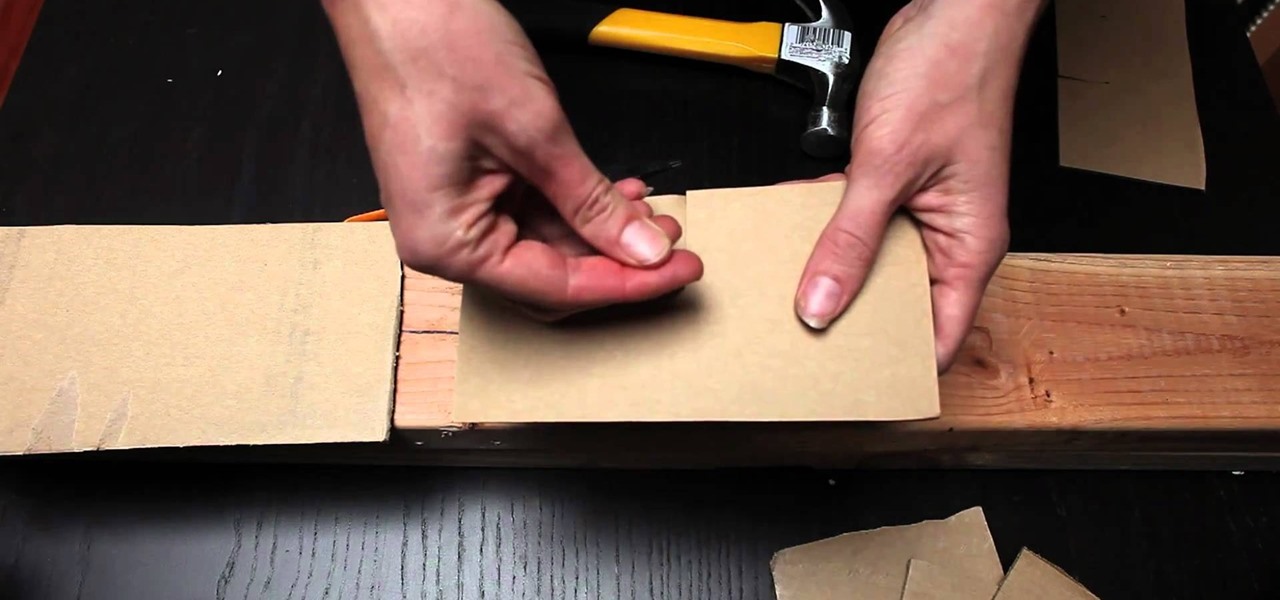
How To: Hammer a nail safely and hold your nail in place with cardboard
Hammering nails seems like such a common skill. Yet we all must admit that when it comes to those first few strikes of the hammer, it's hard to hold the nail perfectly perpendicular to the slab of wood. This means we often hit our own nail or knock the nail we're hammering off course.

How To: Build a tipi
In this video, we learn how to build a tipi. First, measure poles to make sure they are the same size, around 23 feet long. After this you will use a rope to tie the poles together so they are flat. To build the tipi, use the middle wooden pole to prop up in the very center. Make sure the rope is woven through the poles tightly and they are spaced apart. After these are secured together, you can bring them up into the air and set them against other poles to stand up. From here, decorate and u...

How To: Pitch a large tipi
In this tutorial, we learn how to pitch a large tipi. First, work on the tripod and get it lifted up. Recruit people to help you get it lifted up and pull it up with a rope. Use poles to help keep it in place so it won't fall back down. Swing the tripod up until it's in the air. Place them to where they will go according to your measurements. Use a tape measure to see where everything should go, so you know you are putting it in the right spot. After this, your tipi will be pitches and set up!

How To: Make a cover for a tipi
In this video, we learn how to make a cover for a tipi. First, put windows all around the bottom of the tipi. Then, take a tarp and cut out the top of it to make it into a circle shape. Then, cut out a hole from each side and put a rope in it for the top of the tipi. Wrap this around the sticks that you made the tipi with and then cover up the top of it with an additional tarp. This will protect you against water and other natural elements! Enjoy decorating and have fun making your tipi!

How To: Build a shadowbox style privacy fence
The video begins with a finished fence being shown as an example of what your final product should look like. The first step is to lay out straight lines with string to create the outline of fence parameter. To set the first post you must dig a five inch hole in the ground which the post is placed in. The post will be set along the string line spaced out about four inches evenly along the parameter. the holes must be filled in with rock or cement to set them securely. You must then nail board...
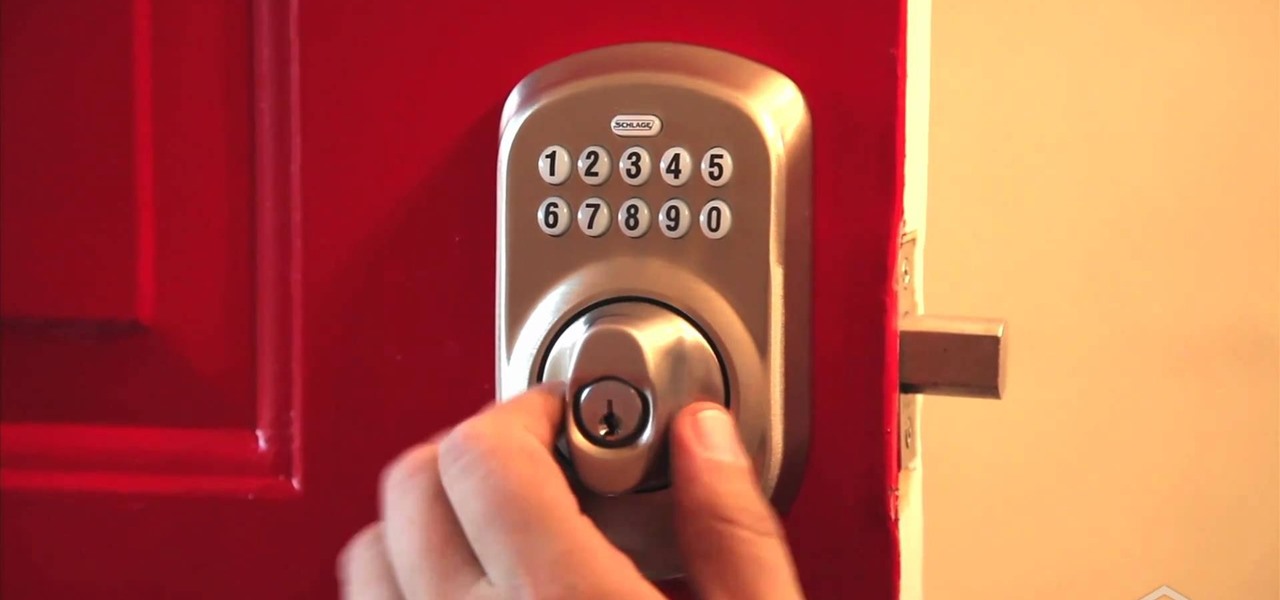
How To: Replace an old deadbolt and install a new electronic keyless entry device
If you've recently upgraded you doorknob to an elegant Schlage Plymouth Handleset, then it's time to match your front entry locks and install a new electronic high-security Schlage Plymouth Keyless Entry Deadbolt. This keypad is great if you never want to lock your bottom handleset (or doorknob). Watch this step-by-step installation video to see how it's done! You'll need a phillips head screwdriver or electric drill. To see how to install the matching handleset, click here.

How To: Replace an old doorknob and install a new front entry handleset
Tired of your old front entry doorknob? Get rid of it in lieu of something a little classier (and safer). A handleset is the perfect way to make your front door stand out, and this video will show you how to install one— specifically, Schlage Plymouth Handleset. You'll need a phillips head screwdriver, tape measure, battery drill, 3/8" drill bit and a Sharpie or other marking device. To see how to install the matching deadbolt, click here.
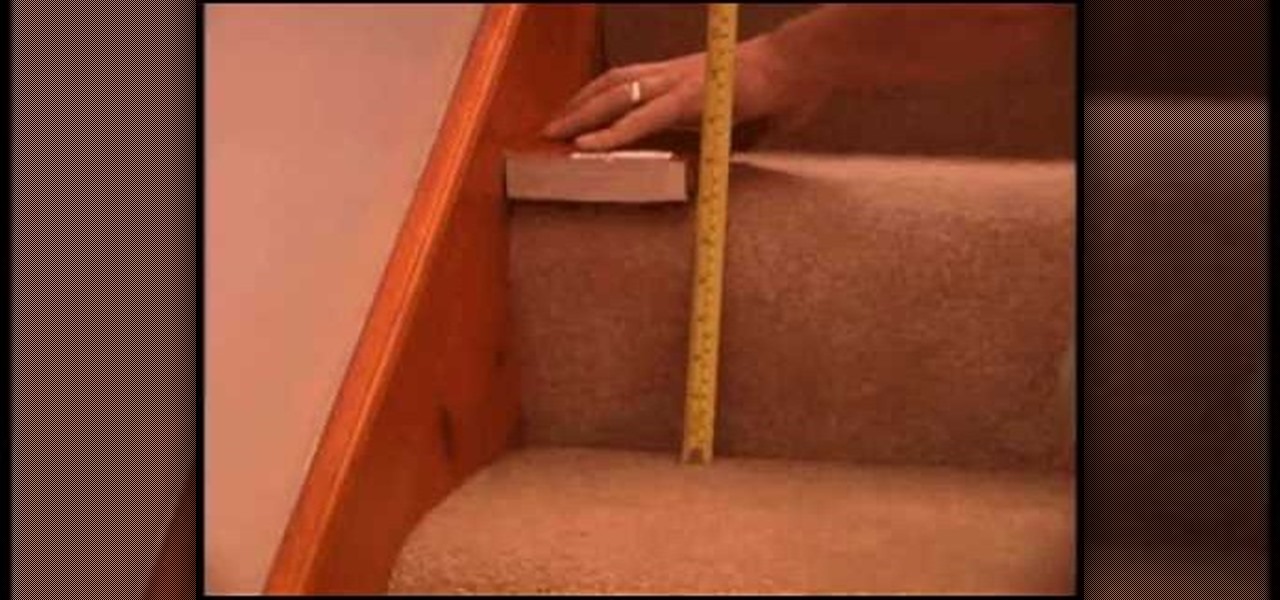
How To: Measure your staircase for a Summit Stair Lift installation
Measuring a staircase for a Summit Stair Lift is a simple process, but it's important that it's done right. This video will outline the quick measuring process so you can start your stair lift installation with no problems.


