Everything Else


How To: Build and install a cheap dumbwaiter in your home
Home improvement expert Danny Lipford shows how to build and install a cheap dumbwaiter in your home in this video tutorial.
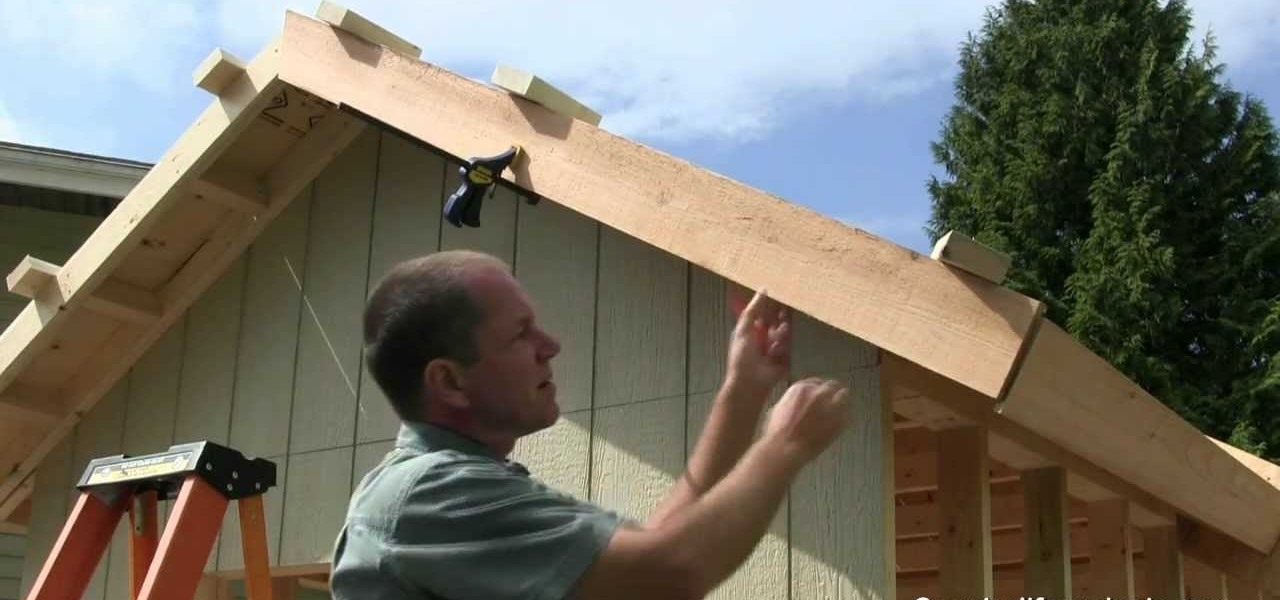
How to Build a Shed, Part 11: Installing Fascia Boards & Soffit Materials
The fascia boards and soffit material installation is very important. This is the finishing part of the shed. Henry shows you how to do this in great detail and get perfect results. In this video he shows you how to use his exclusive jig to make it easy to install long trim without any help!
How To: Install a towel bar on a bathroom wall or hollow door
This two part how to video series demonstrates how to install a towel rod or towel rack (remember click on chapter two for the hollow door video instructions). In the first video, your instructor takes you through all the necessary steps of installing a towel bar: measuring, screwing, and assembling. The second video demonstrates how to hang a towel rod on a hollow door. Hollow doors require an extra step when hanging a towel bar. You need a few more tools, but the end result is a towel bar t...
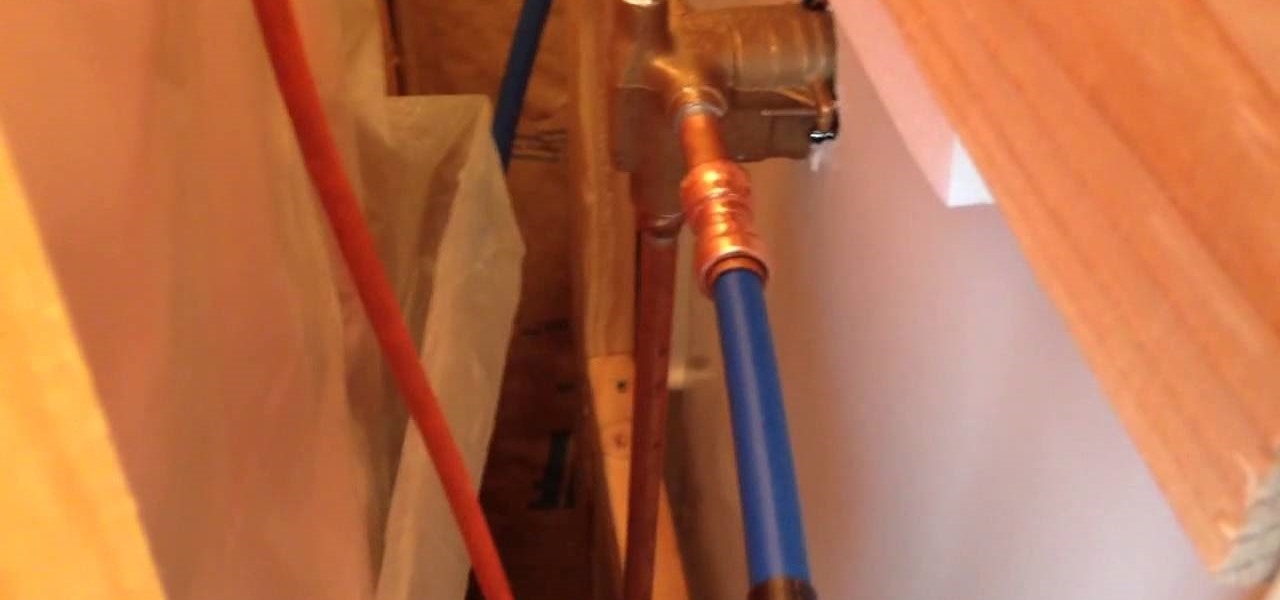
How To: Remove a Shark Bite Fitting Without a Special Tool - Adjustable Wrench Trick
Here's a fast easy way to remove and disconnect your Shark Bite quick connect fitting, without a special tool to do it. We'll show you a awesome little trick using an adjustable wrench. This will work an all different size Shark Bite fittings.

How To: Build a Rustic Wine Rack from Reclaimed Pallet Wood
This is how to build a wine rack out of pallet wood. I was tossing around some wine rack ideas and decided that pallet wood, or reclaimed wood, is the perfect choice for a rustic wine rack. All you need for this project is an old pallet (for me a hardwood one is my choice). A pallet that has seen some wear is preferable so as to achieve that rustic look.
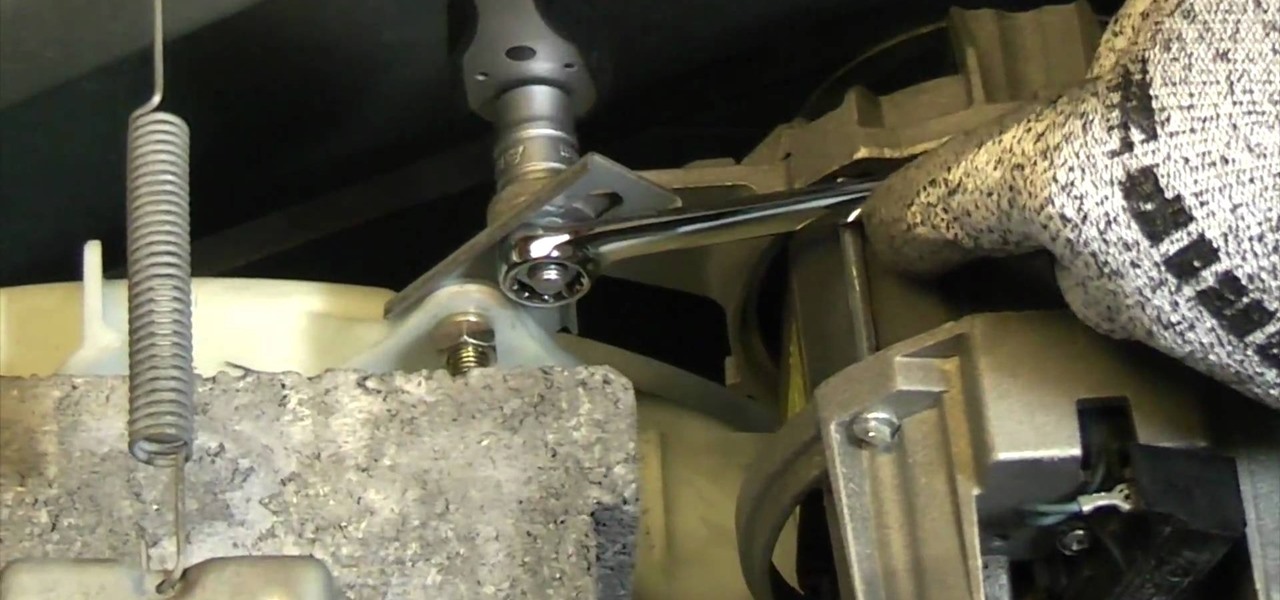
How To: Remove a washing machine motor
Check out this tutorial for a step by step on how to remove a washing machine motor. This is especially important if you need to fix your machine. Although the Ultimate Handyman is demonstrating on a HotPoint machine, this fix can be applied to most models.
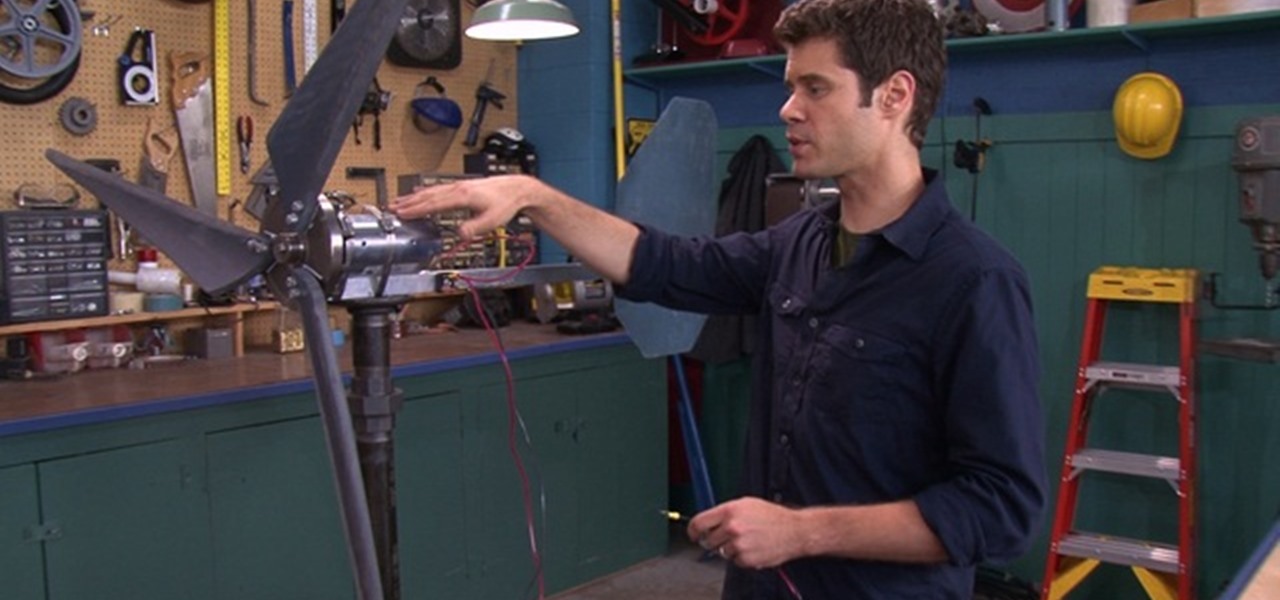
How To: Make a wind-powered generator with MAKE magazine
MAKE magazine never fails to amaze. And this time, John Park tackles a DIY wind-powered generator—and he shows you how to do it! Before you start watching the video tutorial, make sure to download the PDF of this project for reference.
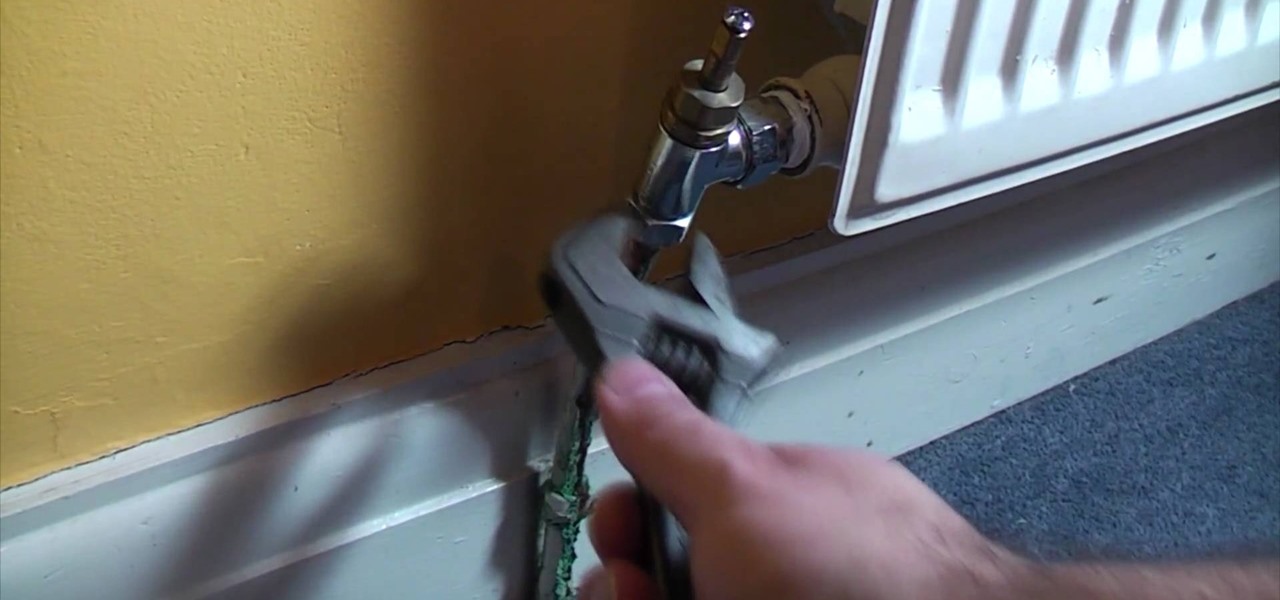
How To: Tighten radiator valves
In this video you will learn how to tighten radiator valves using a spanner and water pump pliers. If you find that your radiator valves are leaking, follow these simple steps to remedy the situation: If you take a look at your lock shield valve, you may see signs that it has been leaking. Grip the valve with a pair of water pump pliers. This will prevent you from breaking the copper pipe. Tighten in a clockwise direction. Feel with your fingers to make sure there are no more leaks.
How To: Adjust the Carburetor Idle on a Snowblower with Tecumseh Engine
This video will explain how to adjust the carburetor idle on your snowblower equipped with a Tecumseh engine.
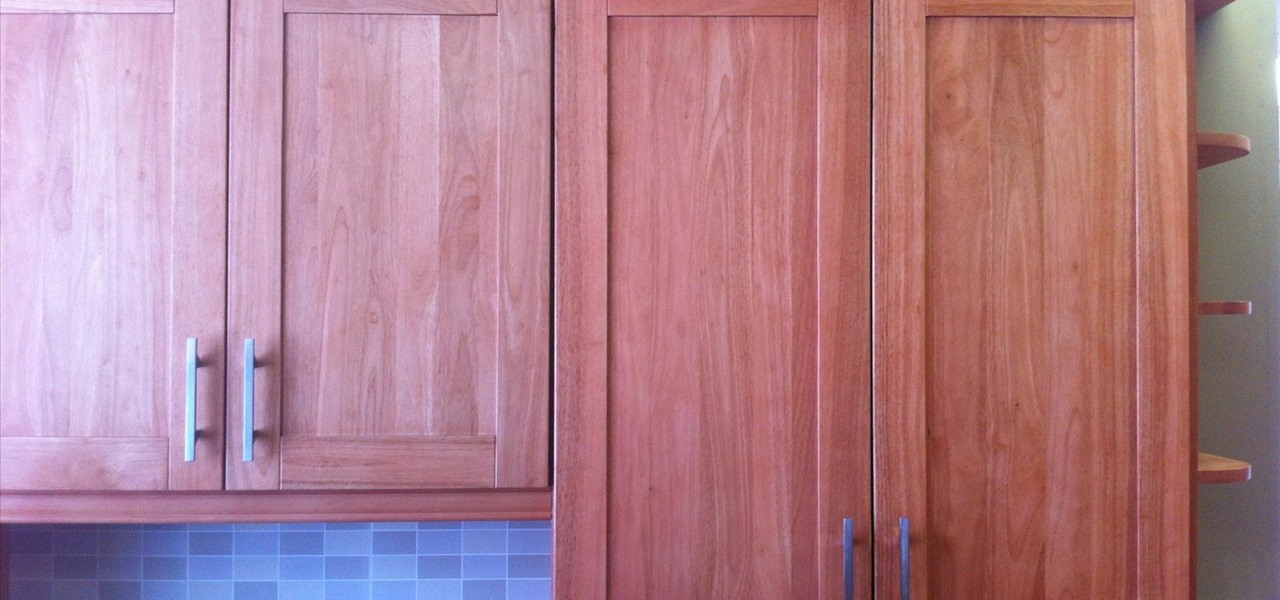
How To: Adjust the Alignment of Cabinet Doors
Poor alignment of cabinet doors will cause a kitchen to look run-down and may be embarrassing to the homeowner. Luckily, with a single screw driver and a little ambition, the door alignment can look brand new.
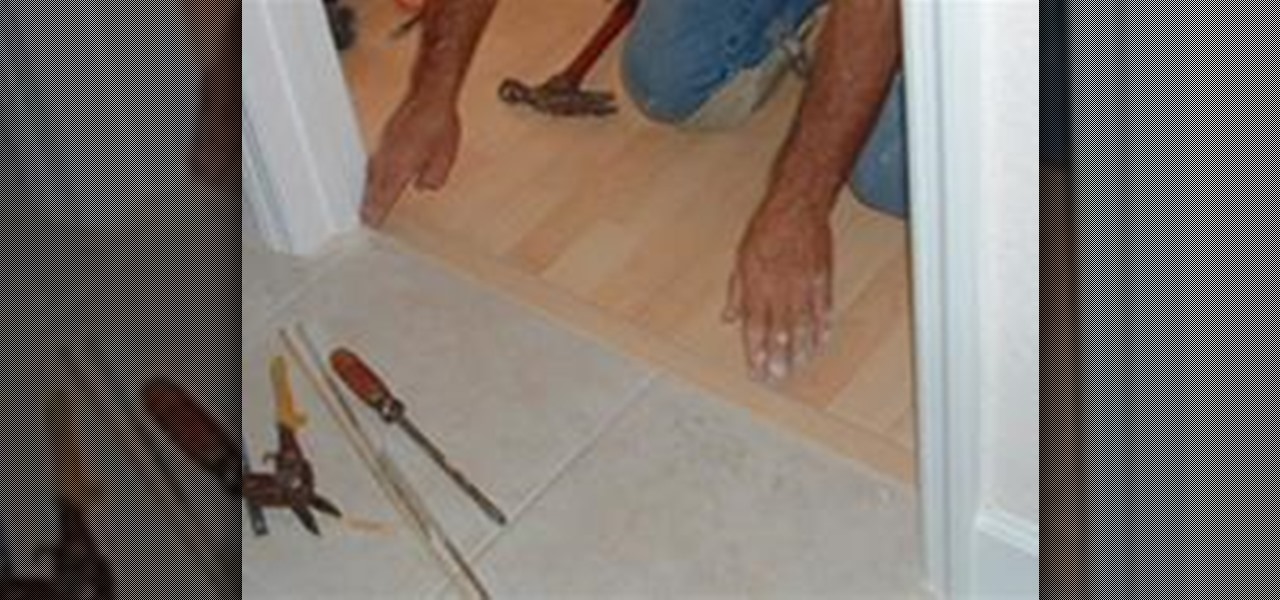
How To: Install a T-Mold Transition Between Laminate & Ceramic Tile
Installing a T Mold Transition Between Laminate and Ceramic Tile There are several different types of laminate transitions that you may need when installing laminate flooring. Each one is used specifically for where the laminate flooring ends, such as where the laminate stops at ceramic tile. Other transitions are used where the laminate ends at carpet, vinyl flooring, a threshold or a step down such as a sunken living room or stairs.
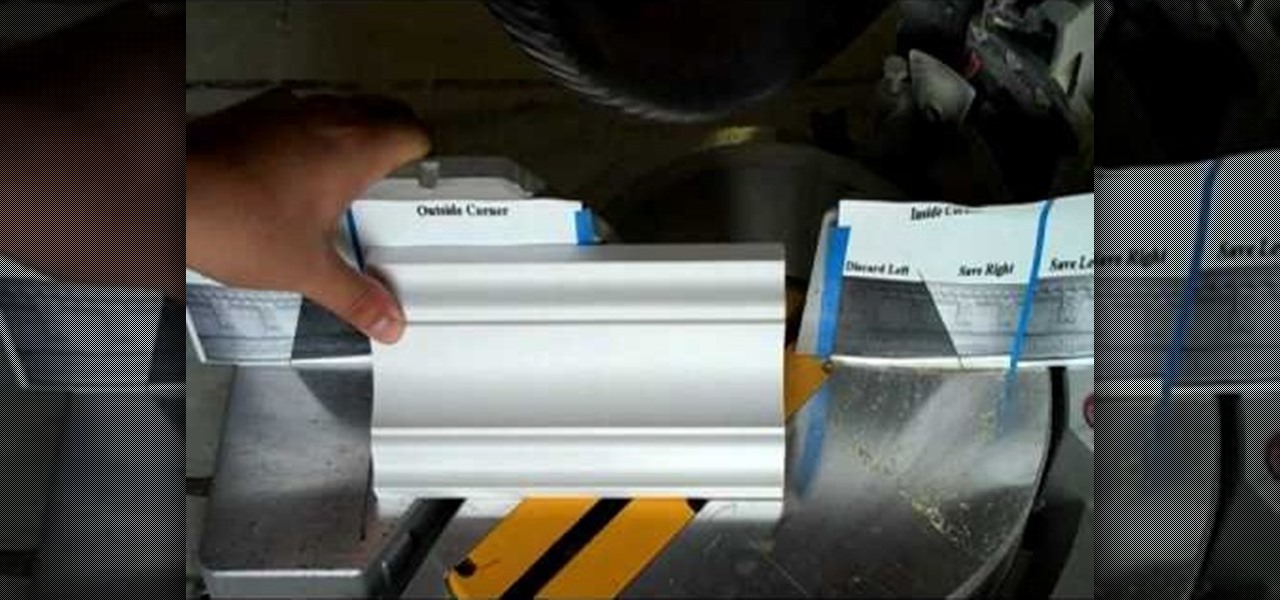
How To: Cut the perfect inside corner with a miter saw
This video, from Superior Building Supplies, demonstrates the proper technique for cutting the inside corners of crown molding. The presenter suggests downloading several diagrams from the Superior Building Supplies website. These diagrams show the correct position of the miter for several different cuts. When using a miter saw think of the fence as the ceiling and the table as the wall. Cuts for inside corners will always be made using 45 degree angles on your miter saw. Using these techniqu...

How To: Check out foundation cracks below your carpet
Danny Lipford shares some tips on foundation cracks. Watch this video tutorial to see how to check out foundation cracks below your carpet.
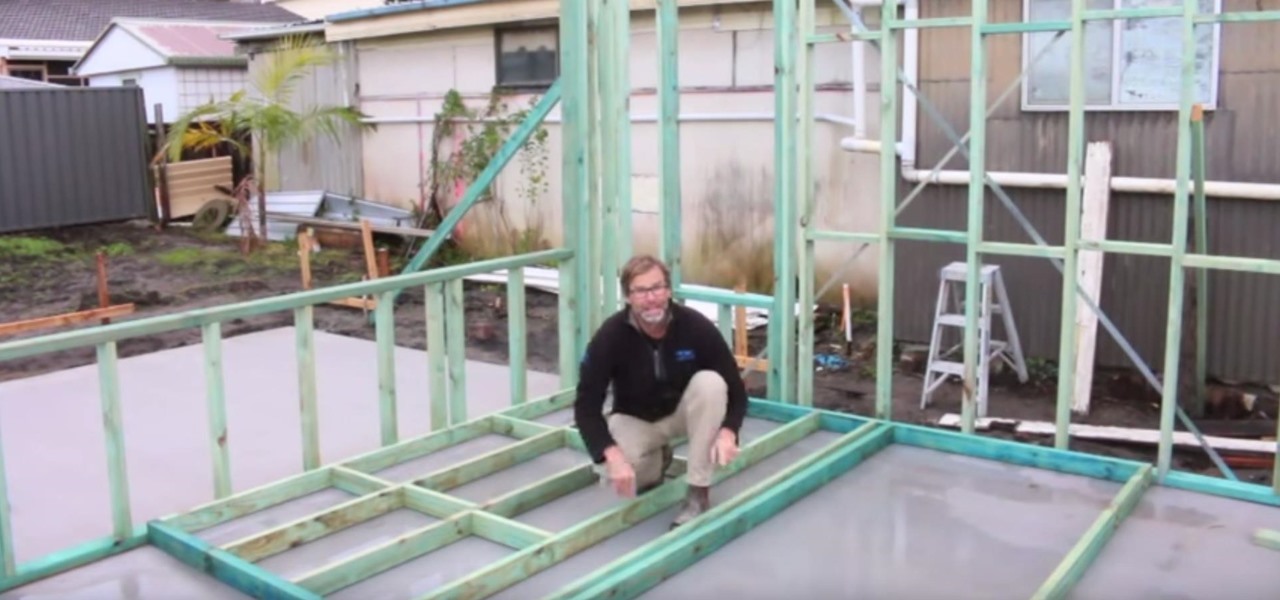
How To: Handy One-Minute Stud Wall Framing Tip: Quickly Squaring Up a Frame
G'day Knuckleheads. Todays one minute stud wall framing tip looks at a really easy way of squaring up your stud wall prior to installing a brace. Check it out and let me know what you think. :-)
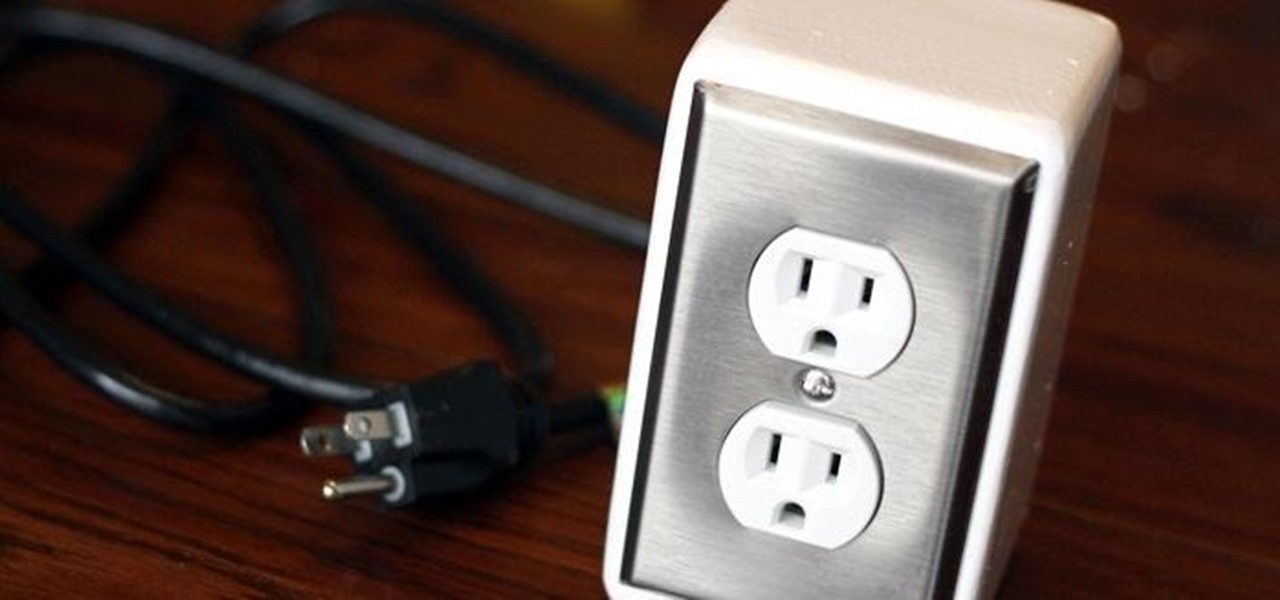
How To: Hate Ugly-Looking Power Strips? Make This Sleek DIY Power Outlet Box for Your Desktop
One of the biggest downsides to having so many gadgets is that you never seem to have enough outlets to power them all. Most of us have a power strip or two to solve this problem, but Instructables user dlewisa wanted something a little nicer looking, so he built this DIY desktop power outlet. For the housing, dlewisa put together a small wooden box using a nail gun and wood glue. He used a sander to round off the corners, then filled in the gaps with wood filler and painted it. You could als...
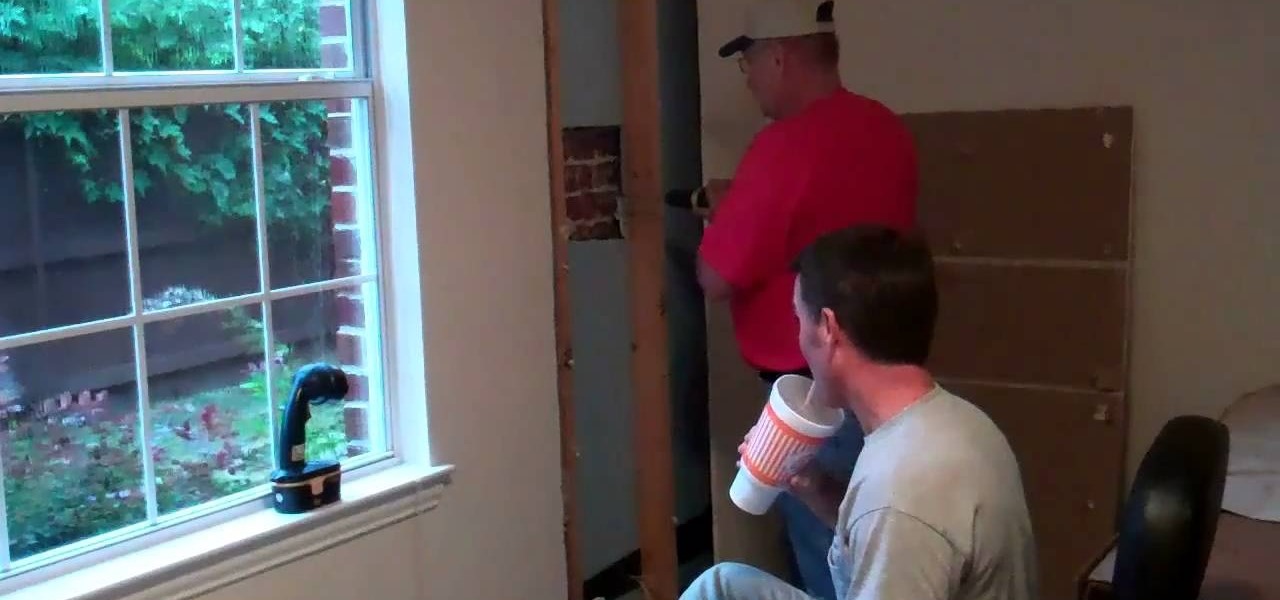
How To: Add a door In an exterior brick wall
If you've got a brick house and are looking to install a door in the brick, this how to will get you there. Be prepared, it's a big job and you'll need to be comfortable wielding several power tools. Are you ready to take the challenge?
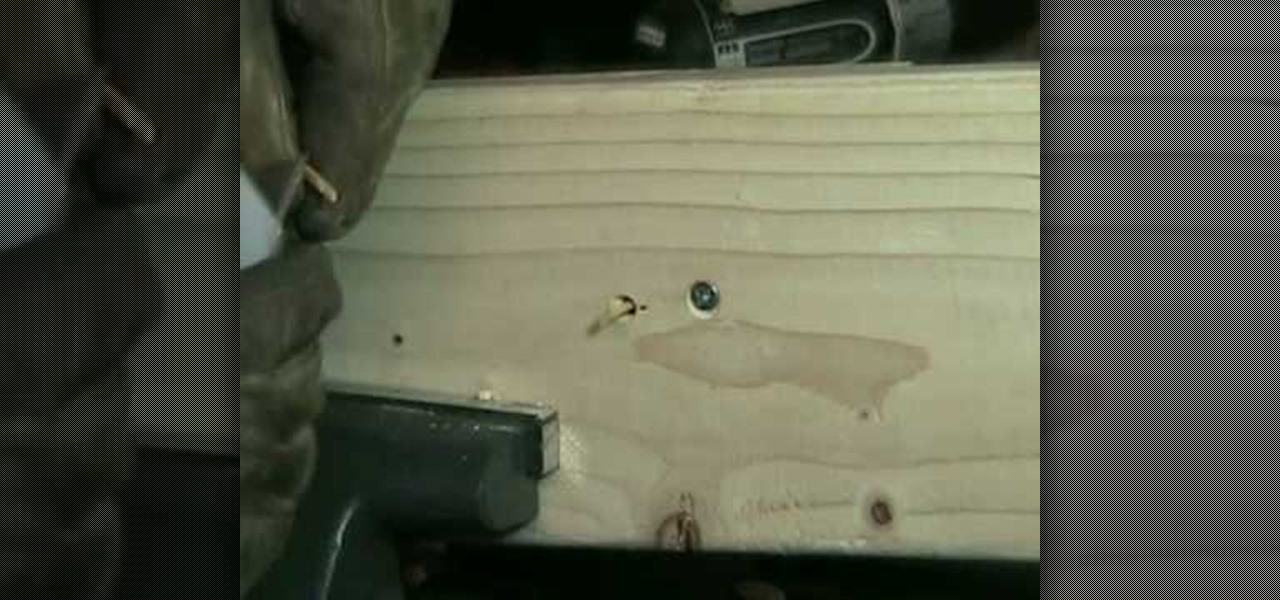
How To: Repair stripped screw holes in wood
In order to repair stripped screw holes in wood, you will need the following, a hammer, screws, matches, awl, a flat headed punch, a utility knife, and side cutters.
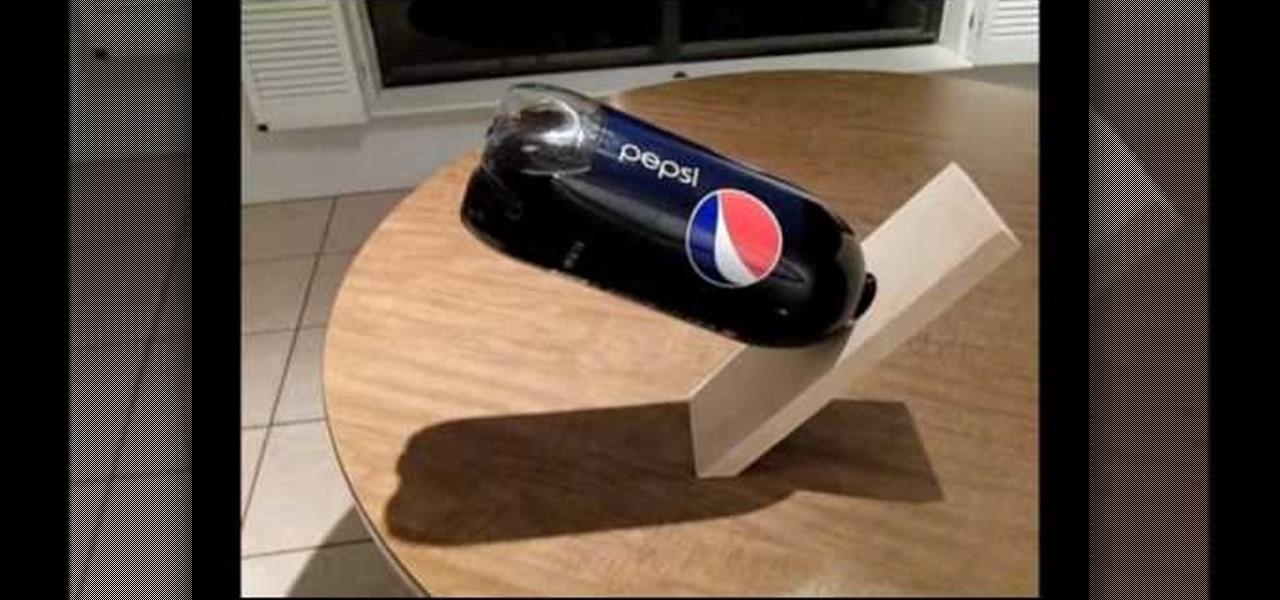
How To: Make a wooden soda holder that seems to defy gravity
In this video, we learn how to make a wooden soda holder that defies gravity. First, cut a hole into a piece of wood that is large enough to fit the cap of a 2 liter bottle of soda. Now, with the bottle still full, place the bottle into the hole and raise the piece of wood up so it's sitting on the edge of a table. Now, the wood should stay there without you having to hold it. This will look like it's defying gravity, but it is just the soda and wood being positioned perfectly so it doesn't f...
How To: Remove a threaded stud from a threaded hole
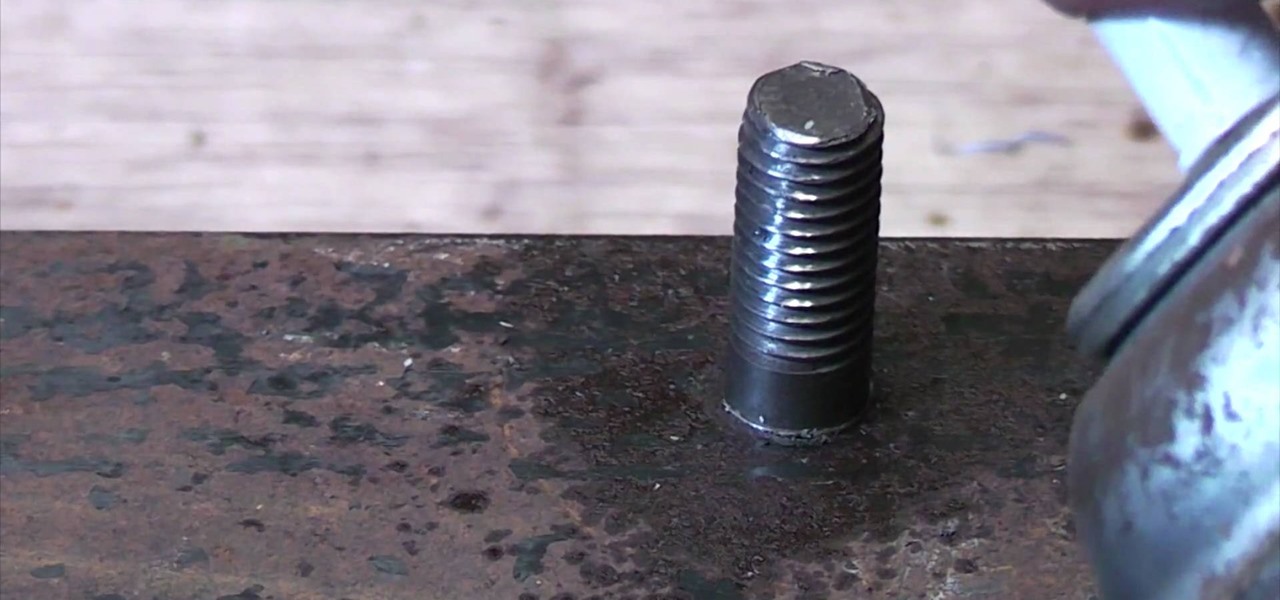
Ultimate Handyman demonstrates how to remove a threaded stud from a threaded hole. You will often find threaded studs when you are doing car repair. First, remove the nut from the stud. Then, spray it with lubricant. Next, screw the nut back on the stud. Screw another nut on top of the first nut. Grip the bottom nut with a wrench while tightening the top nut. Grip the bottom nut and turn it in a counter clockwise direction. The stud should then pull out of the threaded hole. It may be difficu...

How To: Rewire a fuse from an older style consumer unit
ultimatehandyman shows you how to Rewire a fuse from an older style consumer unit. What you need: fuse from an older style consumer unit, a tester/screwdriver, fuse wire of right thickness1. Use a tester to determine whether your fuse is in working condition or not. Once you are sure it is not working unscrew the screws partially which are found on both ends. 2. Unwind the old fuse wire from the screws and remove. Take the fuse wire that is of same rating as the one you just removed. 3. Inser...
How To: Patch around an electrical box on drywall
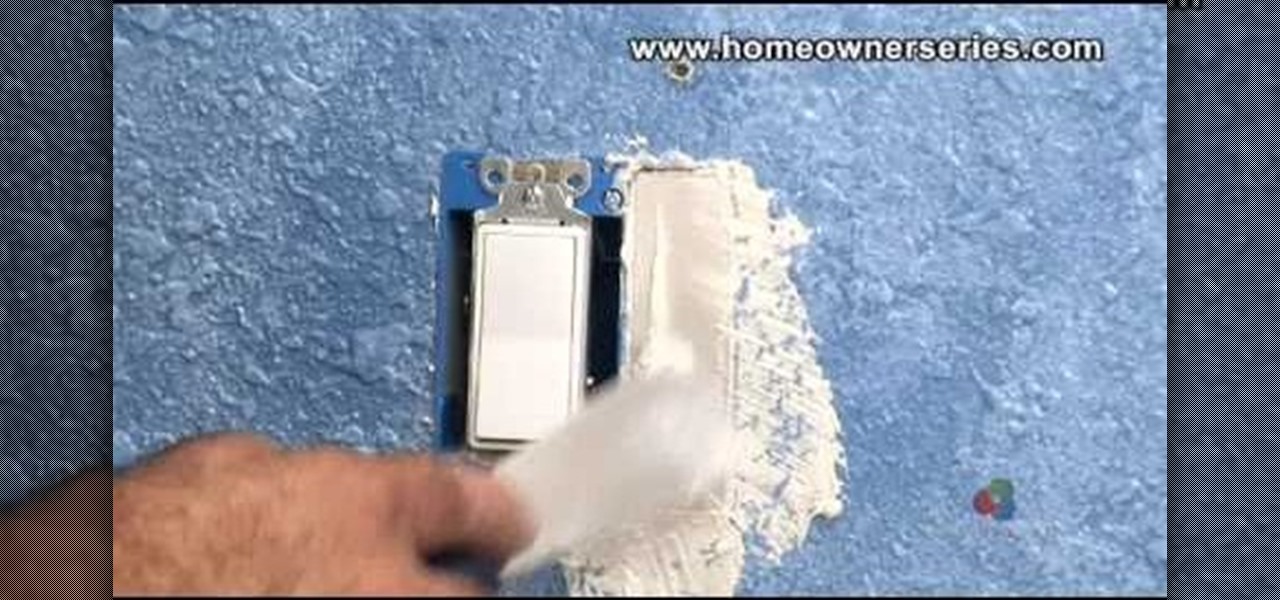
Home repairs might seem foreign to some people, but it's not as hard as dealing with contractors. If you have to patch up some holes in your drywall but don't know how, let this video series be your guide. In these videos, lean how to patch around an electrical box on drywall.
How To: Do a 16 inch layout on stud wall
Bob Schmidt from Home Remodel Workshop demonstrates how to frame a wall 16 inches on center. His tutorial is especially helpful, so pay attention to his tips, tricks, and specific techniques.
How To: Cut floor joists to length quickly and accurately
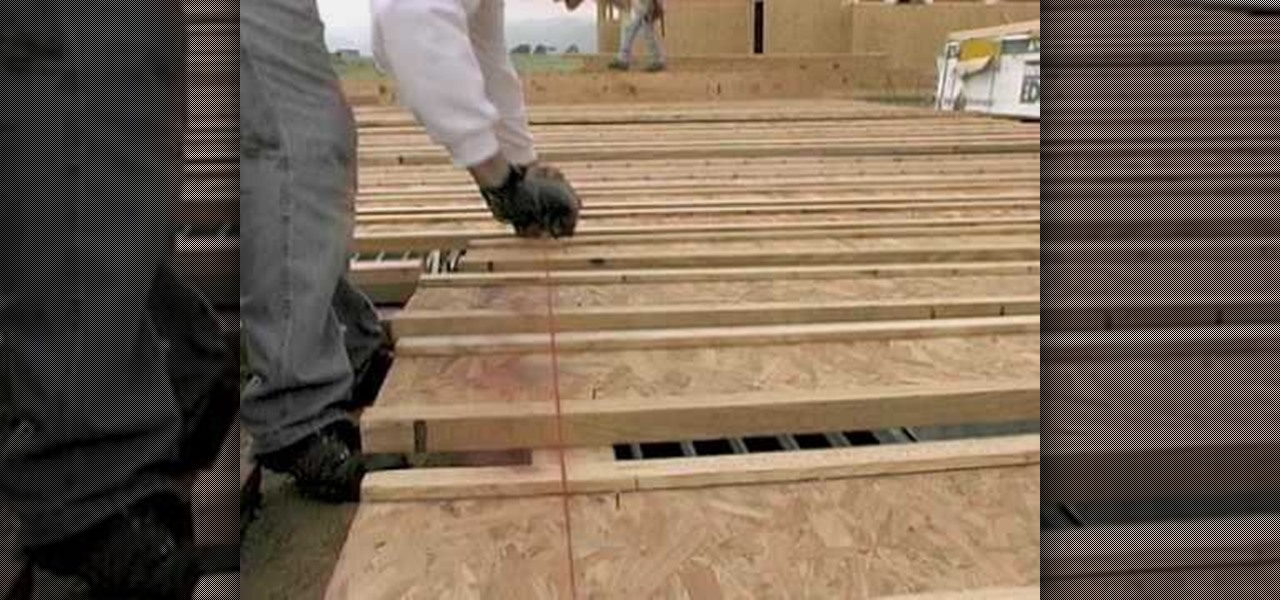
Fine Homebuilding with Jim Anderson demonstrates how to cut floor joists to length. Inspect the rim line to know where to set the joists. Set the joists to the layout on the rim line using a two man team. Tap a nail into the joist to keep it from moving around. Instead of standing the joists up to square them, cut them on both ends. Line the chalk line up with the rim line and snap the line across the joists to mark them. This will simultaneously measure and square them. Finally, line the joi...
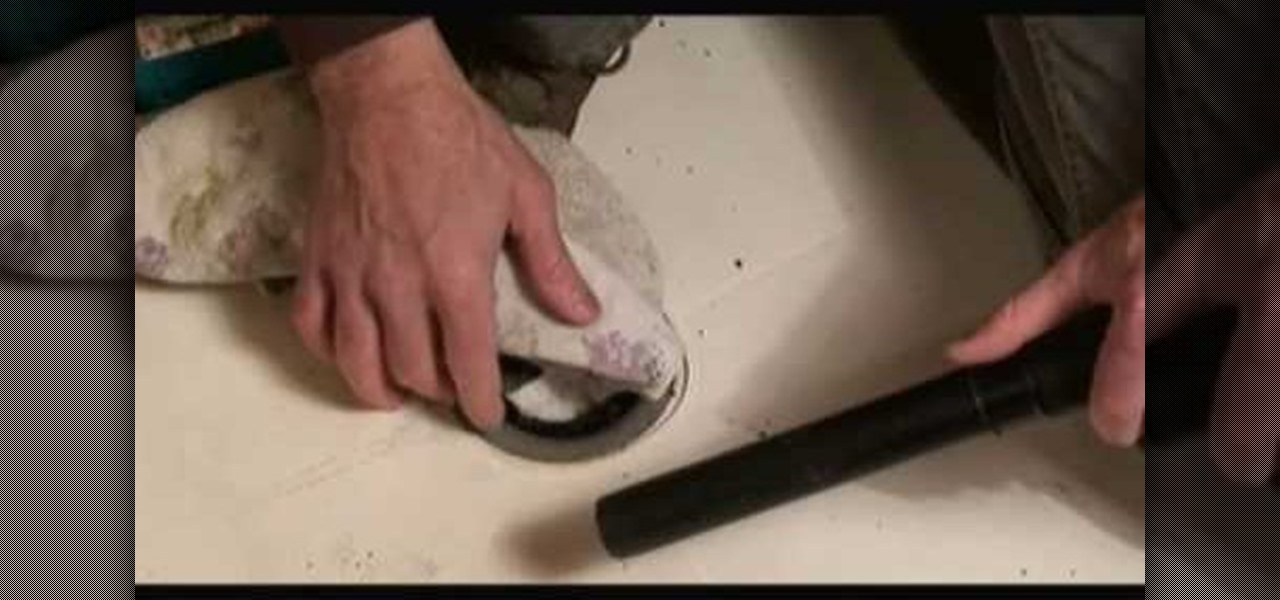
How To: Remove a fiberglass shower pan
To remove a fiberglass shower pan you will want to start by removing excess water in the drainpipe. Take a turkey baster and put it down in the drainpipe to siphon out the water. Use a knife and cut along the edge of the fiberglass panel where it meets the linoleum. Put a rag in the drainpipe to keep any sewer gas from coming up. Next you want to drill the rubber flange material that is around the drainpipe out so that you loosen it up and allow the fiberglass pan to come loose from the drain...

How To: Remove and replace a door latch
In this quick yet informational video, Ron Hazelton shows us how to replace an old or malfunctioning door latch in your home. After removing the doorknob itself, use a screwdriver to remove the ring around the base of the knob and then unscrew the backing that is holding the other side of the doorknob in place. Remove the old door latch and then replace it with the new one, putting in first the latch itself and one side of the doorknob. Use the screwdriver to hold this in place and then add t...
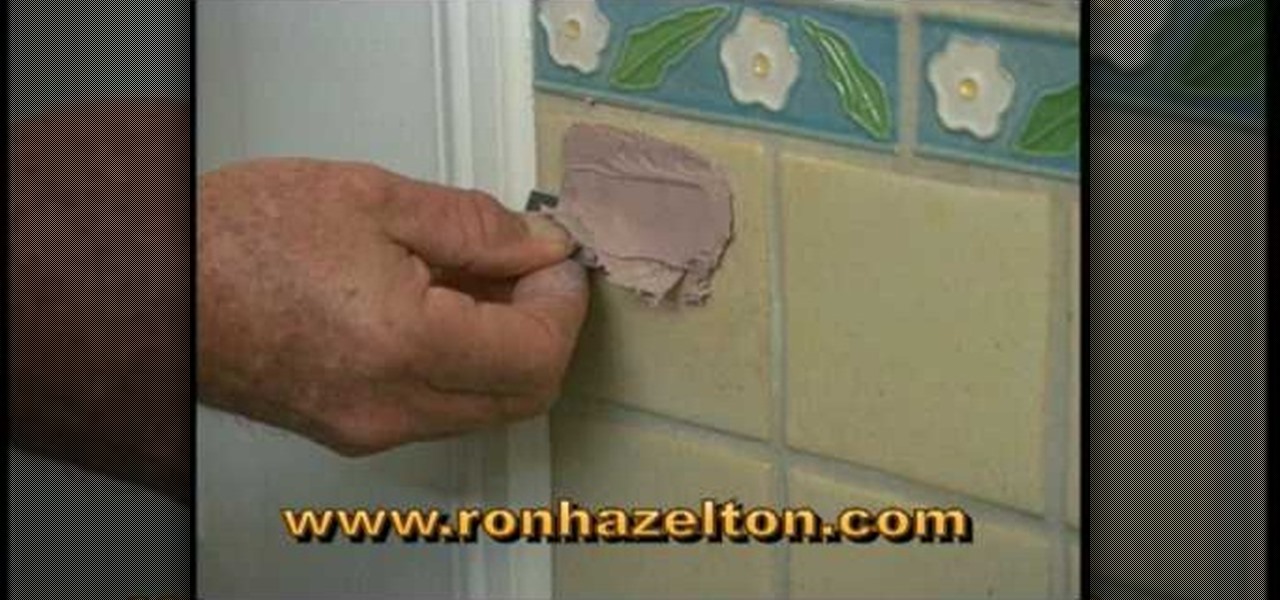
How To: Fill and repair holes in ceramic tile
Fixing holes in glazed ceramic tile can be very tricky. This is a solution that may not be perfect but it will provide a big improvement to your situation. You will need some polyester resin, which is often used to repair car bodies. Mix up some of the resin and apply it to the holes in the tile making sure that you overfill the holes. As it dries but while it is still rubbery take a razor blade and trim off the excess resin. Take some 600 grit sandpaper and sand the resin smooth. Wet the san...
How To: Install a towel ring in the bathroom
Mark Donovan of HomeAdditionsPlus shows us how to install a towel ring in the bathroom. - Line the ring up on a wall stud.
How To: Cut masonry with a bolster chisel and club hammer
Interested in cutting masonry like concrete flags and bricks? This construction lesson will show you how, using a bolster chisel and club hammer. For detailed, step-by-step instructions on cutting your own masonry quickly and effectively using simple hand tools, watch this how-to.
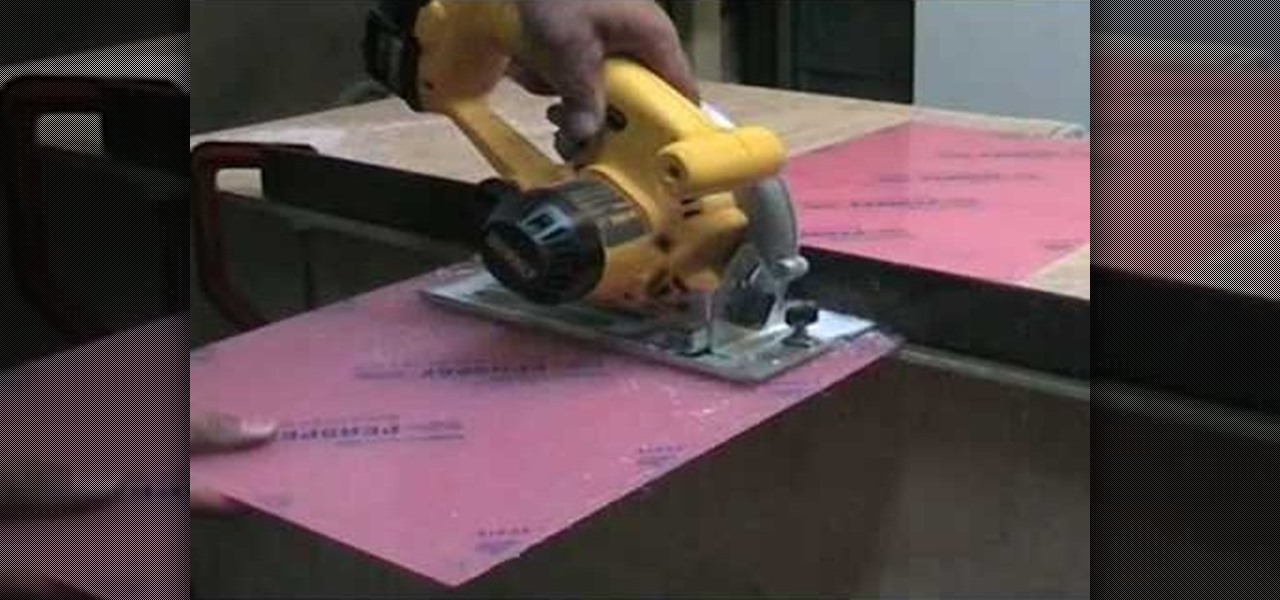
How To: Cut Perspex or acrylic sheet with a circular or jigsaw
Wondering how to cut Perspex (or acrylic glass) easily? When cutting Perspex at home, you're more or less limited to using circular saws and jigsaws. For cutting straight lines, the circular law works best; for curvy lines, you'll want to use your jigsaw. For more information, including step-by-step instructions on cutting your own acrylic sheet, watch this DIY home tutorial.

How To: Split a brick
Sometimes, you do not have the right brick size to fit that space on the brick wall you are building. Watch this video tutorial for a demonstration on how to split a brick to fill in that gap on your wall.

How To: Apply wood putty properly
Tim Carter shows you how to get a perfect finish when using wood putty and carpenters wood filler on stained wood. Tim specifically explains how wood putty comes in different colors and you can mix them to get the correct color match. Short video, but well-instructed.
How To: Replace a prehung exterior door with This Old House
Watch this video from This Old House to learn how to install a prehung door. Steps:

How To: Stack bricks to prepare for a job
This video explains how to properly stack bricks as a part of loading out the job. This is an essential step to do before starting your brick laying.
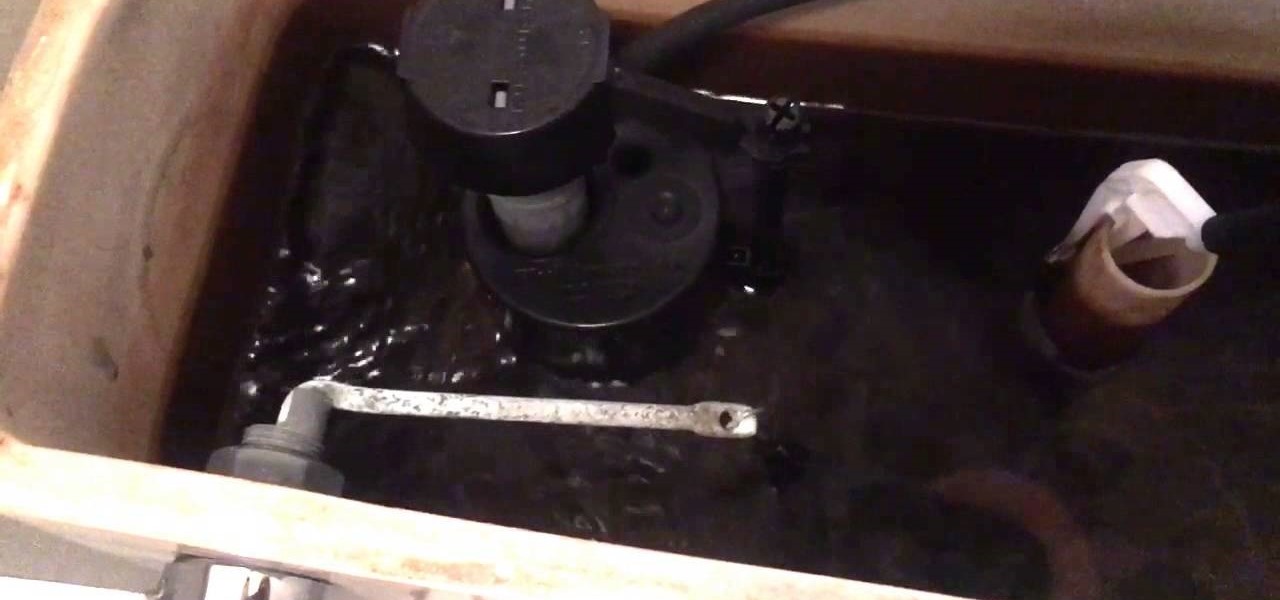
How To: Stop a Toilet from Running
This video will show you how to stop a toilet from constantly running and what to look for. There are many different reasons why a toilet may keep running, we'll take the toilet tank cover off and show you what to look for inside and what might break or go wrong.
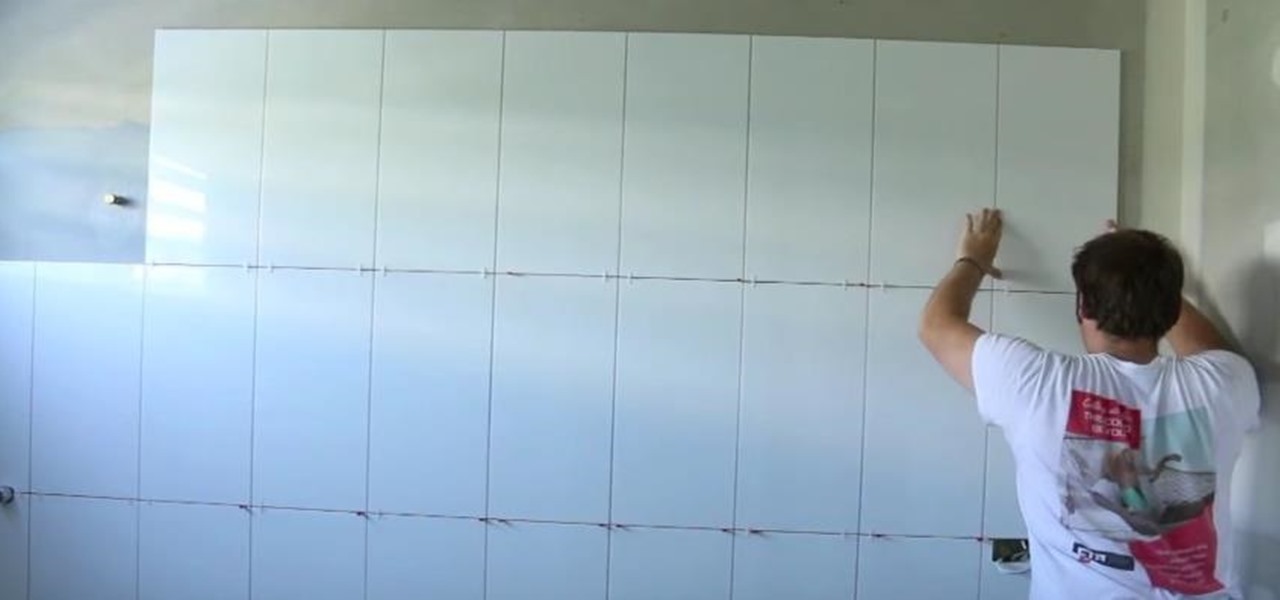
How To: Lay Wall Tiles
G'day Knuckleheads. In this Owner Builder Series Episode we're up to doing the wall tiling in the bathrooms. Justin gives out some very handy tips on how to lay wall tiles in the bathroom. Check it out and let me know what you think.
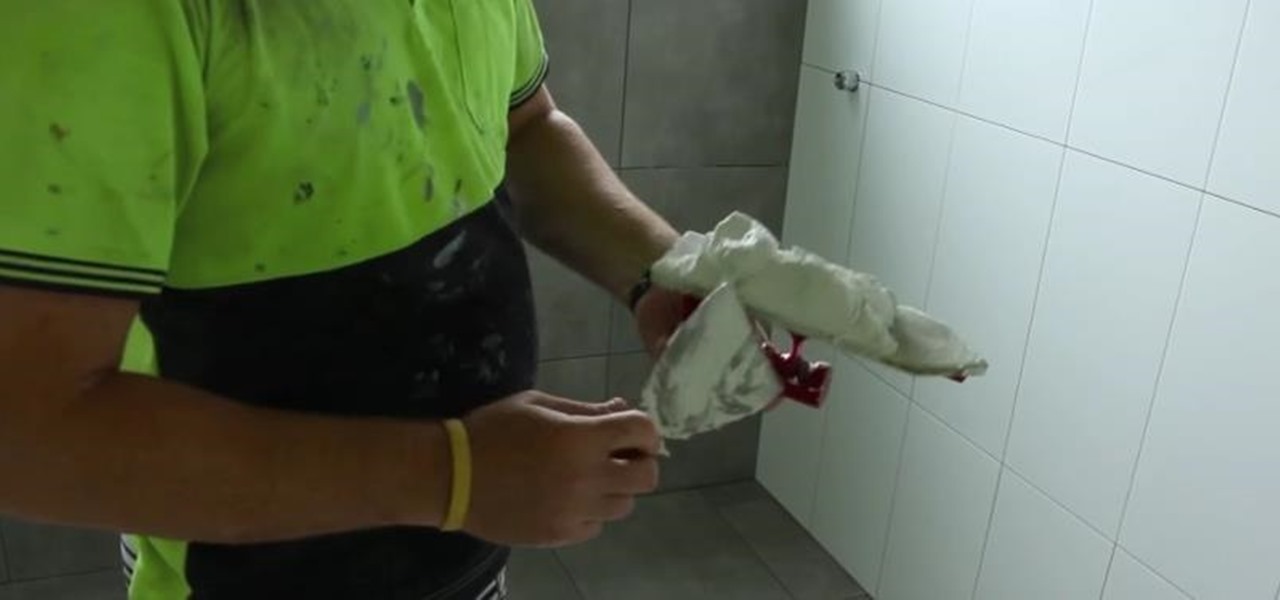
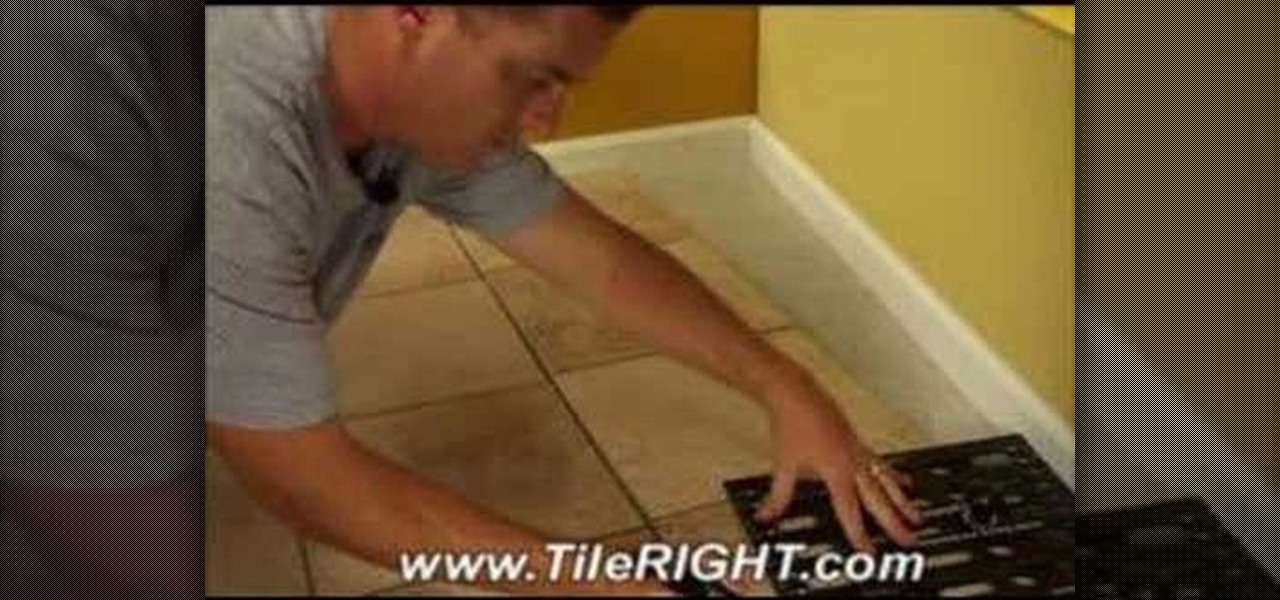
How To: Grout Wall and Floor Tiles
G'day Knuckleheads and welcome to Episode 35! With the wall and floor tiling completed it's time to grout the tiles. In this episode Justin takes us through the tips and tricks of applying the wall and floor grout. Grouting really finishes the job off and is a job that any DIY'er can do by themselves. Check it out and let me know what you think :-)
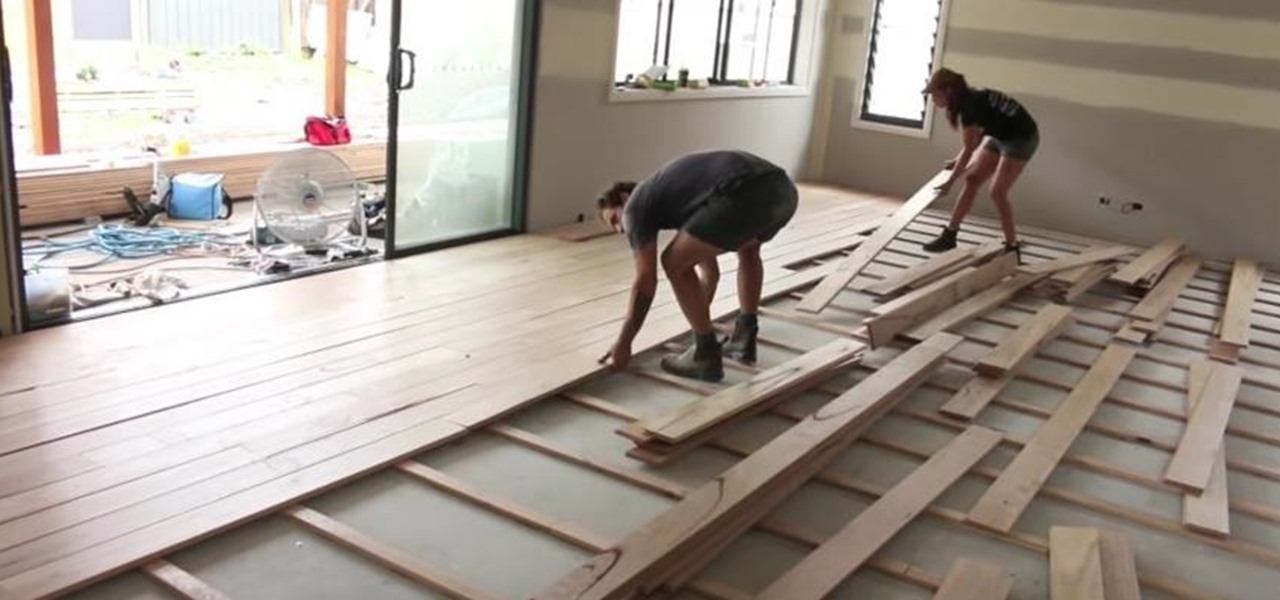
How To: Install a Timber Floor
G'day Knuckleheads. In this Owner Builder Episode we look at laying the timber floor. You'll see in this video the team showing you how to lay a timber / wooden floor. The timber or wood l used for the floor was a species of timber called Blackbutt. It's a solid 19mm x 130mm board which is very hardy and should stand up to a fair bit of abuse…which it will get at my place :-) Timber floors really give a warmth to your property and are well worth the effort.
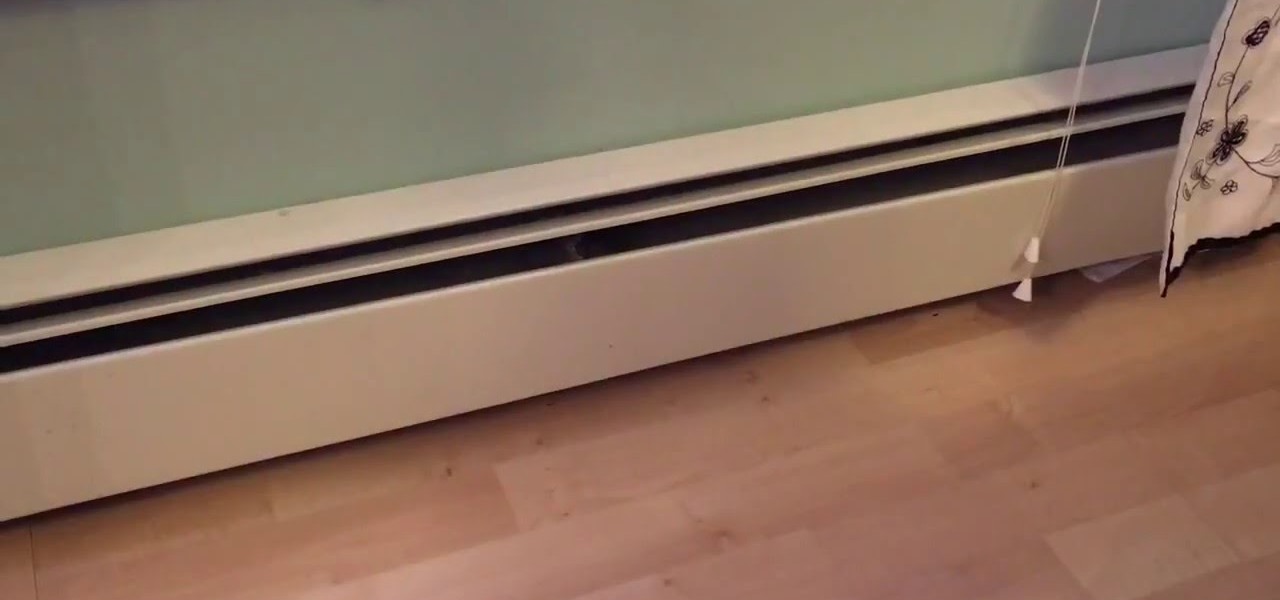
How To: Bleed Trapped Air from Baseboard Heater
This video will show you how to bleed trapped air from a baseboard heater. If your baseboard heat is cold with the heat turned on, this might work for you.
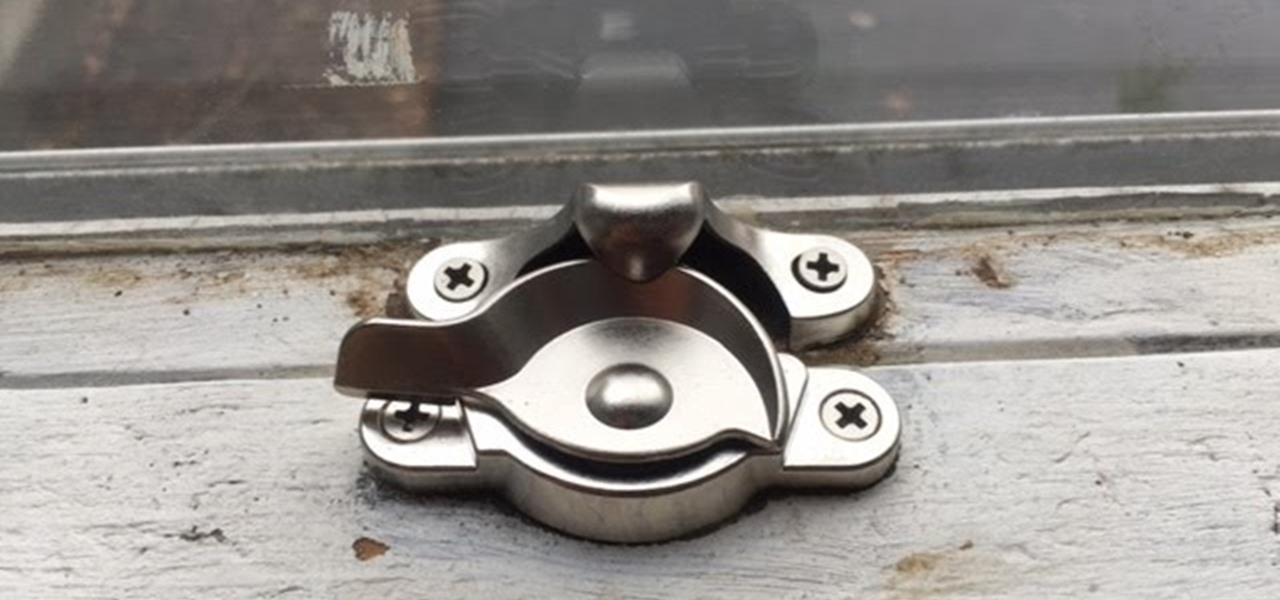
How To: Replace the Sash Lock on a Window
Learn how to replace the sash lock on window. This repair will help fix a drafty window, or may even help to fix or prevent a window from rattling or shaking in the wind.
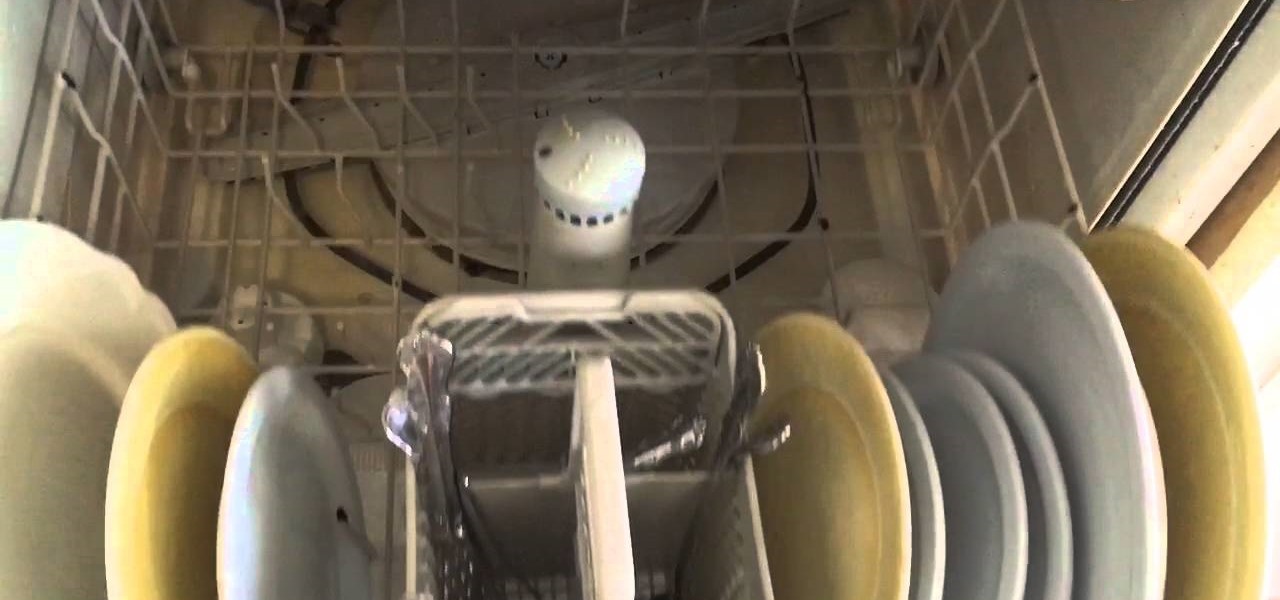
How To: Fix a Dishwasher That Will Not Run or Fill with Water
This video will show you what to look for if you dishwasher stops turning on or filling with water.


