Hot Construction & Repair Posts


How To: Cut ceramic tile with a tile cutter
Cutting floor and wall tile with a tile cutter should not be a difficult job. For any successful tile cutting job, the steps are roughly as follows:
How To: Cut tile with a diamond wheel cutter
Want to cut marble, porcelain, slate, granite or any natural stone tile with a diamond wheel cutter? This video guide will show you how. For detailed, step-by-step instructions, and to get started cutting your own title with a wheel cutter, take a look.
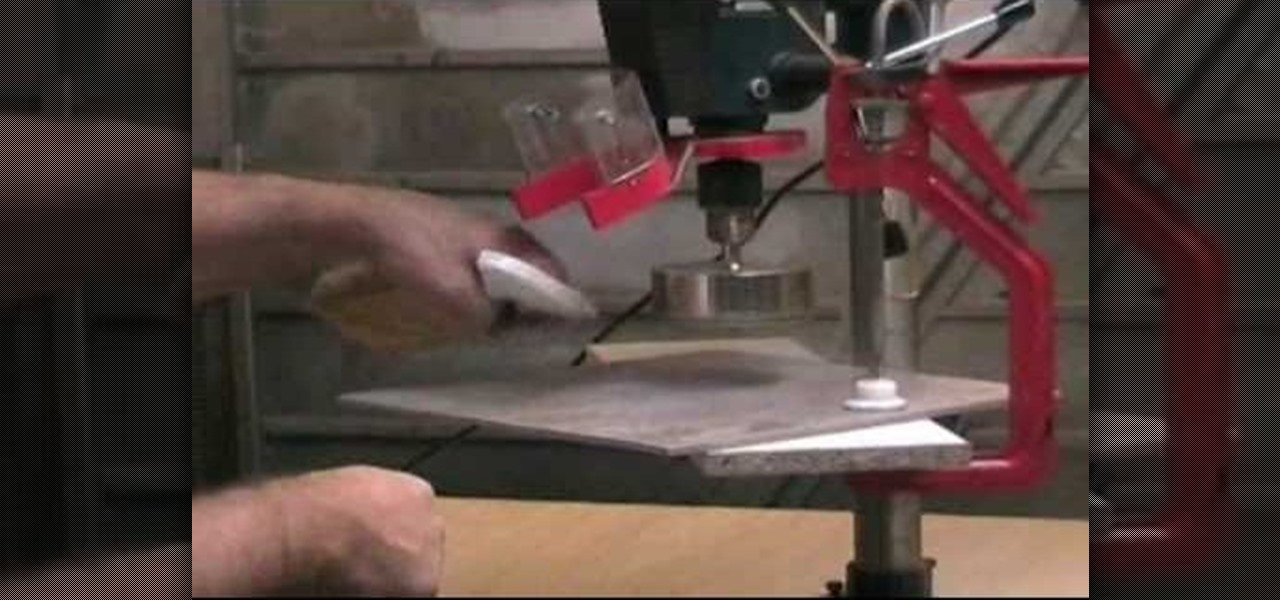
How To: Drill porcelain tile
Wondering how to go about drilling porcelain tile without damaging it? In this video tutorial, you will learn how to drill through tough porcelain tiles using diamond coated hole saws, which also work work on natural stone and marble. Get started drilling porcelain tile quickly and efficiently with this how-to.
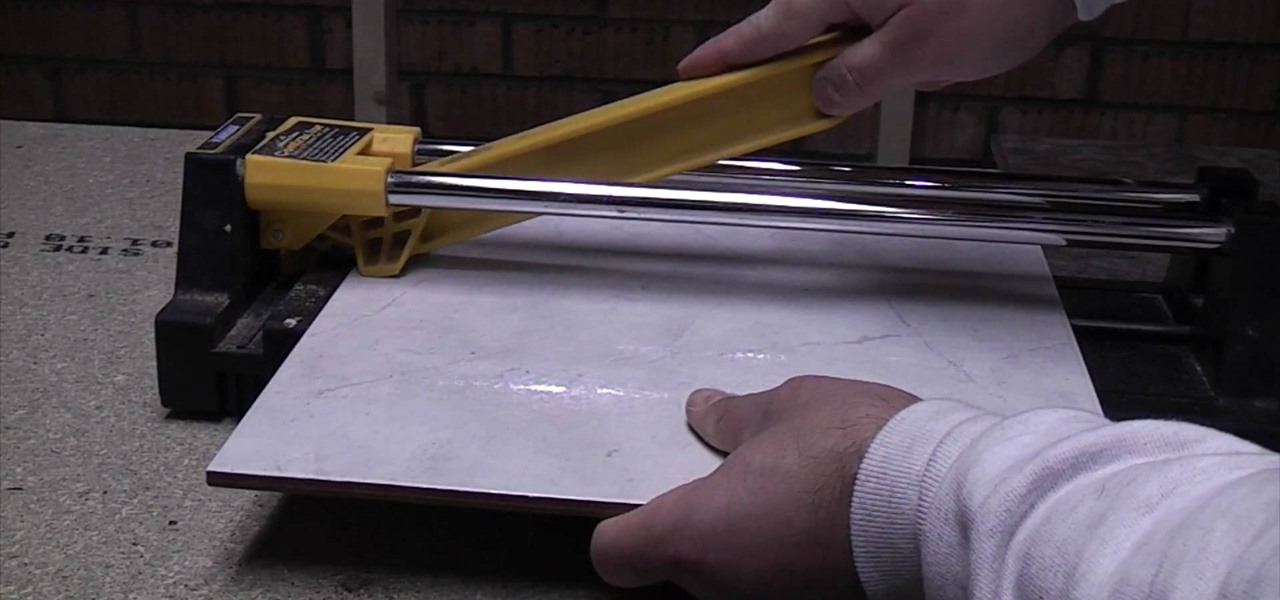
How To: Cut ceramic floor and wall tile with a tile cutter
Cutting floor and wall tile with a tile cutter should not be a difficult job.

How To: Cut masonry with a bolster chisel and club hammer
Interested in cutting masonry like concrete flags and bricks? This construction lesson will show you how, using a bolster chisel and club hammer. For detailed, step-by-step instructions on cutting your own masonry quickly and effectively using simple hand tools, watch this how-to.
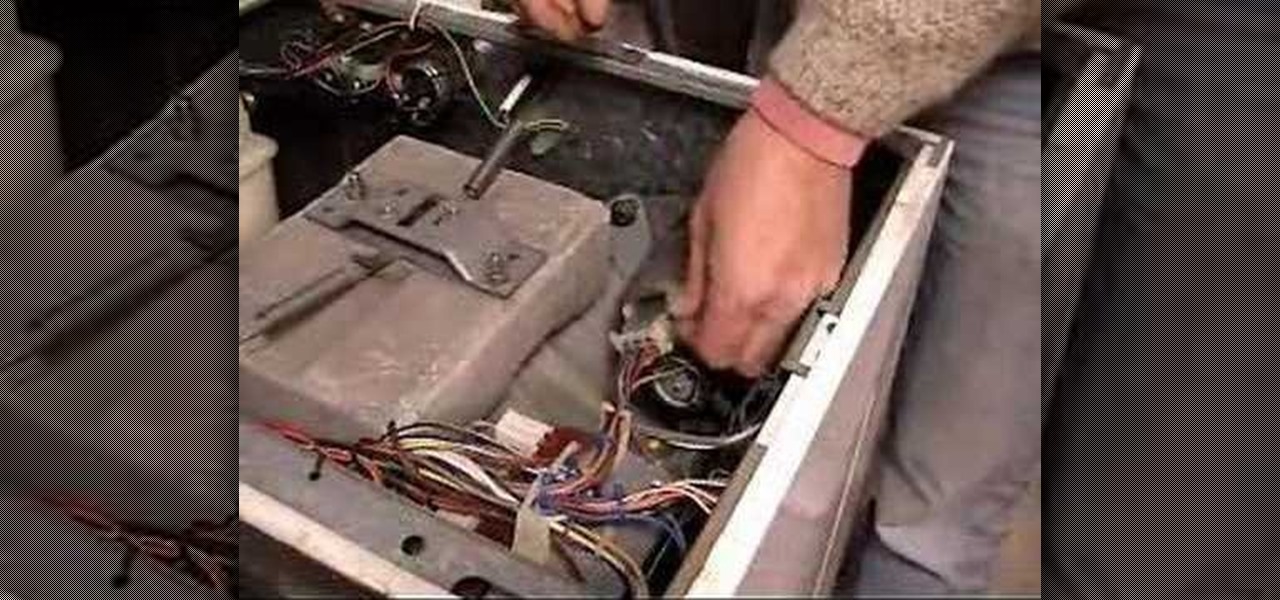
How To: Remove washing machine motor from the top of machine
Broken motor on your washing machine? Never fear: this video tutorial will show you what, precisely, it takes to fix it. For step-by-step instructions on the motor replacement process, take a look. Get your wachine machine working again with this how-to.
How To: Cut tile
Learn how to cut tile with this DIY video tutorial. If you need to make angular and circular cuts, use an angle grinder and fit a diamond disk. You'll need to fit a continuous diamond disk, not a segmented one, because a segmented disk will chip the tiles. And if you're using an angle grinder, don't forget your personal protection equipment, ear muffs, dust mask, and eye protection.

How To: Mix drywall joint compound
Watch this quick video showing how to mix joint compound. In a large bucket, mix a fresh bag of joint compound with water, using an electric mixer. You can mix your joint compound to be thicker, or thinner, depending on the spackling project.

How To: Coat drywall around boxes with joint compound
Watch this instructional video on how to coat detail work around boxes and pipes with joint compound. Spackling drywall is a delicate art, but anyone can create a perfectly smooth surface with a metal putty knife and a fresh bucket of spackle. Learn how to lay dow thin coats of putty around details and box shapes to avoid heavy sanding in the second stage of prepping a room for painting.

How To: Coat butt joints with joint compund
Watch this instructional video on how to coat butt joints with joint compound. Spackling is a delicate art, but anyone can create a perfectly smooth surface with a metal putty knife and a fresh bucket of spackle. Rock the putty knife back and forth to coat a butt joint with joint compound. Once you are ready, try out to bonus trick for spackling masters.

How To: Coat ceiling joints with joint compound
This instructional video demonstrates how to coat ceilings with joint compound, without dripping mud on your face. Spackling is a delicate art, but anyone can create a perfectly smooth surface with a metal putty knife and a fresh bucket of joint compound. Spackling ceilings is one of the more difficult tasks in prepping a room for painting, but this video provides tips on how to lay down thin layers of putty to avoid heavy sanding after the spackle dries.

How To: Coat a cornerbead with joint compound
This is a video demonstration on how to coat cornerbeads with join compound. Spackling is a delicate art, but anyone can create a perfectly smooth surface with a metal putty knife and a bucket of fresh joint compound. Learn how to spackle a corner in thin coats to avoid heavy sanding in the second stage of prepping a room for painting.

How To: Coat nails with joint compound
Here's how to spot nails and screws with joint compound. This instructional video will show you how to coat nails and screw holes in drywall with a thin layer of spackle. Use a metal putty knife and fresh joint compound to get a smooth surface of spackle and avoid heavy sanding.

How To: Putty coat drywall
Here's a way to make your drywall project perfect. Mix up some thin joint compound, using more water than normally required for spackling holes in the wall. You can roll the putty onto the wall with a think rolling brush. After the joint compound dries, it only requires a light sanding. Watch this instructional video to create perfectly smooth drywall surfaces with liquid spackle.

How To: Plan, and build, the deck of your dreams
While building a deck may not be the easiest DIY project, it can be done with proper planning and execution. In part one of this five part series, learn about decking material options, deck style options, building codes restrictions and much more.

How To: Plan and build the kitchen of your dreams
Your kitchen is the heart of your home, and is as individual as you are. No matter what your ultimate goal, there are several initial steps you will take to begin remodeling your current kitchen, regardless of its size or shape.

How To: Install an exterior entry door
Let the Home Depot show you what it takes to install an exterior entry door and the tools and supplies you'll need for this popular do-it-yourself project. Go step-by-step through the process and pick up a few tips along the way for extending the life of your new exterior door. For more, or to get staretd on your own exterior installation process, watch this video DIY guide.

How To: Install a flat jamb interior door
Announce your arrival home in style by stepping in via a brand new door. Whether you're tired of your old one or it "fell" off during a particularly heated argument, installing a new door helps to instantly update a room.

How To: Install a replacement window properly
Let The Home Depot show you what it takes to install a replacement window and the tools needed for this quick and easy job. Since replacement windows fit into existing window frames, it should take you less than an hour to complete this simple DIY project. For more, or to get started on your own window replacement project, watch this video tutorial.
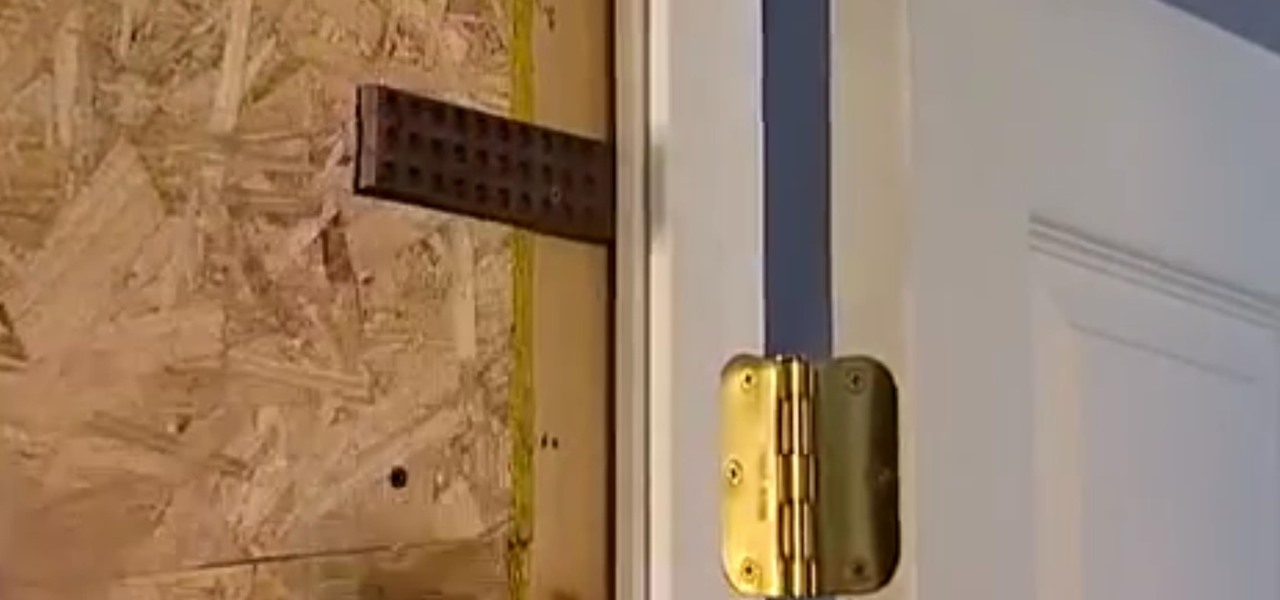
How To: Install a Split Jamb Door
Let Home Depot show you what it takes to install a split jamb door and the tools needed for this relatively easy job. Go step-by-step in this straightforward project, from centering and leveling the new door to placing shims and where to drive the nails. For more, or to get started on your own split jamb door installation project, watch the video on Dailymotion.
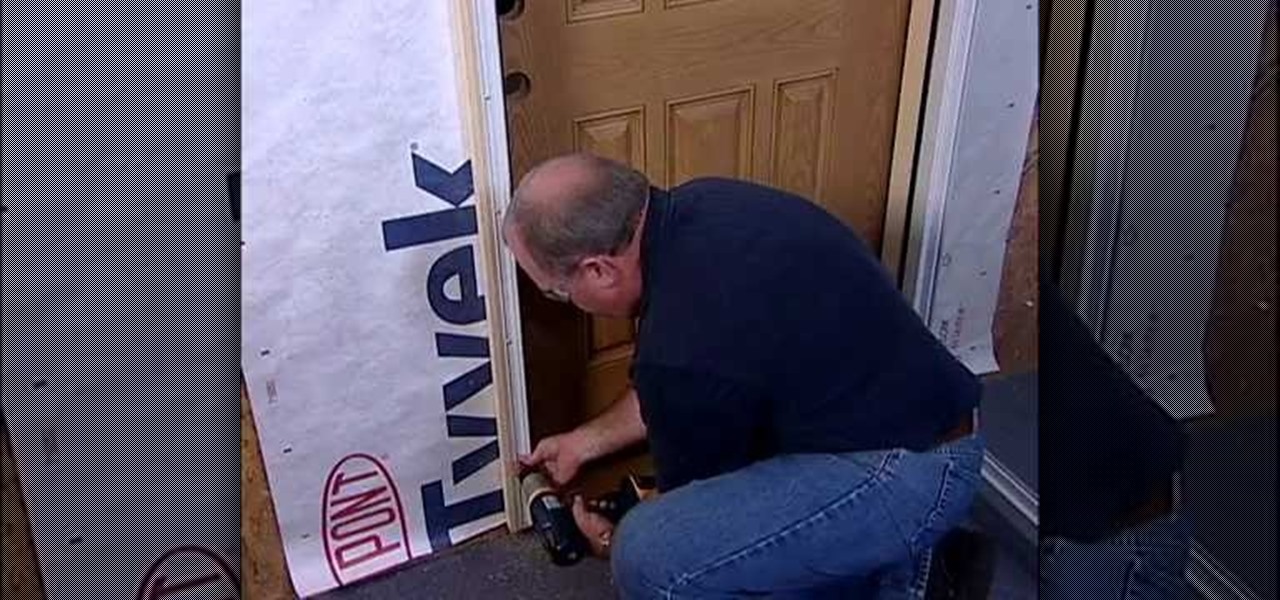
How To: Install a storm door easily
Let the Home Depot show you exactly what it takes to hang a storm door and the tools needed for this relatively easy task. Go step-by-step for adding this door to a brick-molded opening. For more, or to get started on your own storm door installation project, watch this DIY video tutorial.

How To: Build an arbor bench
Enjoy your lawn in comfort and style with a charming arbor bench that you can build yourself. This project is sure to be a hit with the woodworkers and gardeners alike. In this video tutorial, you'll find exhaustive, step-by-step arbor bench construction instructions, as well as plans. For more, or to get started building your own arbor bench, watch this DIY guide. Build an arbor bench.

How To: Patch and repair concrete
Concrete is one of mankind's greatest inventions. Very durable, it can also be aesthetically pleasing. Concrete is also often a major building material in and around homes. Over time, however, concrete can deteriorate. Patching and repairing concrete can be easy or difficult, depending on the project and the amount of deterioration. Most repair projects are fairly simple using some of the specially formulated patch and repair products available these days. Watch this DIY video tutorial for st...

How To: Install a garage door and opener
Installing a new garage door and opener may seem daunting at first, but if you take your time and do the job step-by-step, it's a good weekend project. It will take from nine to 12 hours for most doors, then another two to four hours for the opener. You will need help for some portions, such as lifting out the old door and lifting the new door up until the tension springs can be installed (some doors may weigh up to 400 pounds). You may need to remove an old door, or you may be installing in ...

How To: Install a pre-hung exterior door
Getting you, your family and your friends in and out of the house is not the only thing an exterior door is about. When you install a door you want it to swing smoothly, latch tight, seal out the weather and be secure. You can get a big head start on reaching these goals by choosing the right set-up to begin with, and this usually means buying a pre-hung door. In this DIY video tutorial, you'll find step-by-step instructions for installing a pre-hung door in your own home. For more, or to get...
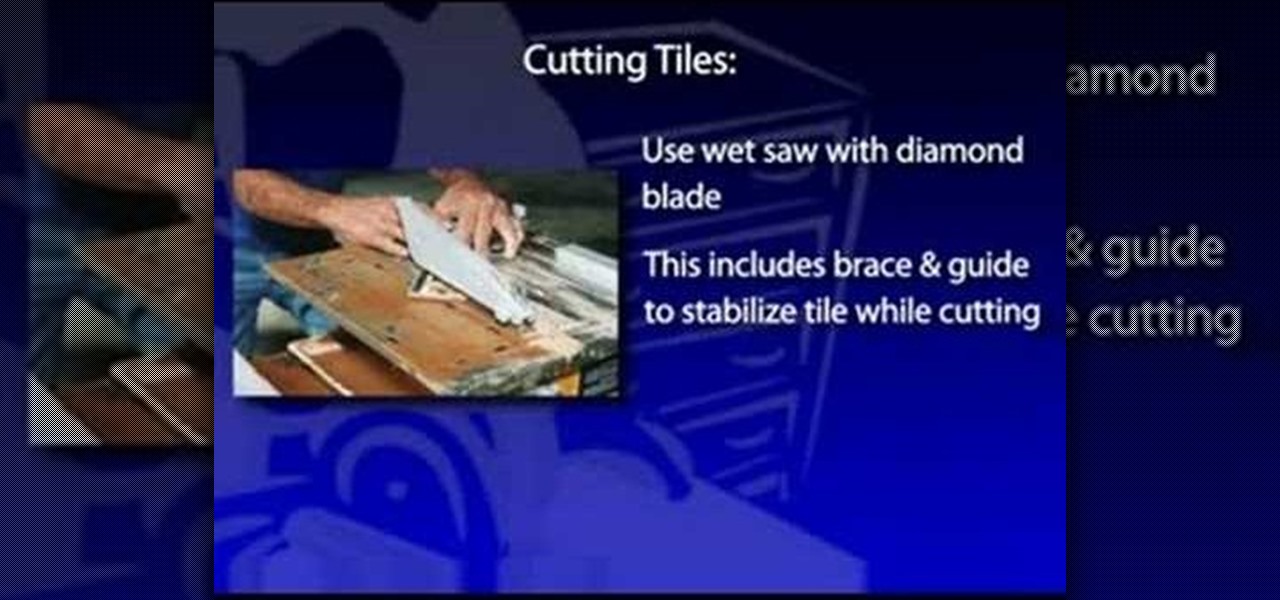
How To: Tile a wall
Installing wall tile is basically the same procedure as installing floor tile. And it offers the same advantages: flexibility of design; a wide range of colors, materials and patterns; and if installed correctly, years of durability. Ceramic or porcelain tile makes an attractive backsplash behind sinks and stoves, or encasing a bathroom or shower. It's a strong and easy-to-clean material that offers great decorative advantages for areas exposed to water, while resisting moisture intrusion and...

How To: Add a knockdown texture to drywall
A new coat of paint can do wonders for a dull, drab room. But sometimes you want to go a step further. Applying a knockdown texture to the wallboard before painting can help deaden sound, hide any imperfections in the drywall and, more important, provide a warm and rustic feel to the room, similar to Spanish-style stucco. For more, or to get started on your own wall texturing project, watch this DIY video tutorial.
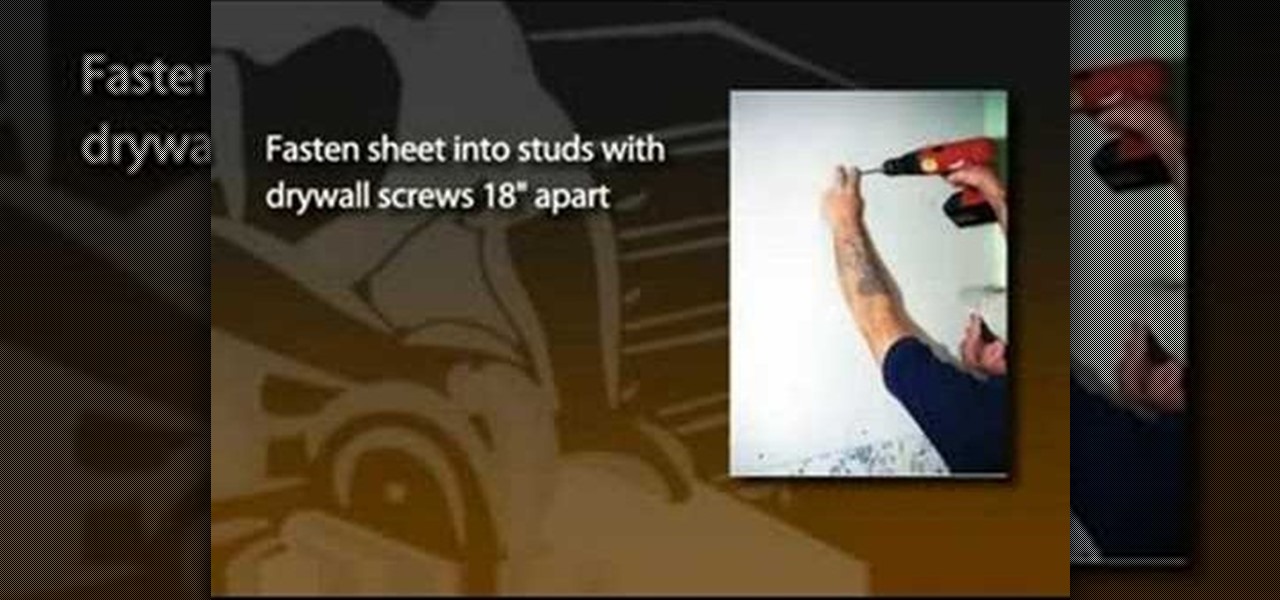
How To: Update drywall
When faced with old, damaged plaster walls, one technique to dress up the room is to install drywall over the existing plaster. A drywall overlay gives the walls a smooth, fresh surface that's ready for new paint, paper or trim. This is a common technique used among professional contractors hired to renovate houses bought under foreclosure. For example, real estate companies that invest in foreclosures often deal with houses that are more than 50 years old and exhibit serious signs of aging. ...
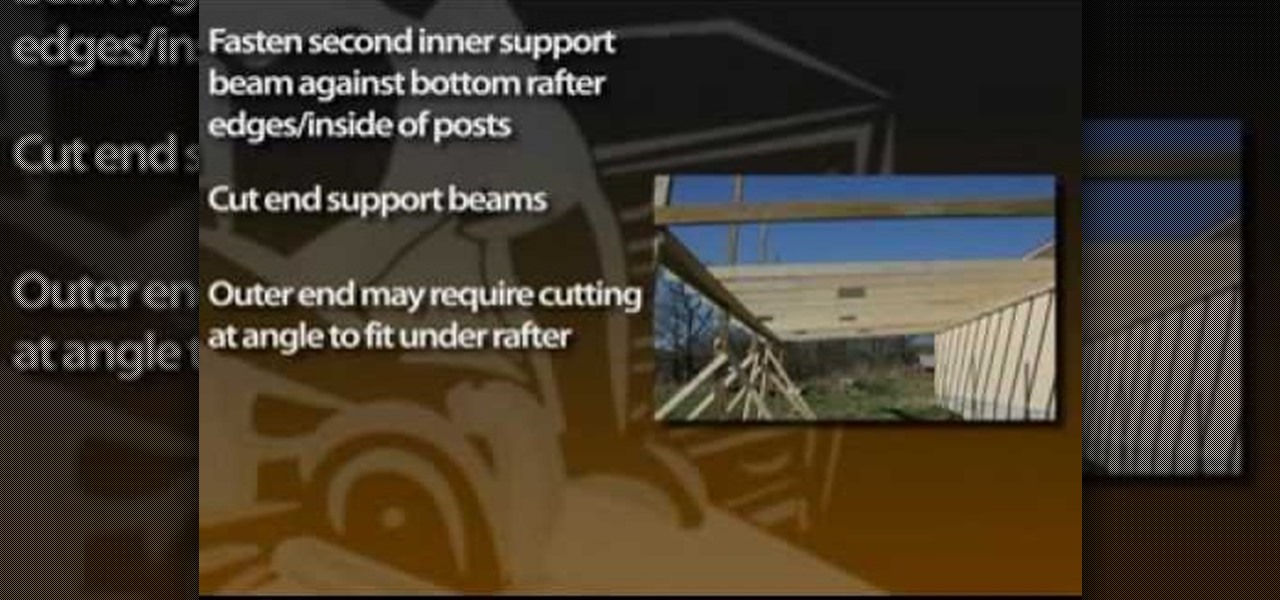
How To: Build an attached carport
A carport, or lean-to shed, attached to an existing building such as a garage, barn, shed or the side of your house can provide economical shelter for vehicles, garden tractors, boats or other equipment. An attached carport is also fairly easy to construct against the side of another building, if you have enough height under the existing building eave. For a step-by-step look at the carport construction process, take a look at this DIY video tutorial.

How To: Build a playground slide
In this video tutorial, you'll find instructions for building a standard joist design playground slide, supported by 3-by-4 posts and secured with galvanized fasteners. All fasteners exposed to the outdoors must be weather-resistant, galvanized, zinc-coated brass or stainless steel. Standard homeowner tools are all you'll need to complete your slide—a tape measure, post-hole digger, circular saw, sawhorses and a level. A good drill/driver is a great tool if using decking screws as fasteners. ...
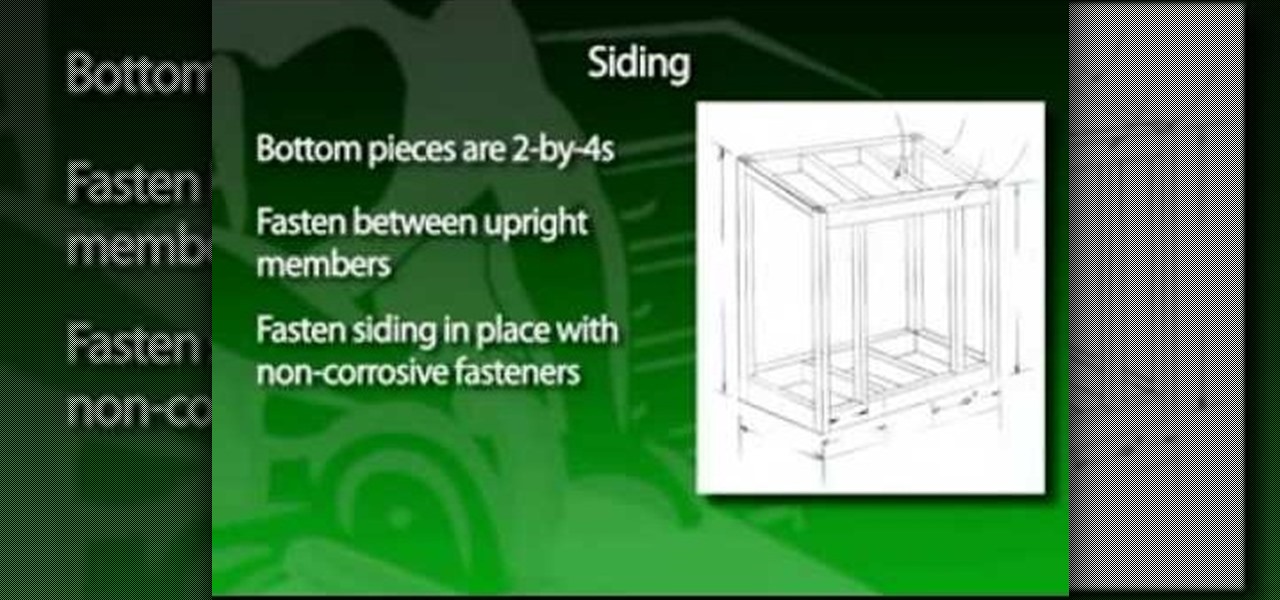
How To: Build a garden tool shed
he age-old “shtick” about a rake handle smacking you in the face when you step on the teeth isn't funny. It's happened to me more than once. One of the problems is improperly storing rakes, hoes, shovels and other long-handled tools. They can be hung up in a garage or garden shed, but usually end up right at the door, where they fall down, and again become a dangerous problem. The garden tool shed shown solves the problem of long-handled tool storage and at the same time provides a separate s...
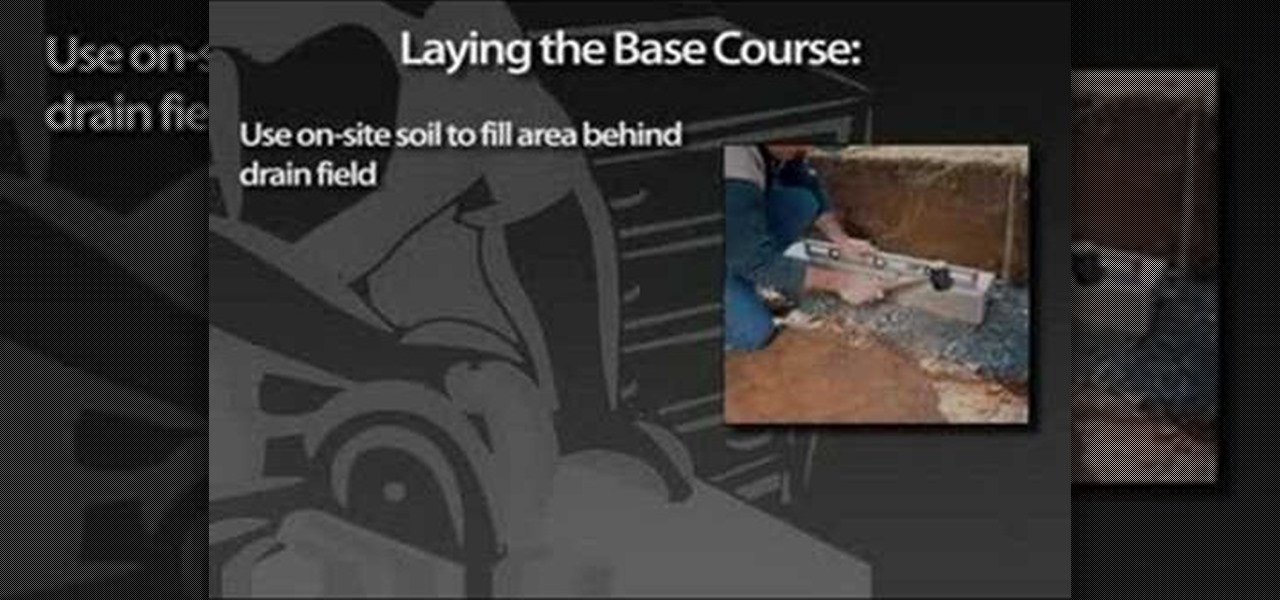
How To: Build segmental retaining walls
It's fun to be out in warm weather cutting big timbers and doing a project that sees quick, upward progress. In this video, you'll find instructions for building a post and plank-style retaining wall. This post-and-plank retaining system is based on the way seawalls (or bulkheads) work. You set posts into the ground, vertically, then plank behind them. This creates a wall with texture and shadow lines with nice hollows between the posts for plantings or grass. And, because there's so much pos...
How To: Build a rolling tool cabinet
So many bench-top style tools are available today it's easy to accumulate several, including table saws, jointers, sanders, scroll saws, planers and others. With either purchased or shop-made individual stands, the tools can take up a lot of room. In this video tutorial, you'll learn to build a roll-around tool cabinet that can easily be rolled out for access to a variety of tools placed on top. It features a large bench top with locking rollers, and a huge storage cabinet beneath, which prov...
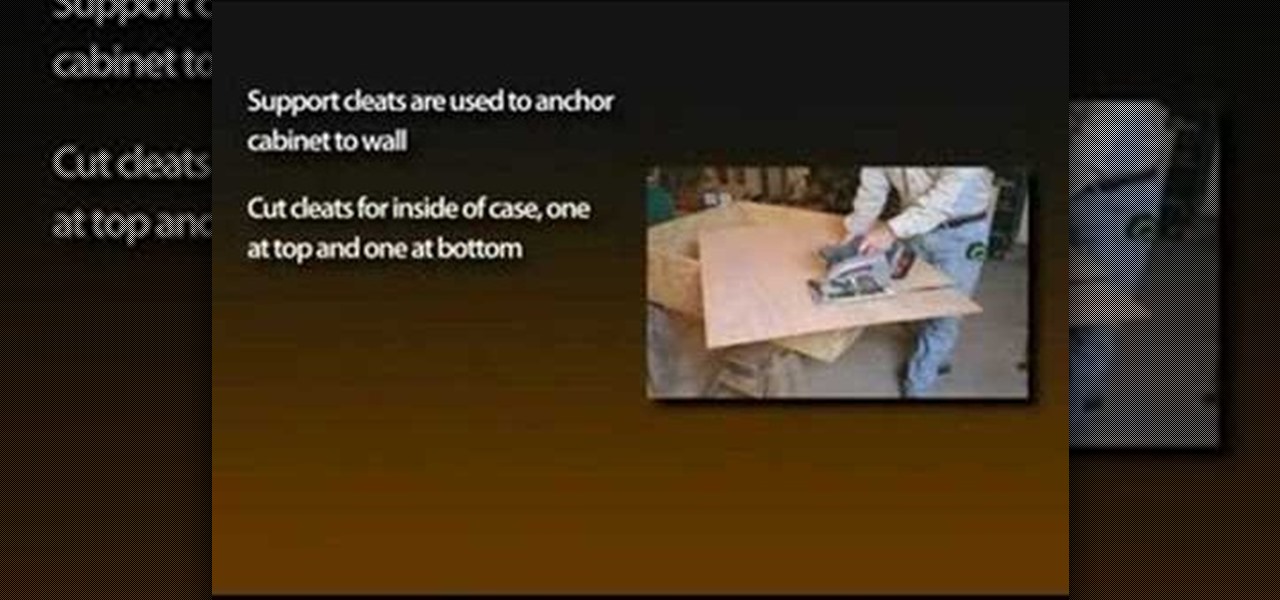
How To: Build a locking tool cabinet
With the growing popularity of cordless power tools, it's extremely easy these days to accumulate a lot of portable tools, and when you add in quality corded tools, such as circular saws, routers, planers and air nailers, you can end up with a pretty hefty investment. These same tools are the first to “walk away” in a theft. Left lying around a shop or garage, they can also be somewhat dangerous for youngsters. A locking cabinet not only provides a secure place, but protects the tools as well...
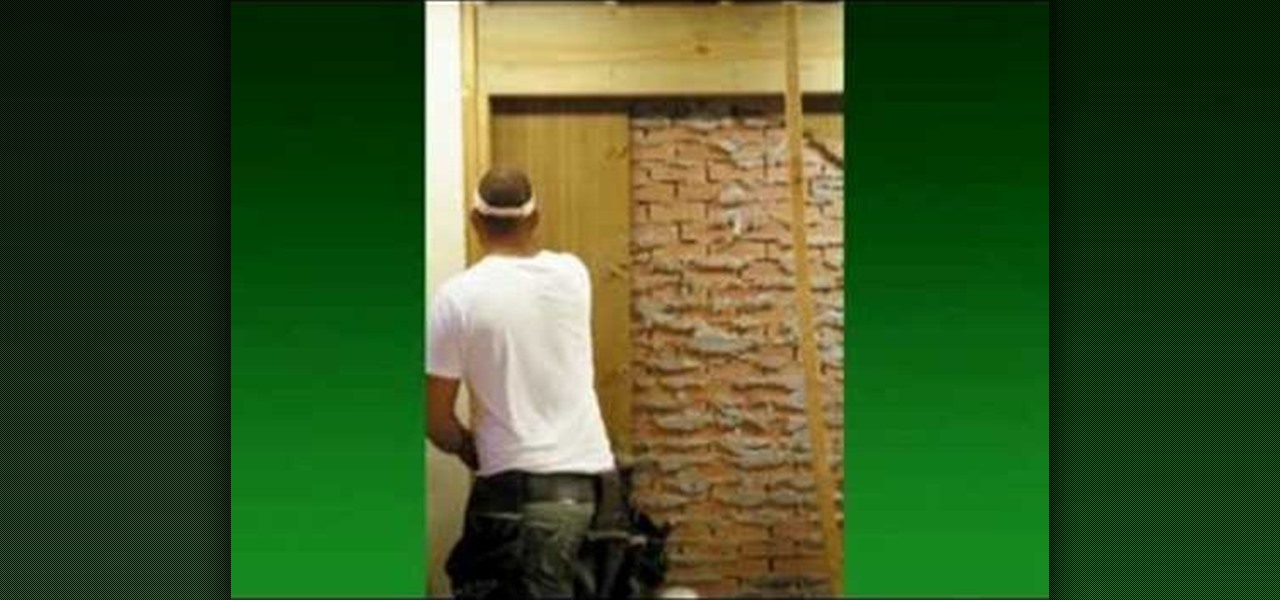
How To: Install a sliding patio door
To install a sliding patio or deck door, first decide a practical, aesthetically logical and structurally sound location for the entranceway. Do not locate a patio door closer than 4 feet from any corner, otherwise the solid-wood sheathing or metal bracing at the corners could be compromised. Also, plan ahead. We chose the door's location in part because it allowed the option of later adding a bathroom at the corner of the adjacent wall. For a step-by-step at the installation process, take a ...
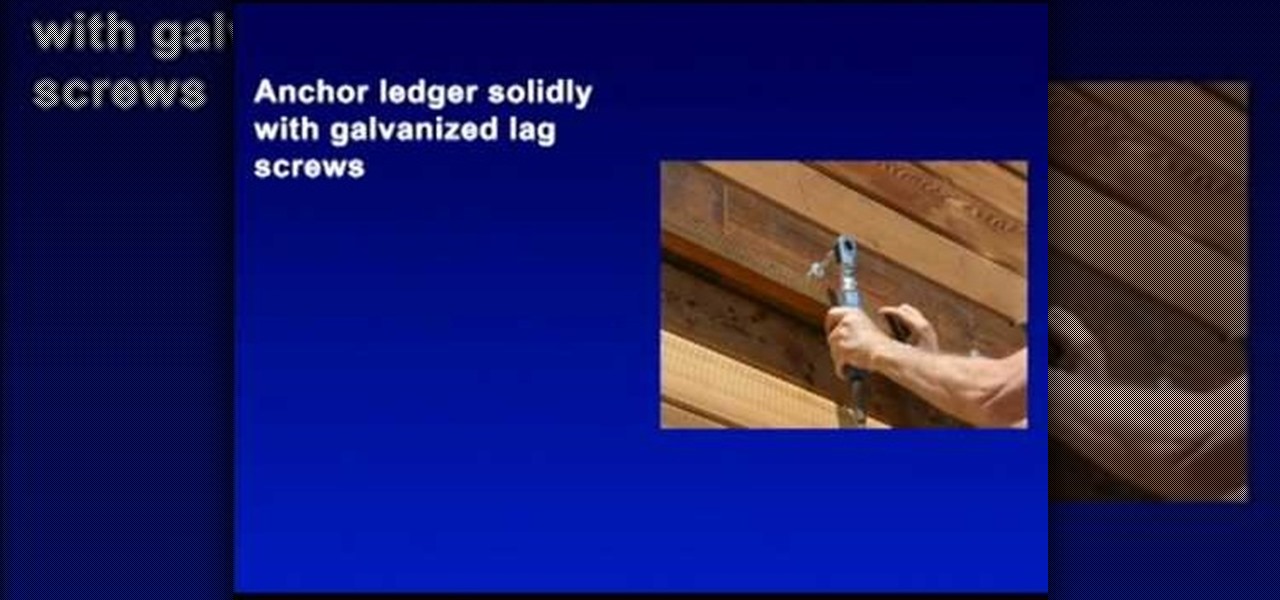
How To: Build a deck sunroof
Decks and patios are a major source of America's entertainment and relaxing enjoyment, but they can be hot in the summer sun. They can actually be dangerous if they reflect the sun's ultraviolet rays. And running your grill during a rainstorm that arrives the same time as your guests can be a real frustration. One answer is a sunroof over your patio or deck. If designed properly, a sunroof can cut the summer sun, but still allow winter sun rays to warm the house. The sunroof shown is a typica...
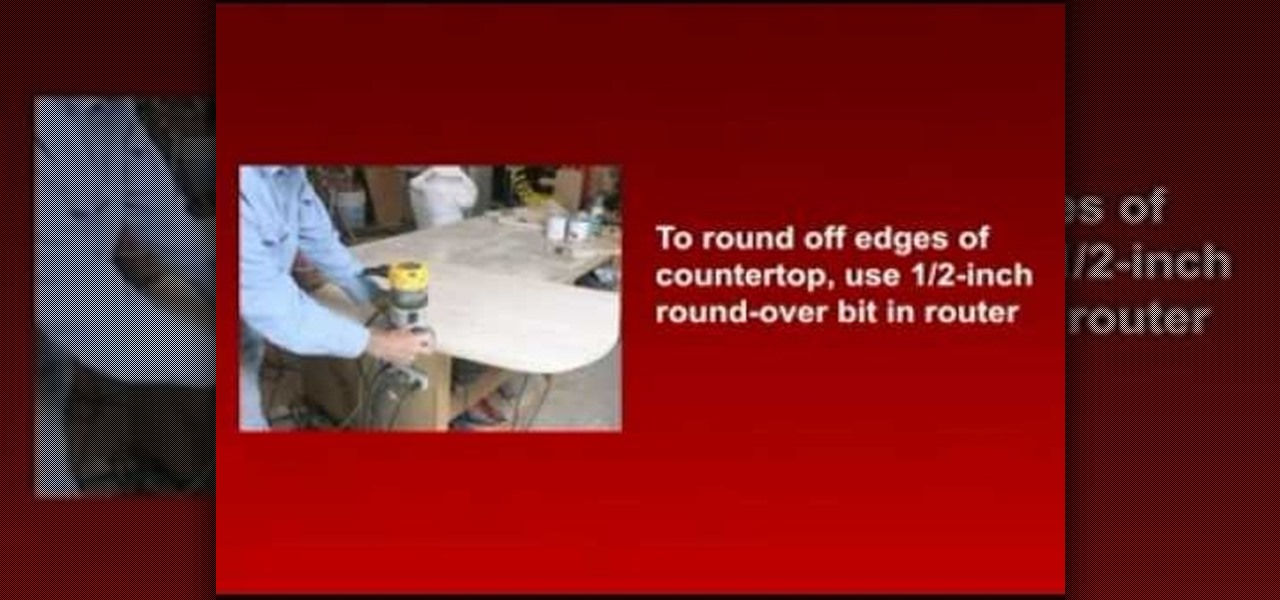
How To: Install a butcher block kitchen countertop
Butcher-block kitchen countertops have traditionally been very popular and these days are often used as companion tops with other materials, such as solid-surface tops. In addition to their aesthetic appearance, they can receive hot pans without damage. You can make up your own butcher-block countertop, or the same technique can be used to create cutting boards, or a top for a roll-around cart. The steps in creating the top are fairly easy, but the project does require some special tools, esp...
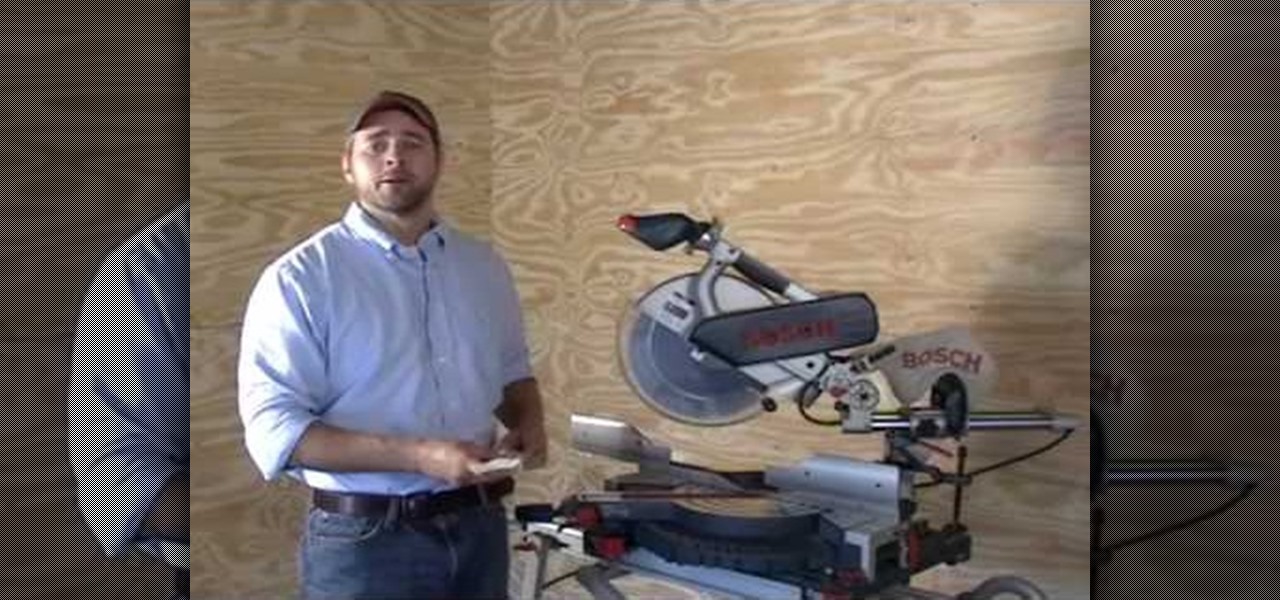
How To: Install crown molding in a rectangular room
Why pay a contractor to do projects that, with a little effort and perseverance, you can do yourself? In this video tutorial, you'll learn how install crown molding in a rectangular room by coping your inside corners. For a step-by-step look at the crown molding installation process for a rectangular room, take a look at this DIY how-to.

How To: Build a compost bin
In this DIY gardening video tutorial, you'll find instructions on constructing your own compost bin. More precisely, this video will show you how to build a compost bin from recycled skids and coat hangers that'll have your friends green with envy. Take a look!

How To: Dig post holes and lay the foundation for a deck
This tutorial will guide you through the process digging the deck post holes and then mixing and pouring the concrete. Before the concrete completely sets, you will then position the precast concrete piers.


