

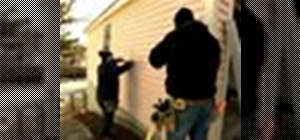
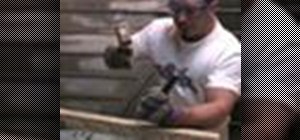
Watch this video from This Old House to learn how to repair clapboard.
Steps:
1. Pull loose nails from clapboard siding.
2. Tap flat bar under siding to loosen nails.
3. Secure old siding by driving ring-shank nails down at an angle through the old nail holes.
4. Pull nails from split clapboard.
5. Grab butt edge of damaged clapboard and lift up sharply, snapping it off.
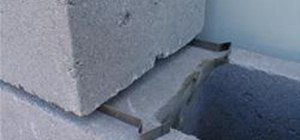
6. Use flat bar to carefully pry up the siding course above.
7. Drive flat bar into nails to bend them, then tap siding to wall, causing the nail heads to pop.
8. Pull the nails using a claw hammer or flat bar.
9. Pry the remaining pieces of old clapboard out from behind the course above.
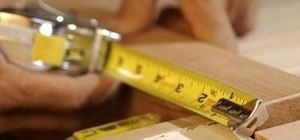
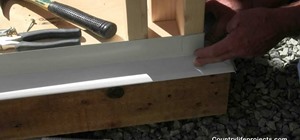
10. Use section of old clapboard to mark the length of the replacement siding.
11. Use utility knife and speed square to score the cut line onto new clapboard.
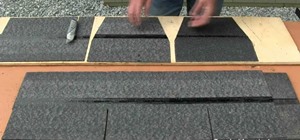
12. Cut the clapboard using a 10-teeth per inch crosscut handsaw.
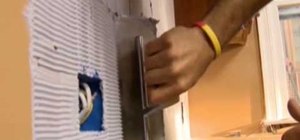
13. Apply paintable silicone caulk to both ends of clapboard.
14. Slide the replacement clapboard into place, then secure it with ring-shank nails.
15. Paint the new siding to match house.
Repairing clapboards with This Old House
 Click through to watch this video on thisoldhouse.com
Just updated your iPhone? You'll find new emoji, enhanced security, podcast transcripts, Apple Cash virtual numbers, and other useful features. There are even new additions hidden within Safari. Find out what's new and changed on your iPhone with the iOS 17.4 update.


Be the First to Comment
Share Your Thoughts