

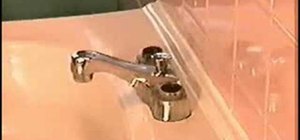
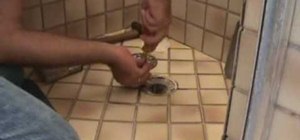
This how-to video is about how to repair a leaky faucet. One of the most common problems with the faucet is the replacement of the rubber washer, which is located on the bottom of the valve unit. First, stop the water supply by turning off the stop valve at the bottom of the sink. Then, turn on the faucet until the water stops flowing. Next, remove the handle. To do this, we first need to remove the decorative cap using a screw driver or sharp pointed knife to expose the screw. Then, remove the cap very carefully so that we don't damage the pressure prongs that hold the cap in place. next, remove the decorative bonnet with a wrench. Next, remove the stem and washer assembly. Once the valve unit is taken out, we need to remove the old washer by removing the screw that keeps the washer in place. Be careful while removing the screw because sometimes if the screw is corroded it may break. Next, install a new washer and a brass screw if necessary. Reassemble the faucet parts and put it into the faucet housing. Tighten the packing knot and put the handle back on. Wgen everything is assembled to its place, turn off the faucet and turn the water supply valves on. Test for any leaking.
This video is very helpful, and it teaches one about how to repair the leaking faucet.
Just updated your iPhone? You'll find new emoji, enhanced security, podcast transcripts, Apple Cash virtual numbers, and other useful features. There are even new additions hidden within Safari. Find out what's new and changed on your iPhone with the iOS 17.4 update.


Be the First to Comment
Share Your Thoughts